After registering your account and when you log into Droplo for the first time, you should see a survey. If you indicate in it that you want to set up a dropshipping shop, the Sellindrop integration will be immediately activated on your account, for 7 days (trial period).
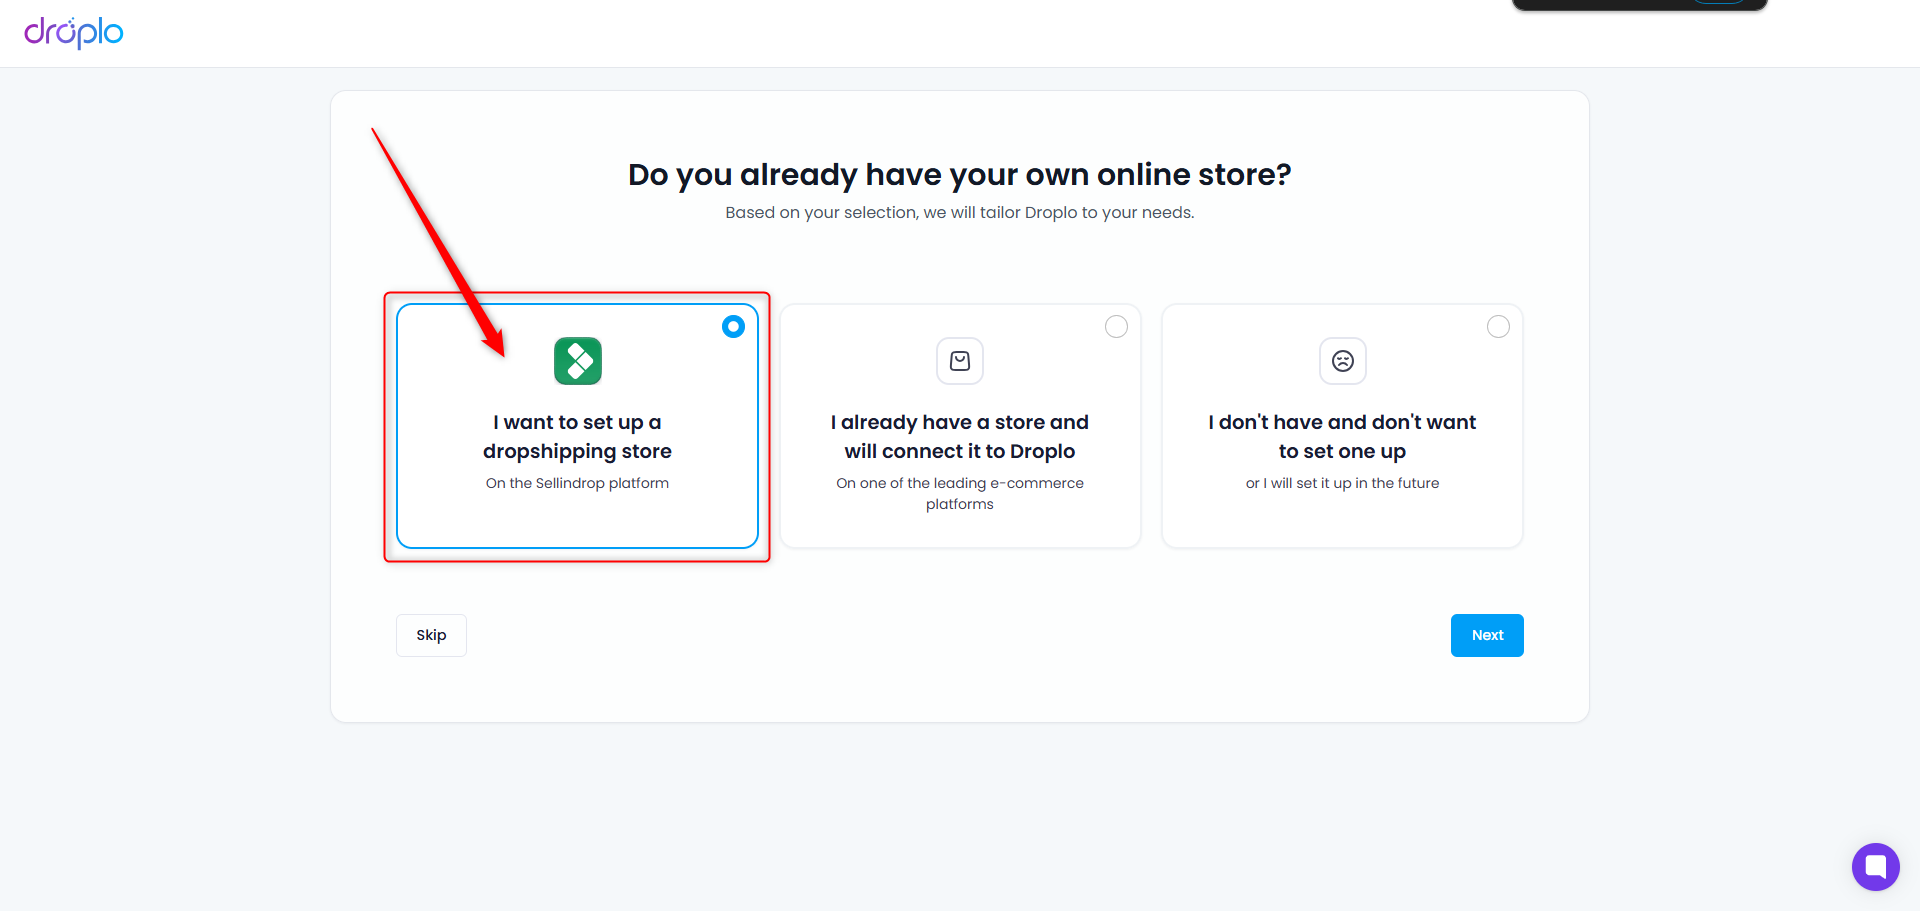
Have you chosen this option? Skip the first step of the instructions and skip to the second section (Creating a new shop), from which you will learn more about the new shop wizard.
Did you skip the initial survey or select a different option in it?
Go to the Integrations tab and click on the Sellindrop field.
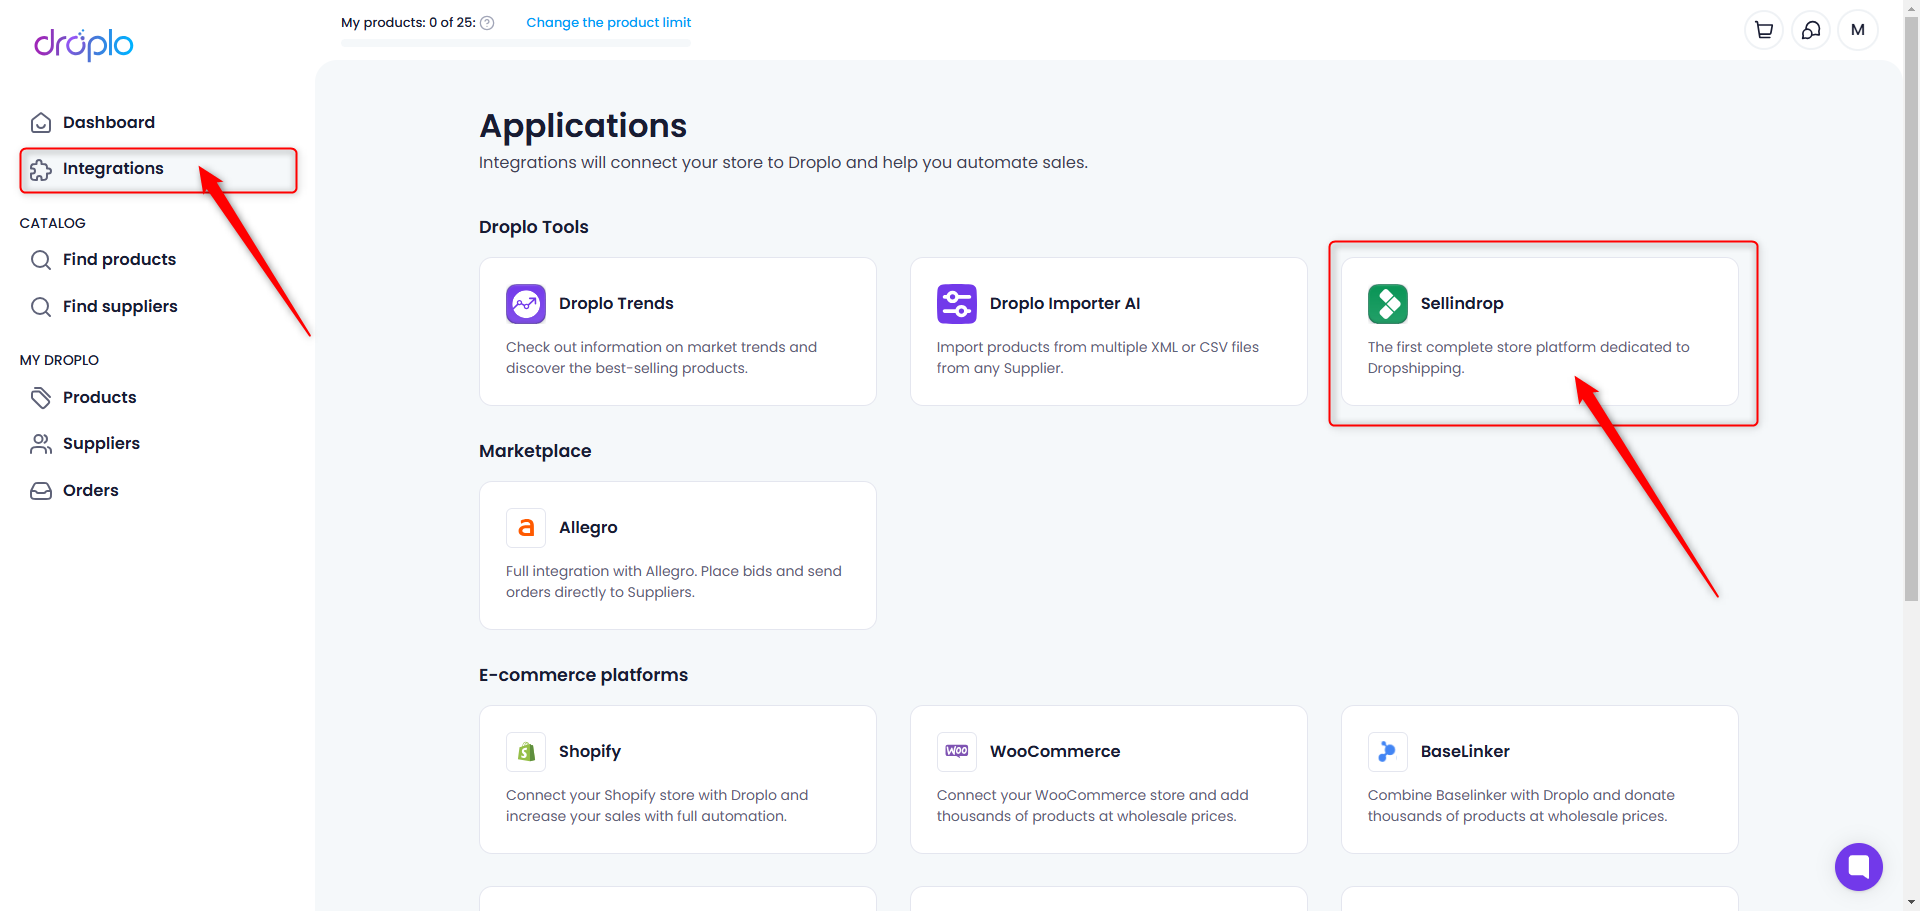
A description of the integration will open. To activate the trial period, click on the Test for free for 7 days button. If you do not need a trial period and want to activate your subscription straight away, use the Purchase access button.
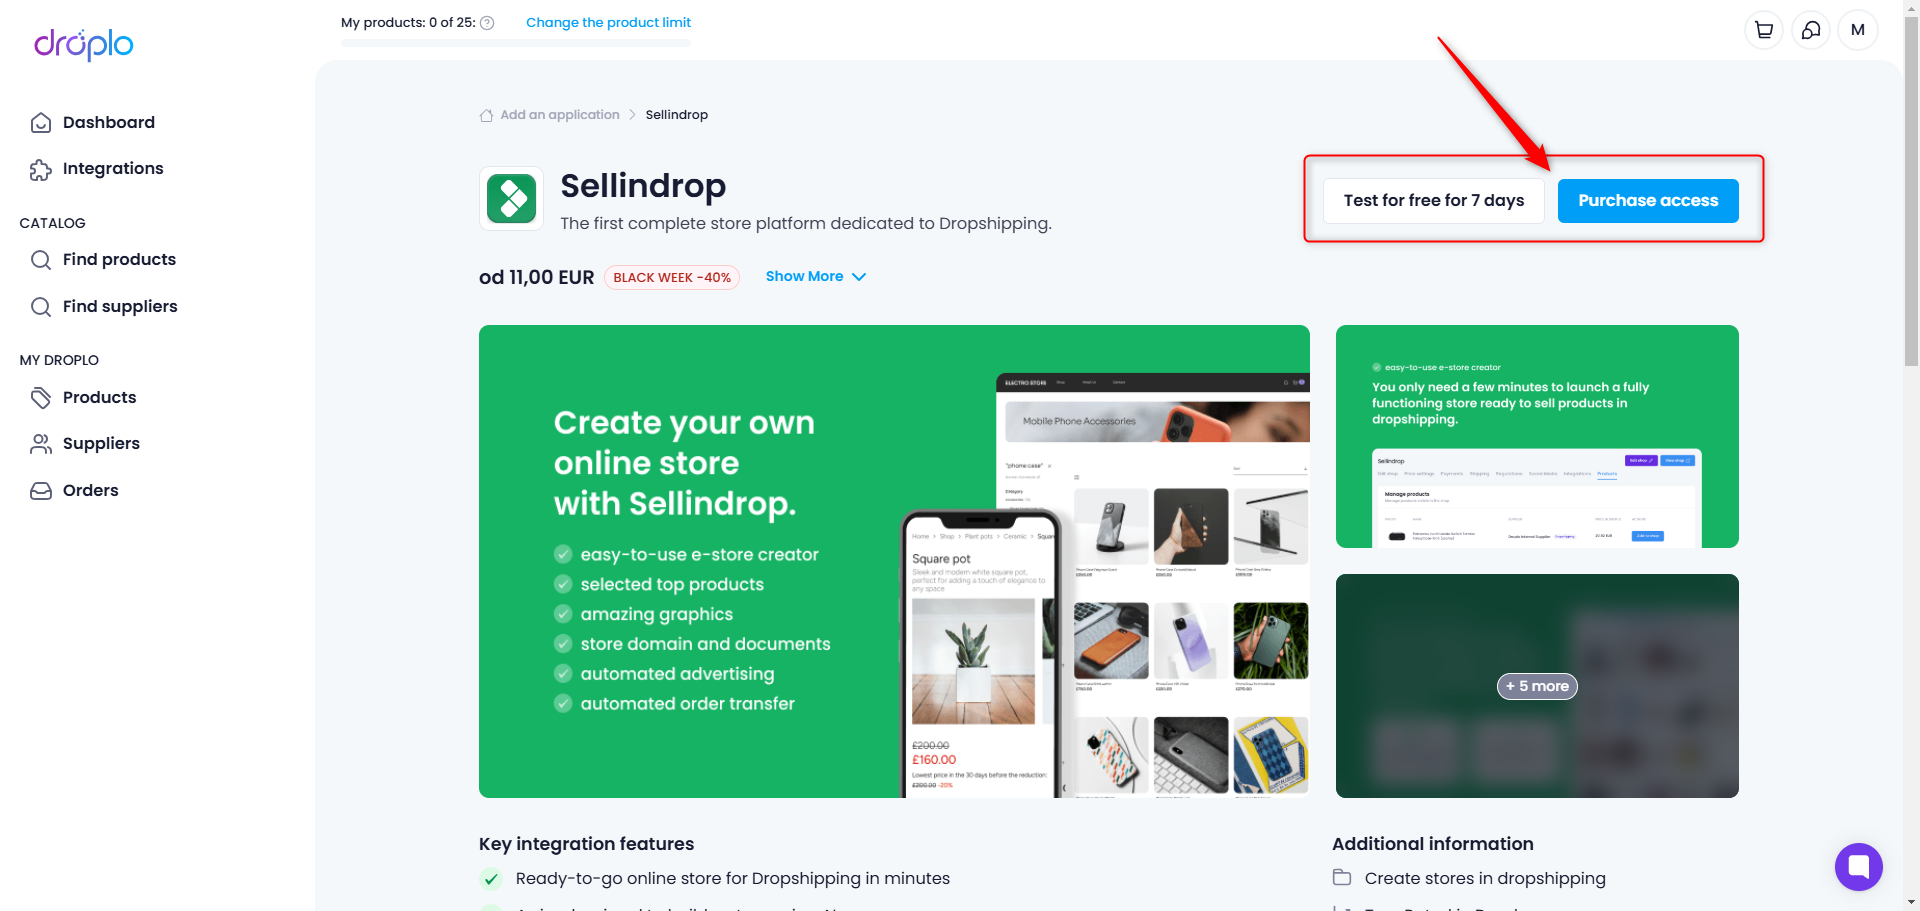
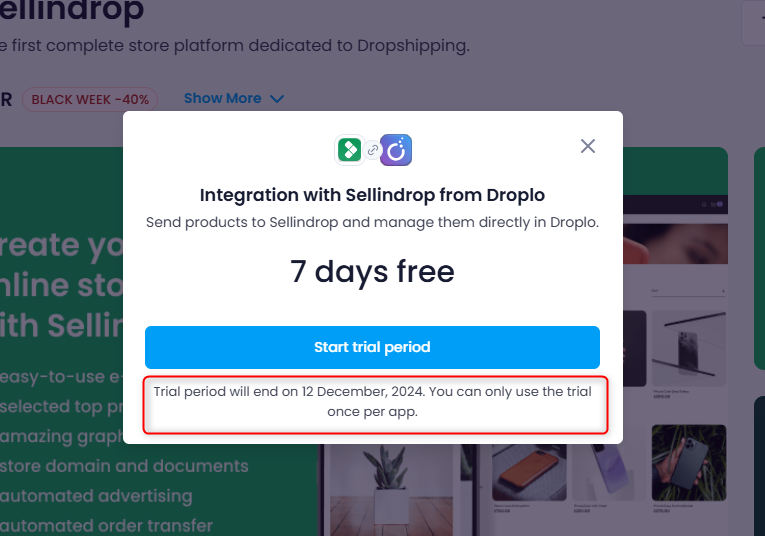
By selecting Test for free for 7 days, a window will appear where you will be told until when you can use the integration for free. Use the Start trial period button to proceed.
You will be taken to the Subscription and payments panel where, in the list of Active Subscriptions, you will notice your integration and the information until when it will be active for your account during the trial period.
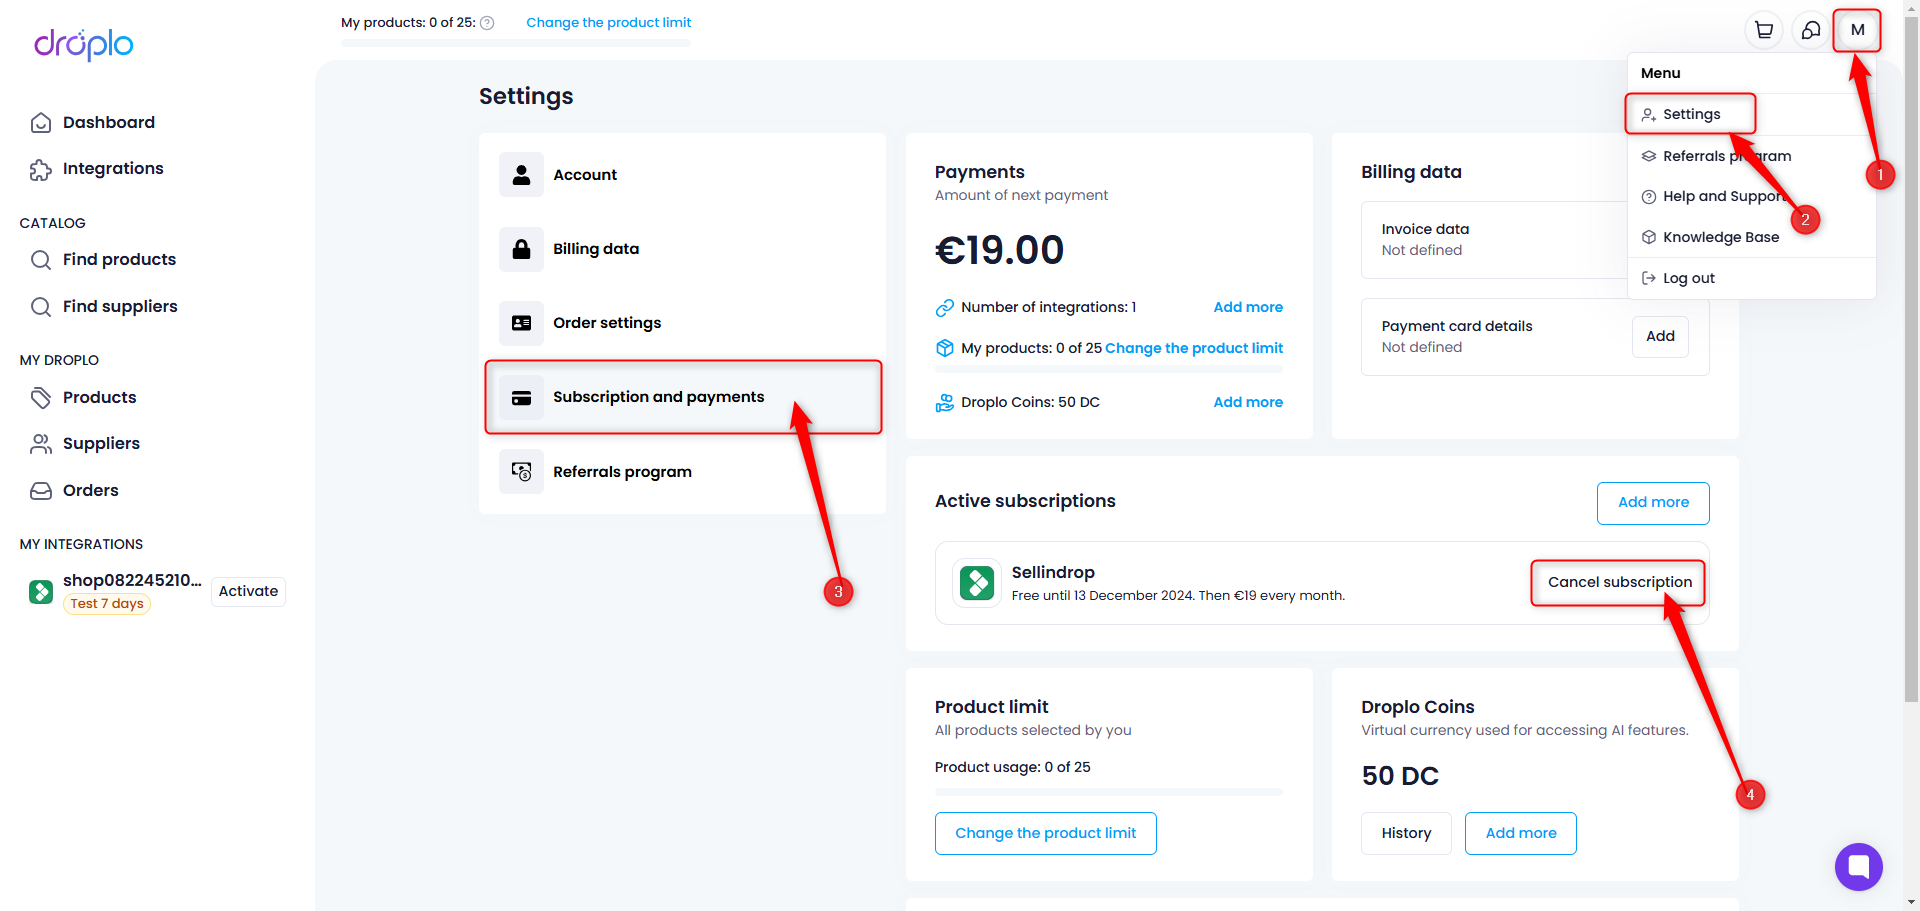
Once you have activated the trial period for Sellindrop in Droplo, you will see a new section in the main menu on the left-hand side of the panel: MY INTEGRATIONS. In this section you will find a shortcut to your Sellindrop integration. Click on it to open the configuration panel.
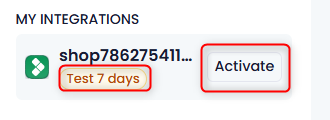
By selecting Purchase access, you will be taken to the payment card for access to the integration. Choose whether you want to pay it monthly or annually (in advance). Once you submit your first payment, the integration will be fully activated for your account.
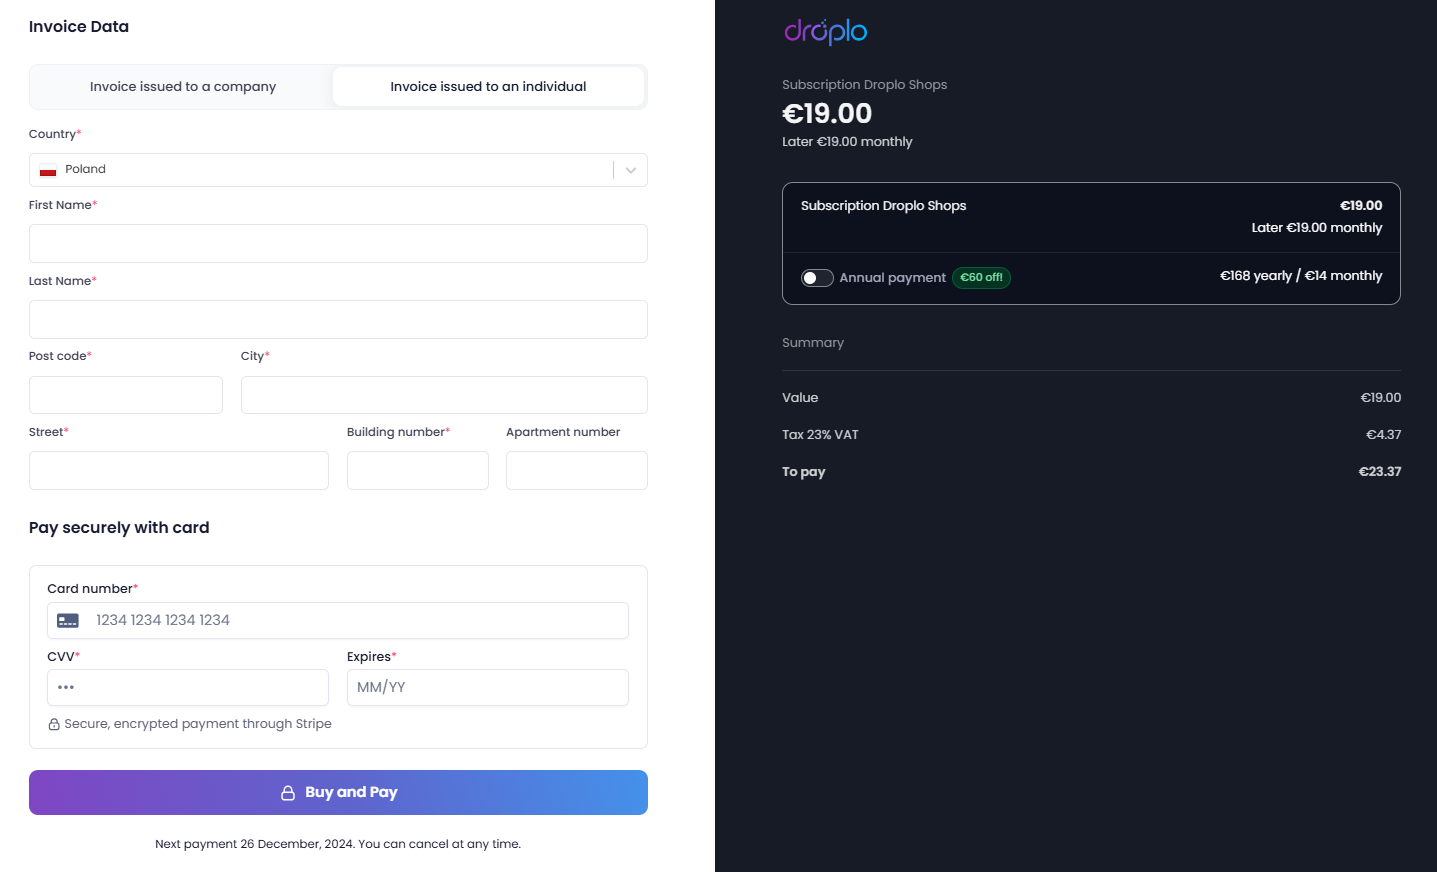
Now go to the Sellindrop shortcut, you will be taken directly to the wizard.
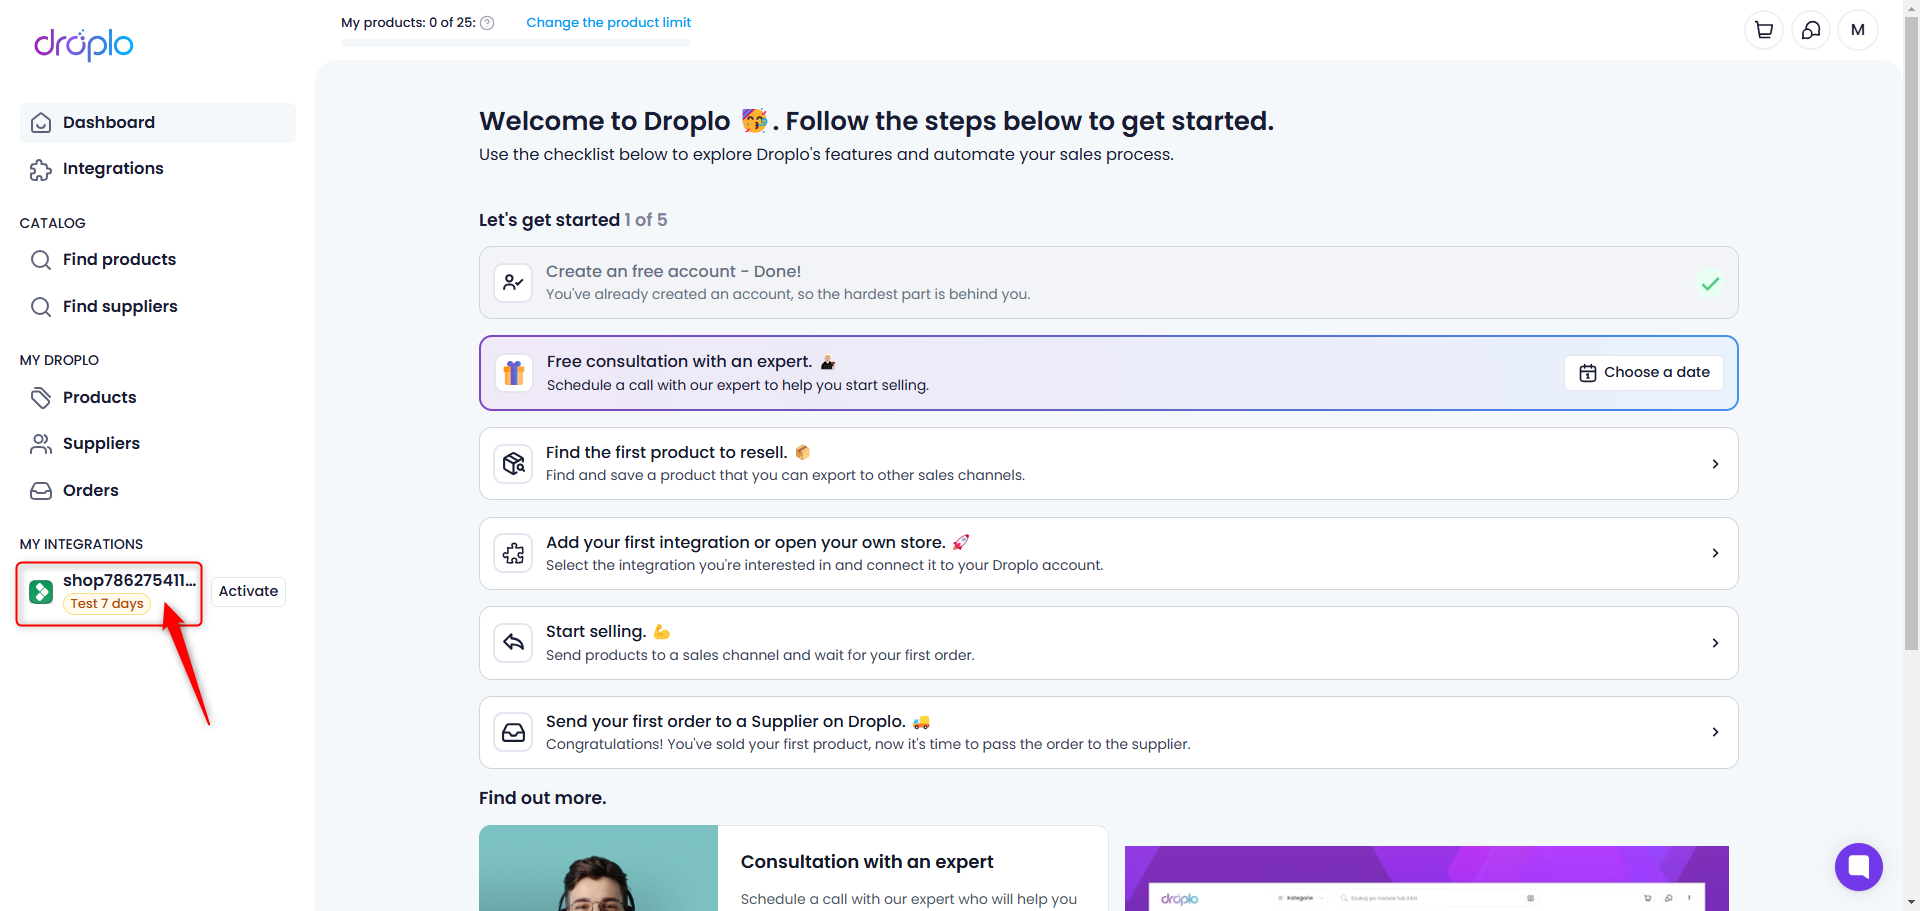
If you have not yet given us your name, you will be asked to complete this information.
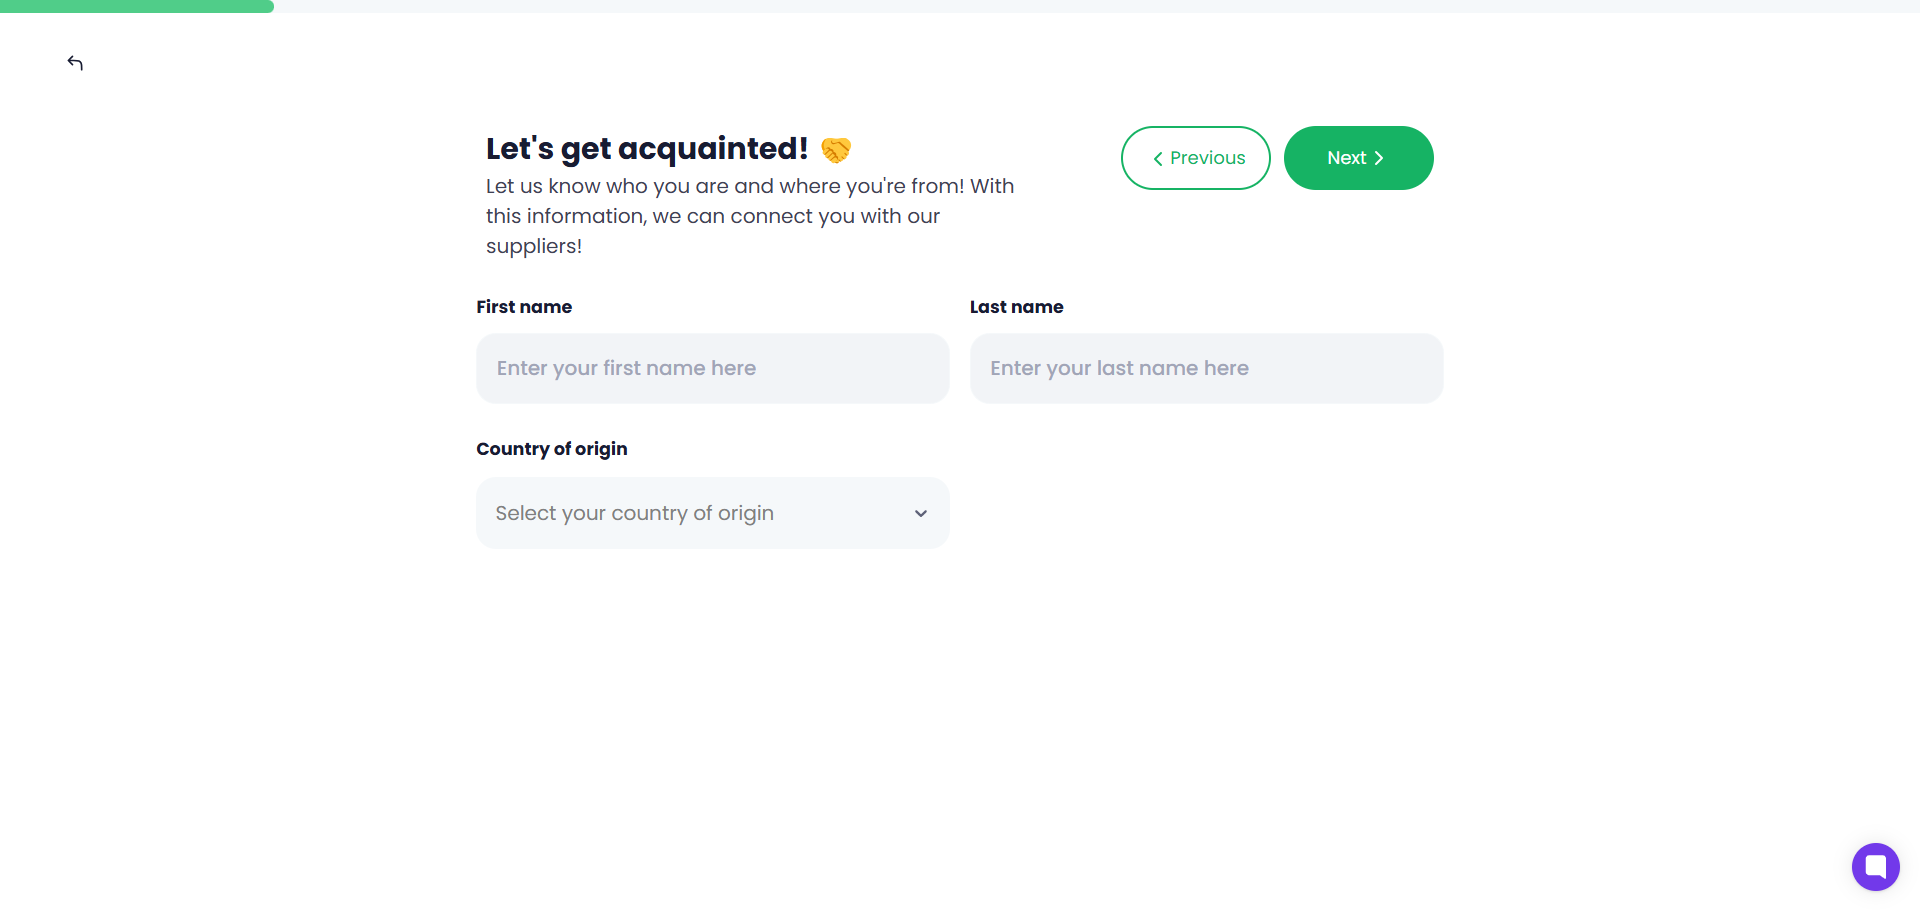
In the next step, enter the name and description of the shop (preferably in at least a few sentences).
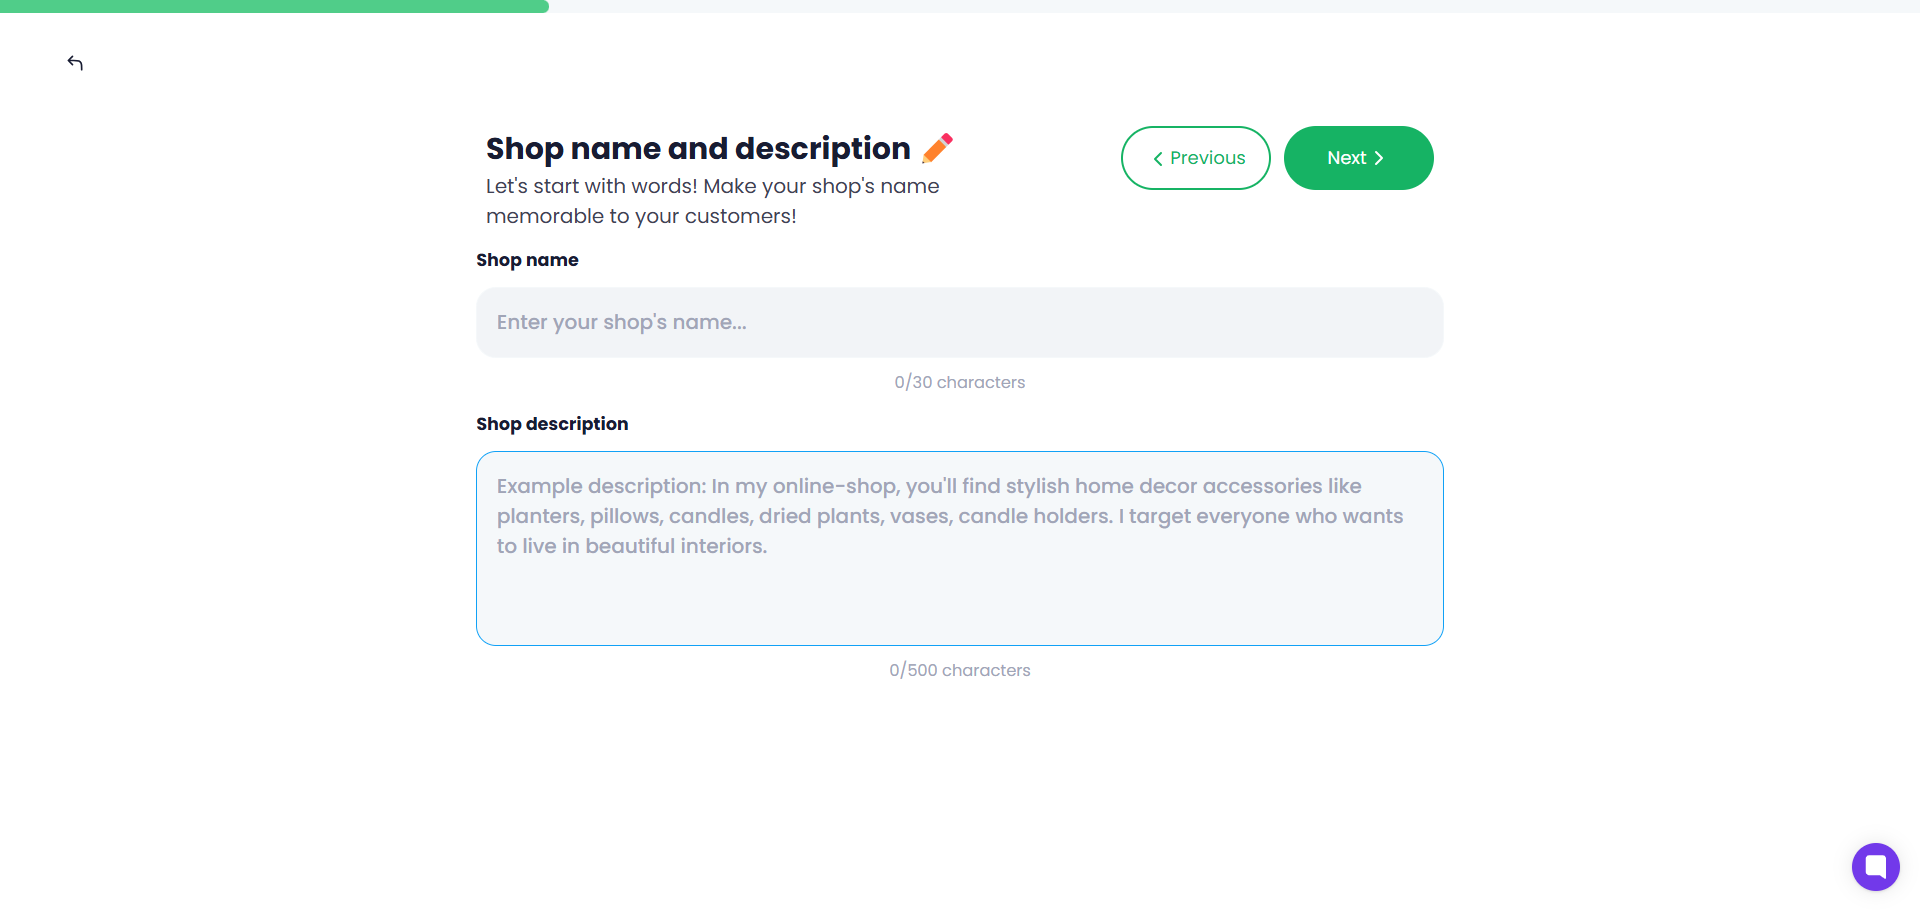
Note: Based on this data, we will offer you available domains and matching products.
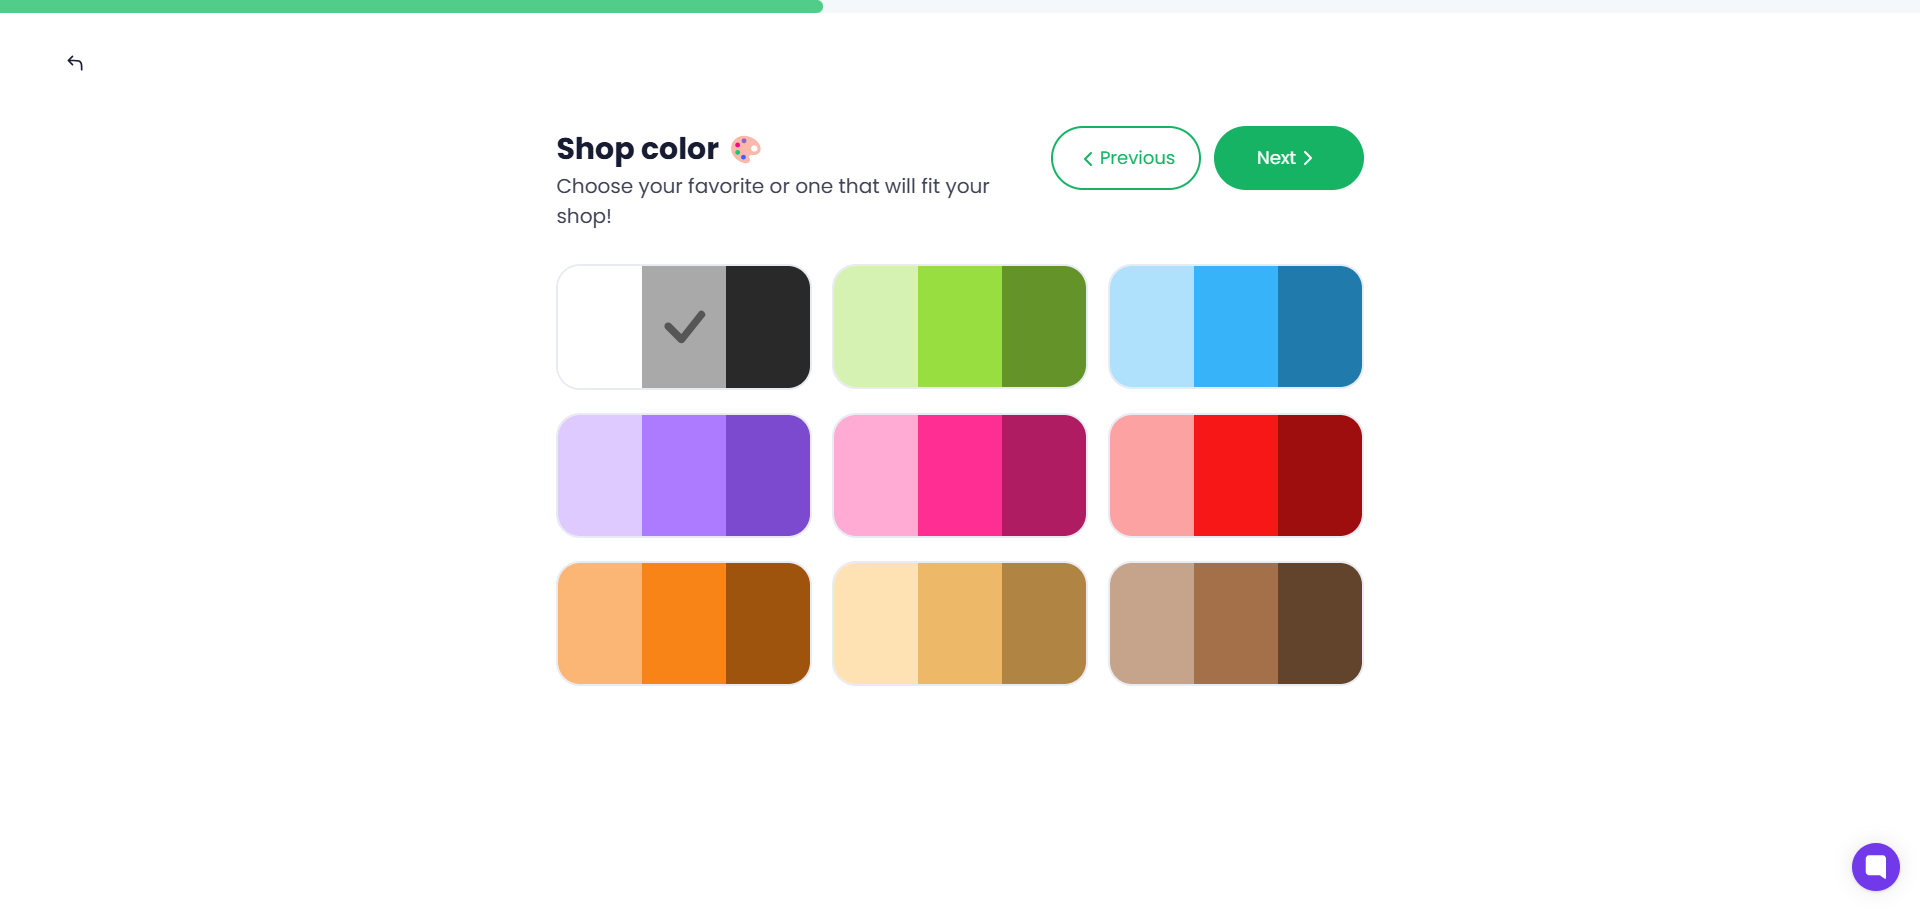
Next, choose what the leading colour theme of the shop will be. The system will adjust the graphic elements according to your choice.
A. If you have not yet saved products in the Products tab in Droplo, you will see a list of categories in the next window.
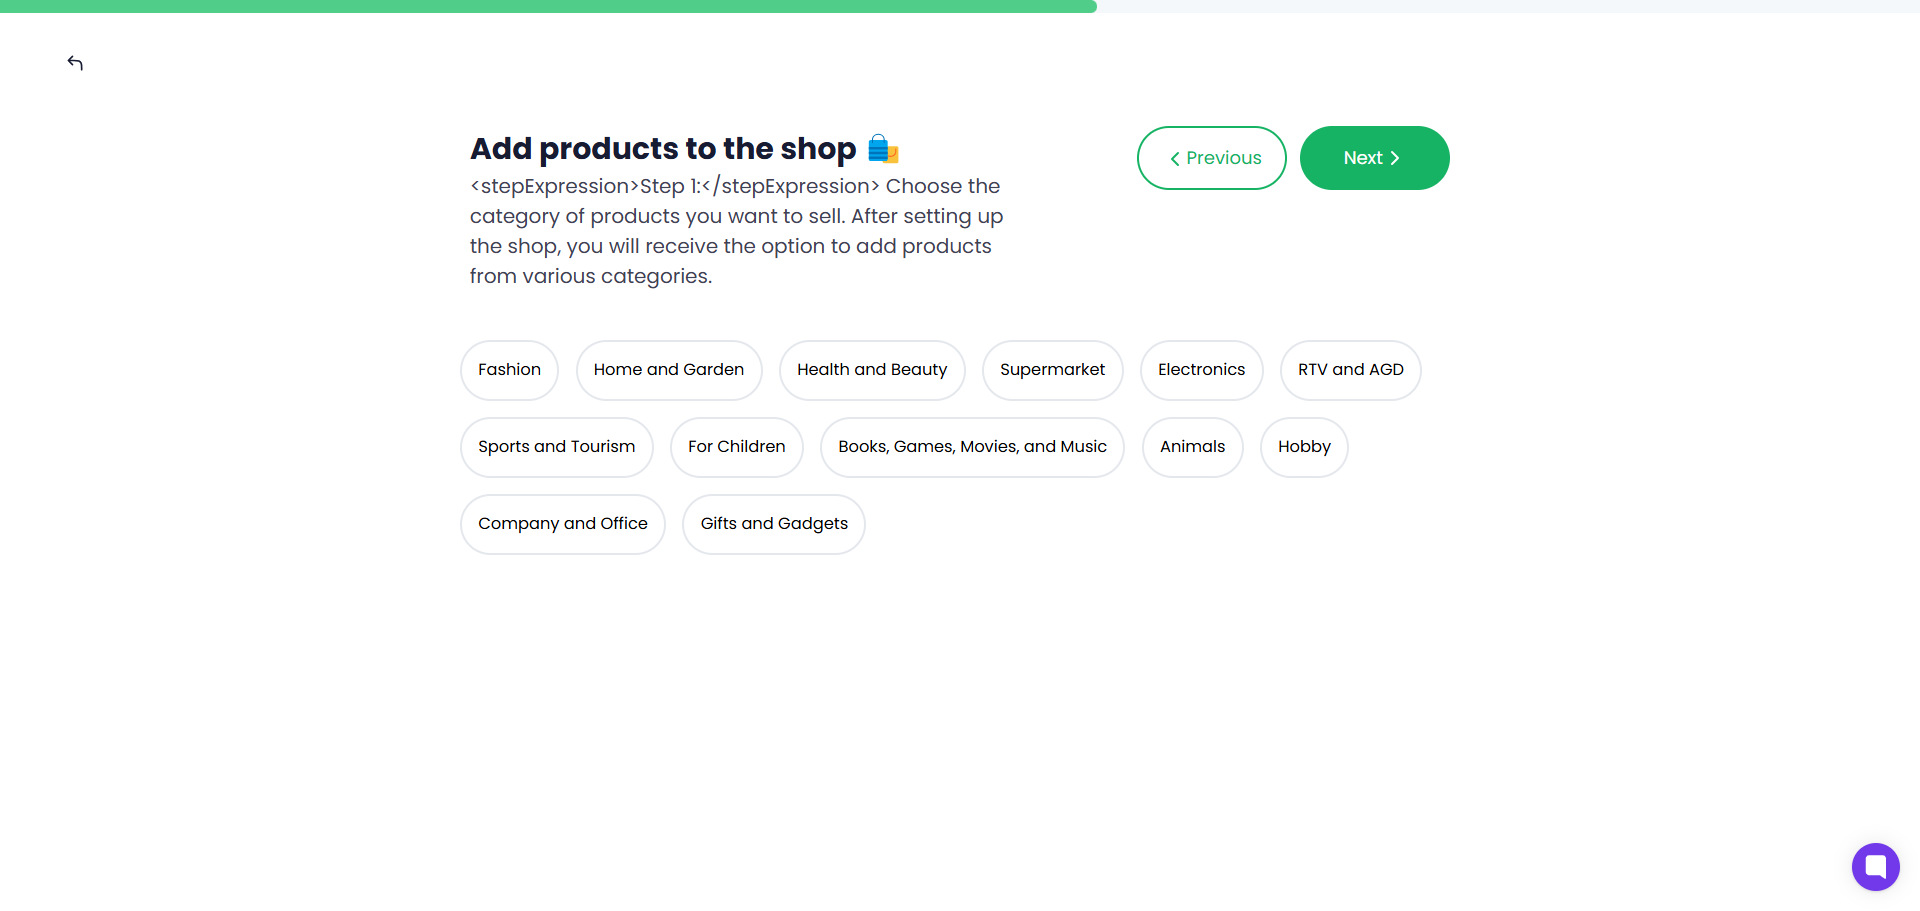
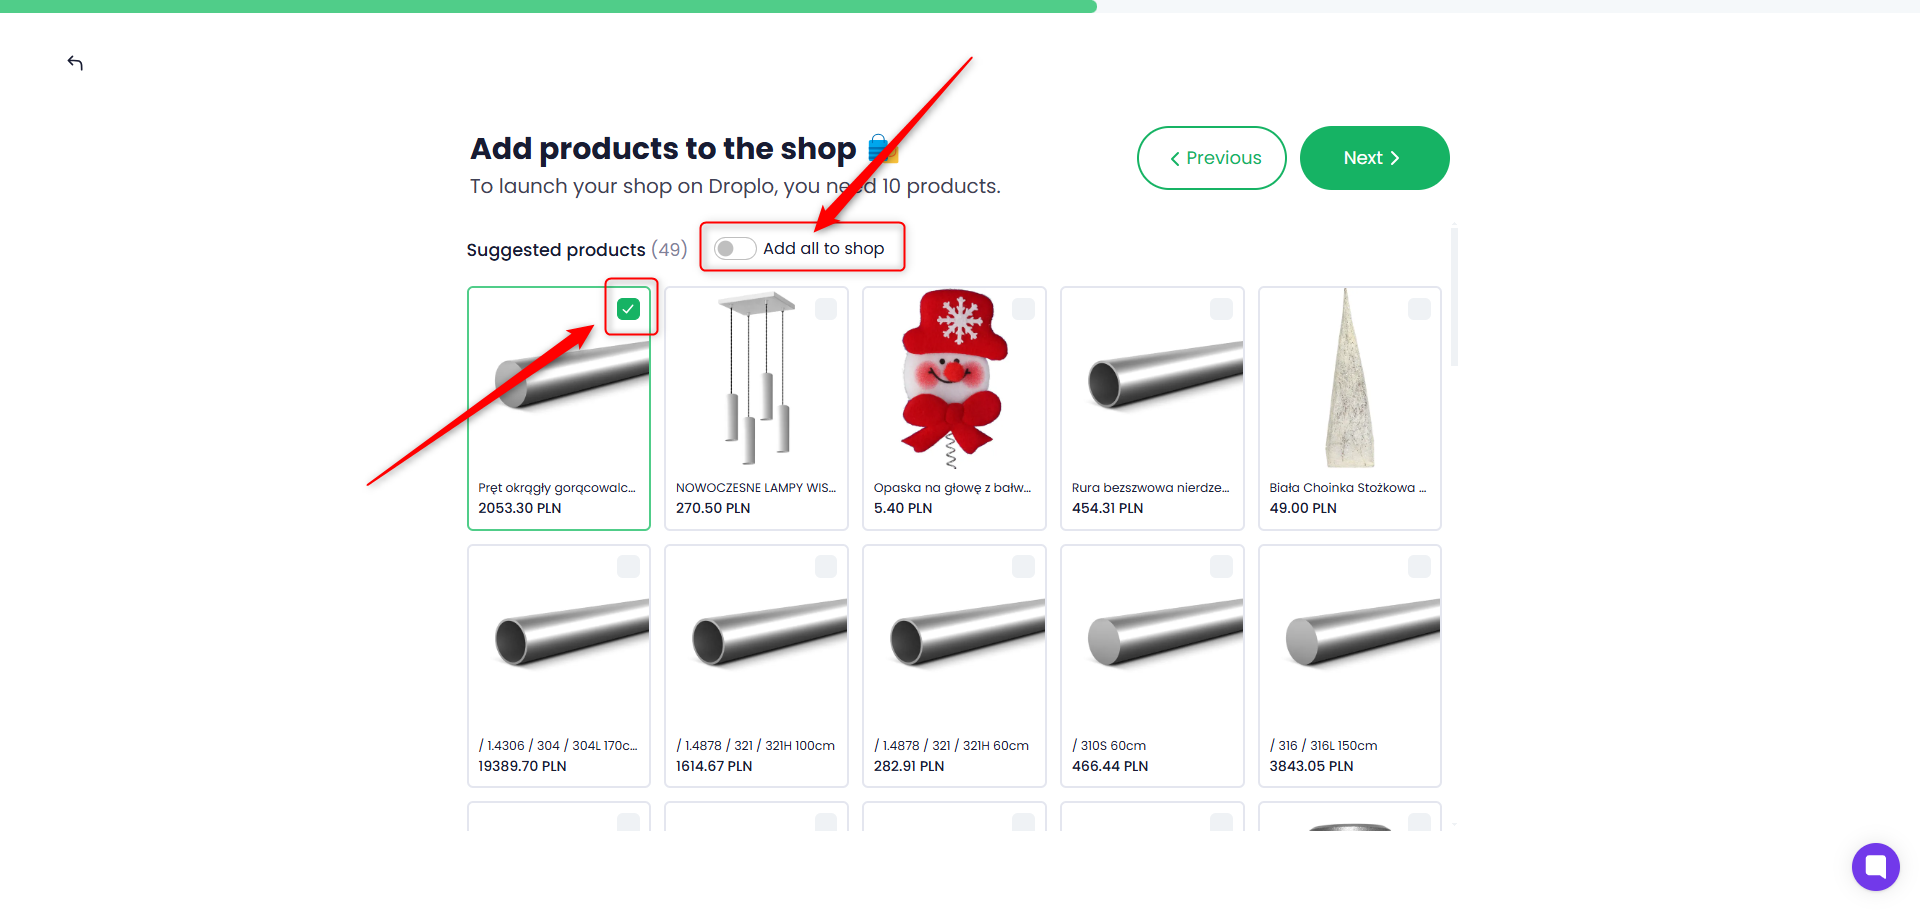
Select one of the available branches and the system will offer you a list of products to start with. Select individually (1) or in bulk (2) which ones you would like to see in your shop.
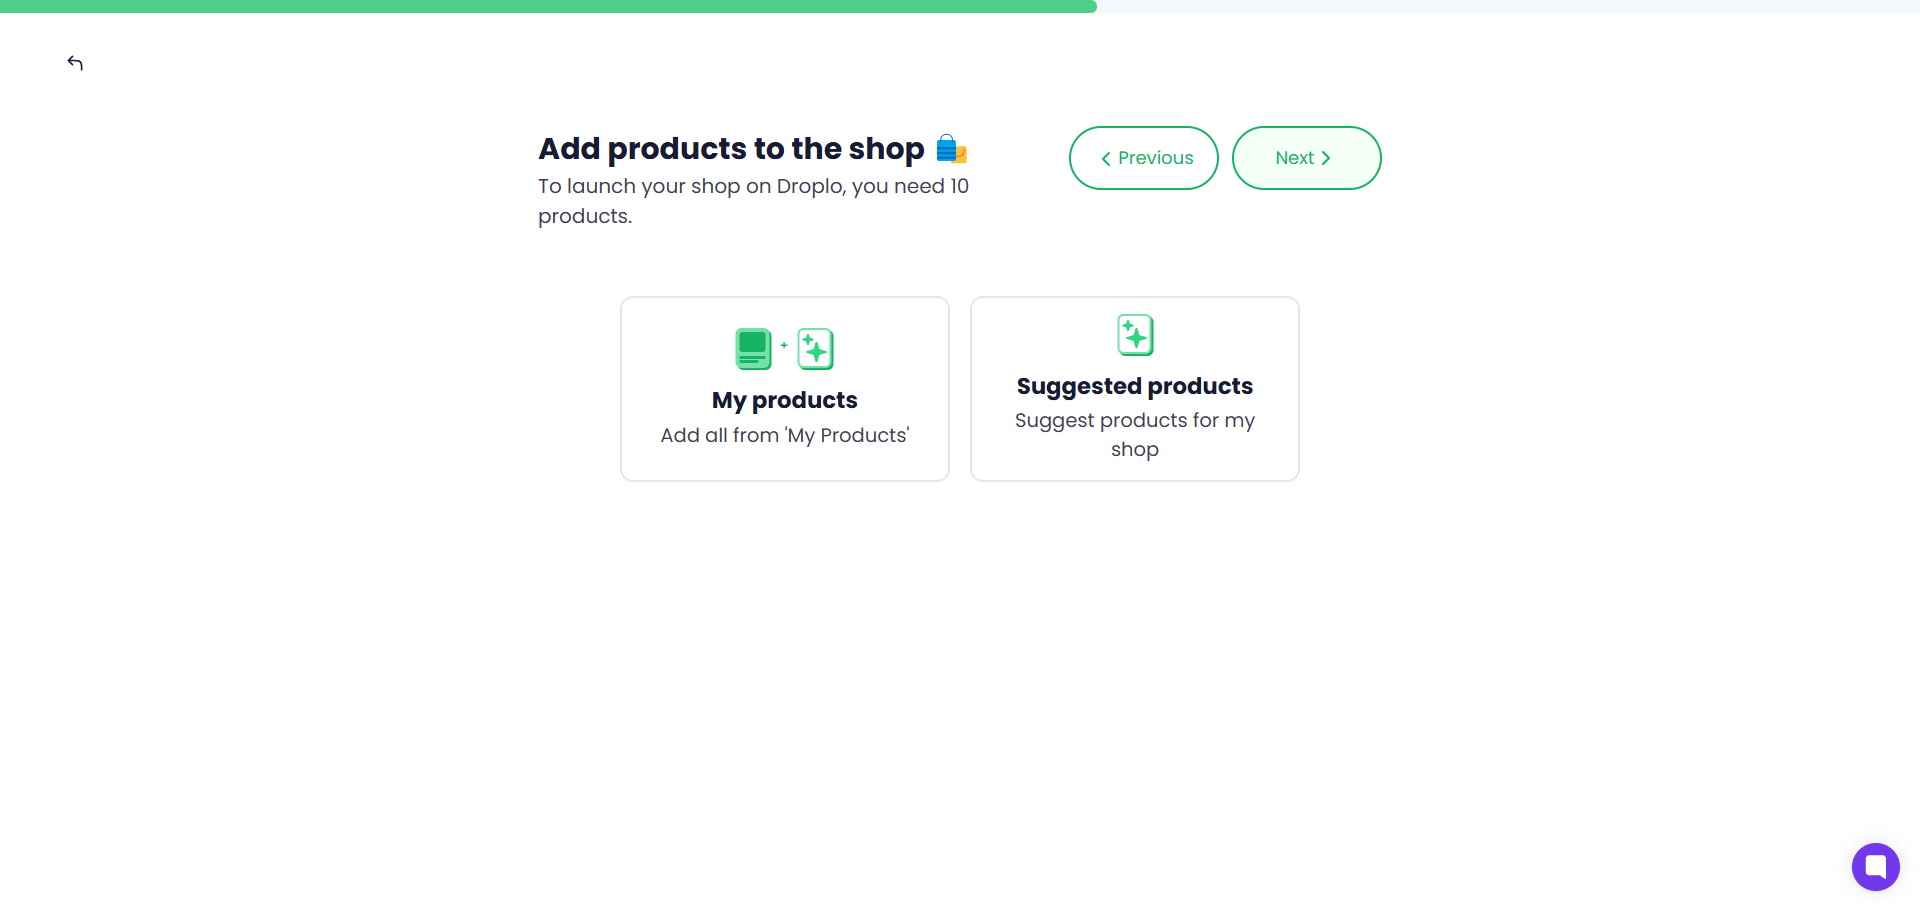
B. If you have already activated supplier listings and saved products in the Products tab, you will see another window. Here you will be able to choose whether you prefer to list products from your list or those proposed by Droplo.
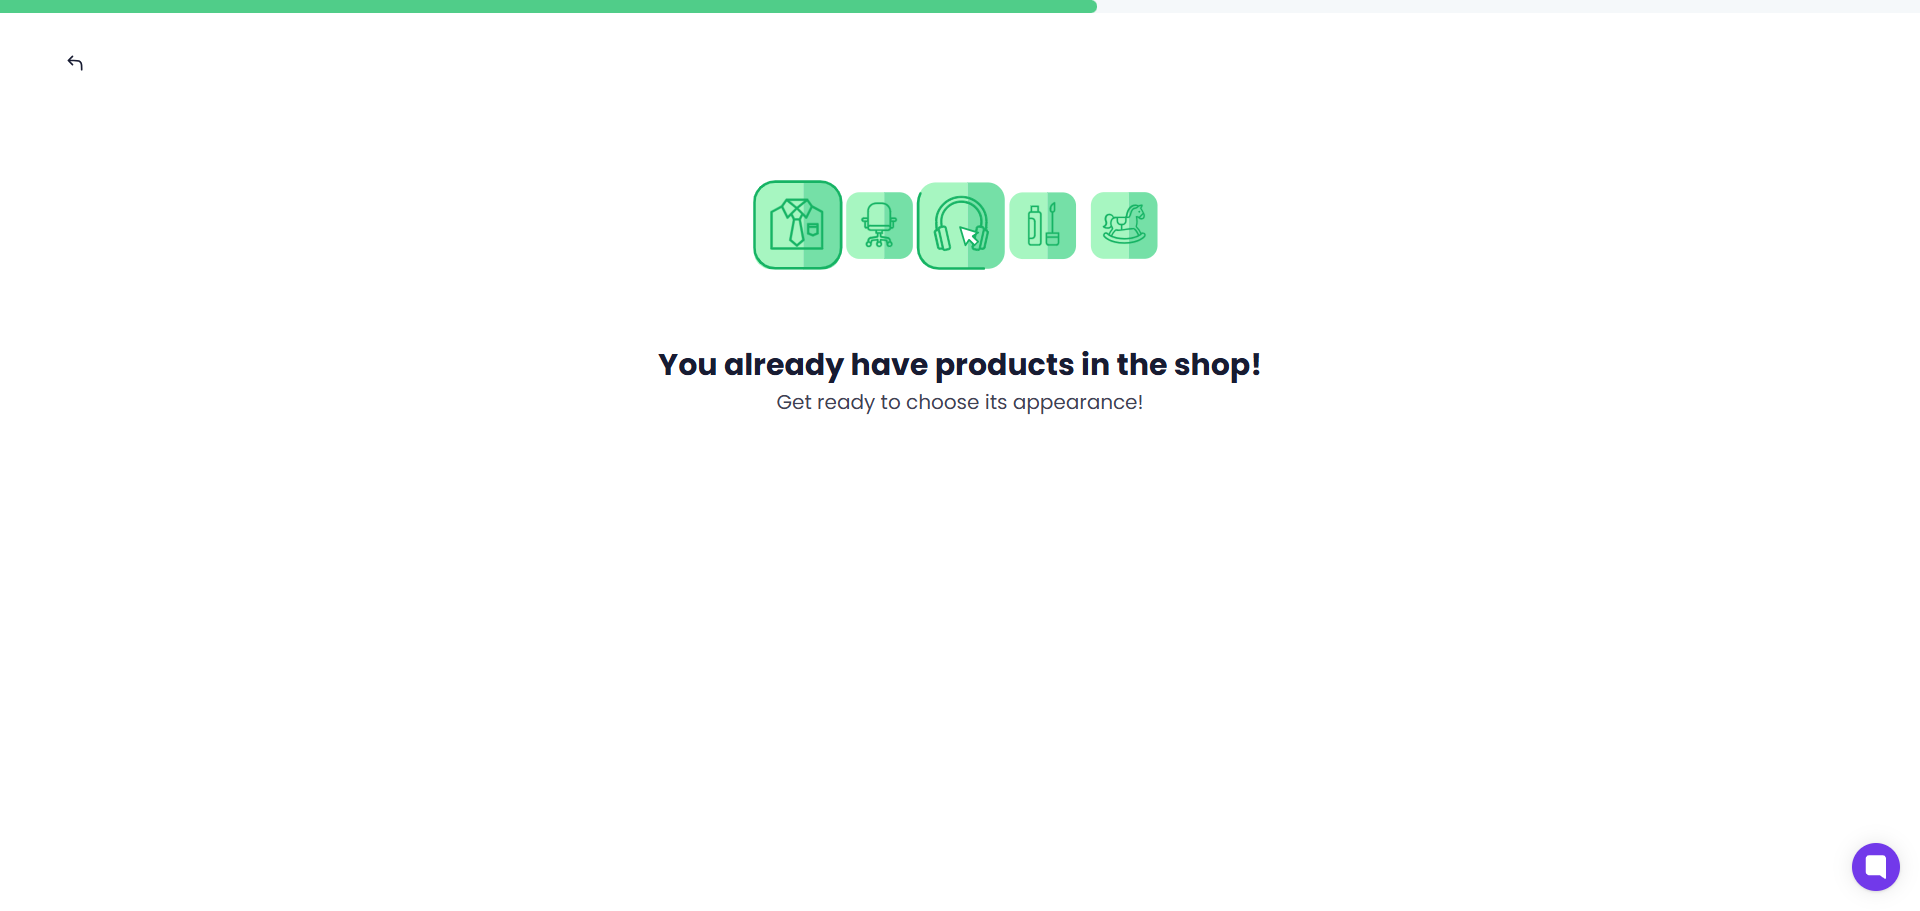
When you select Add all from ‘My products’, you will see a message confirming that the products in the list have been successfully added to your shop.
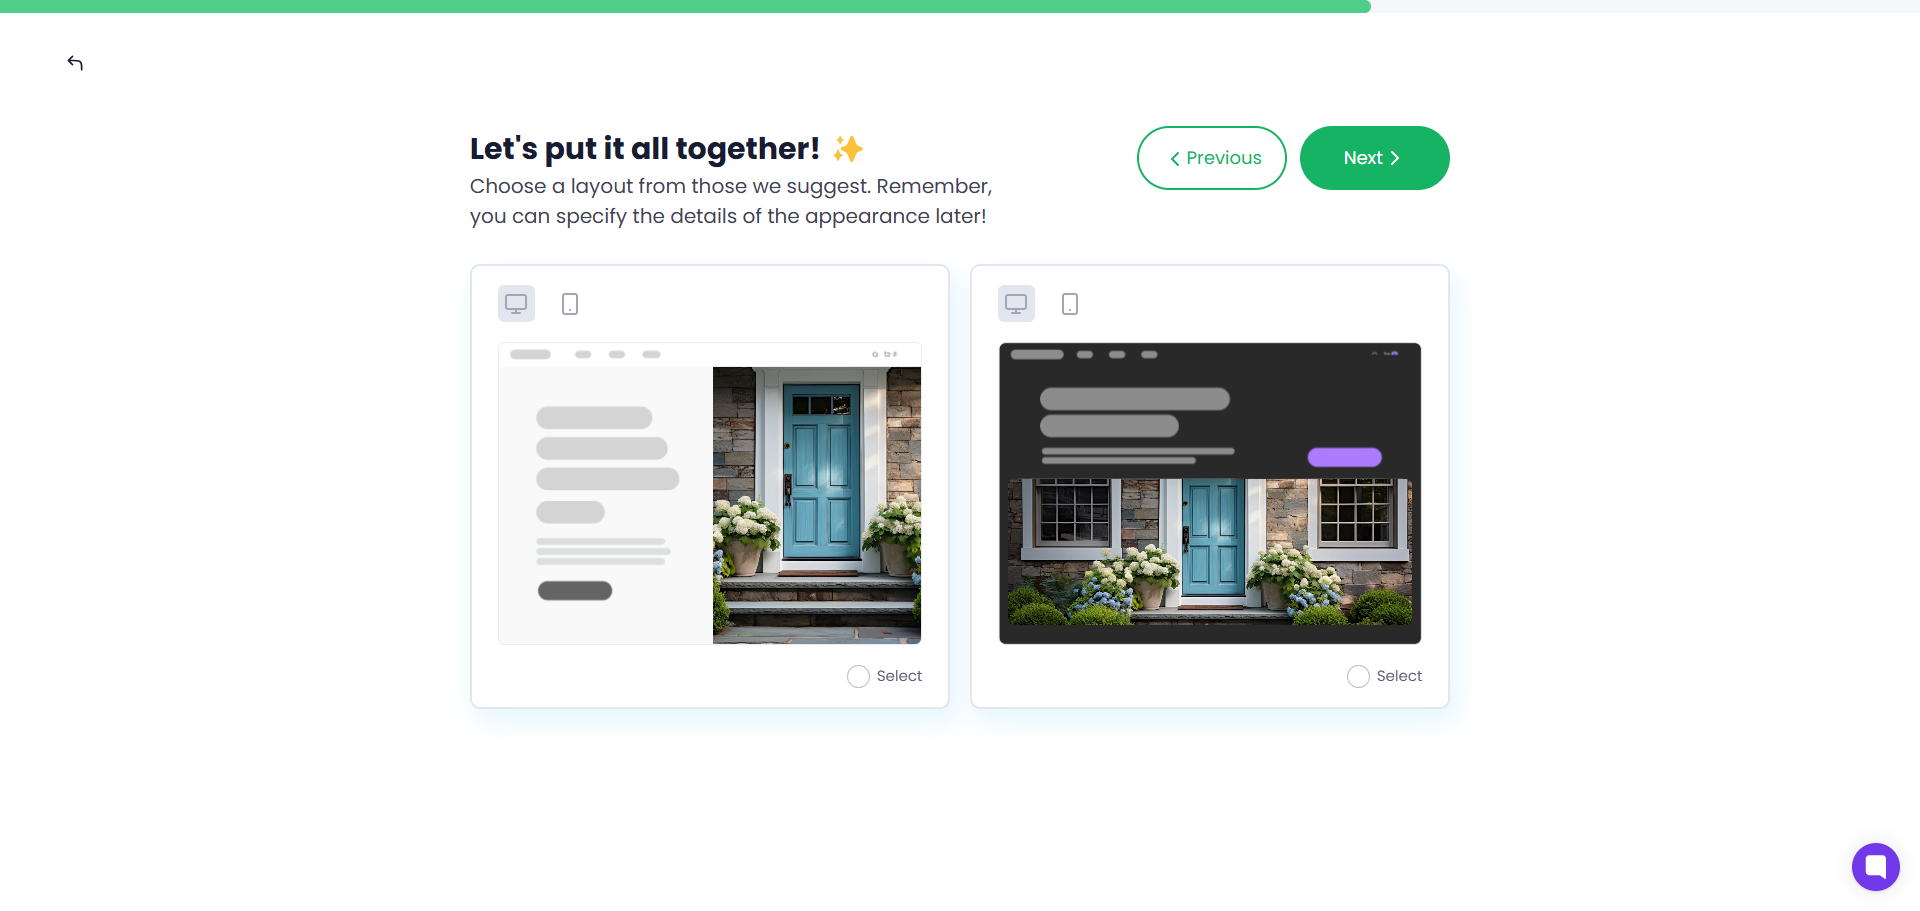
Choose which shop theme suits you best. Don't forget to check here how your shop will look in the mobile versions of browsers.
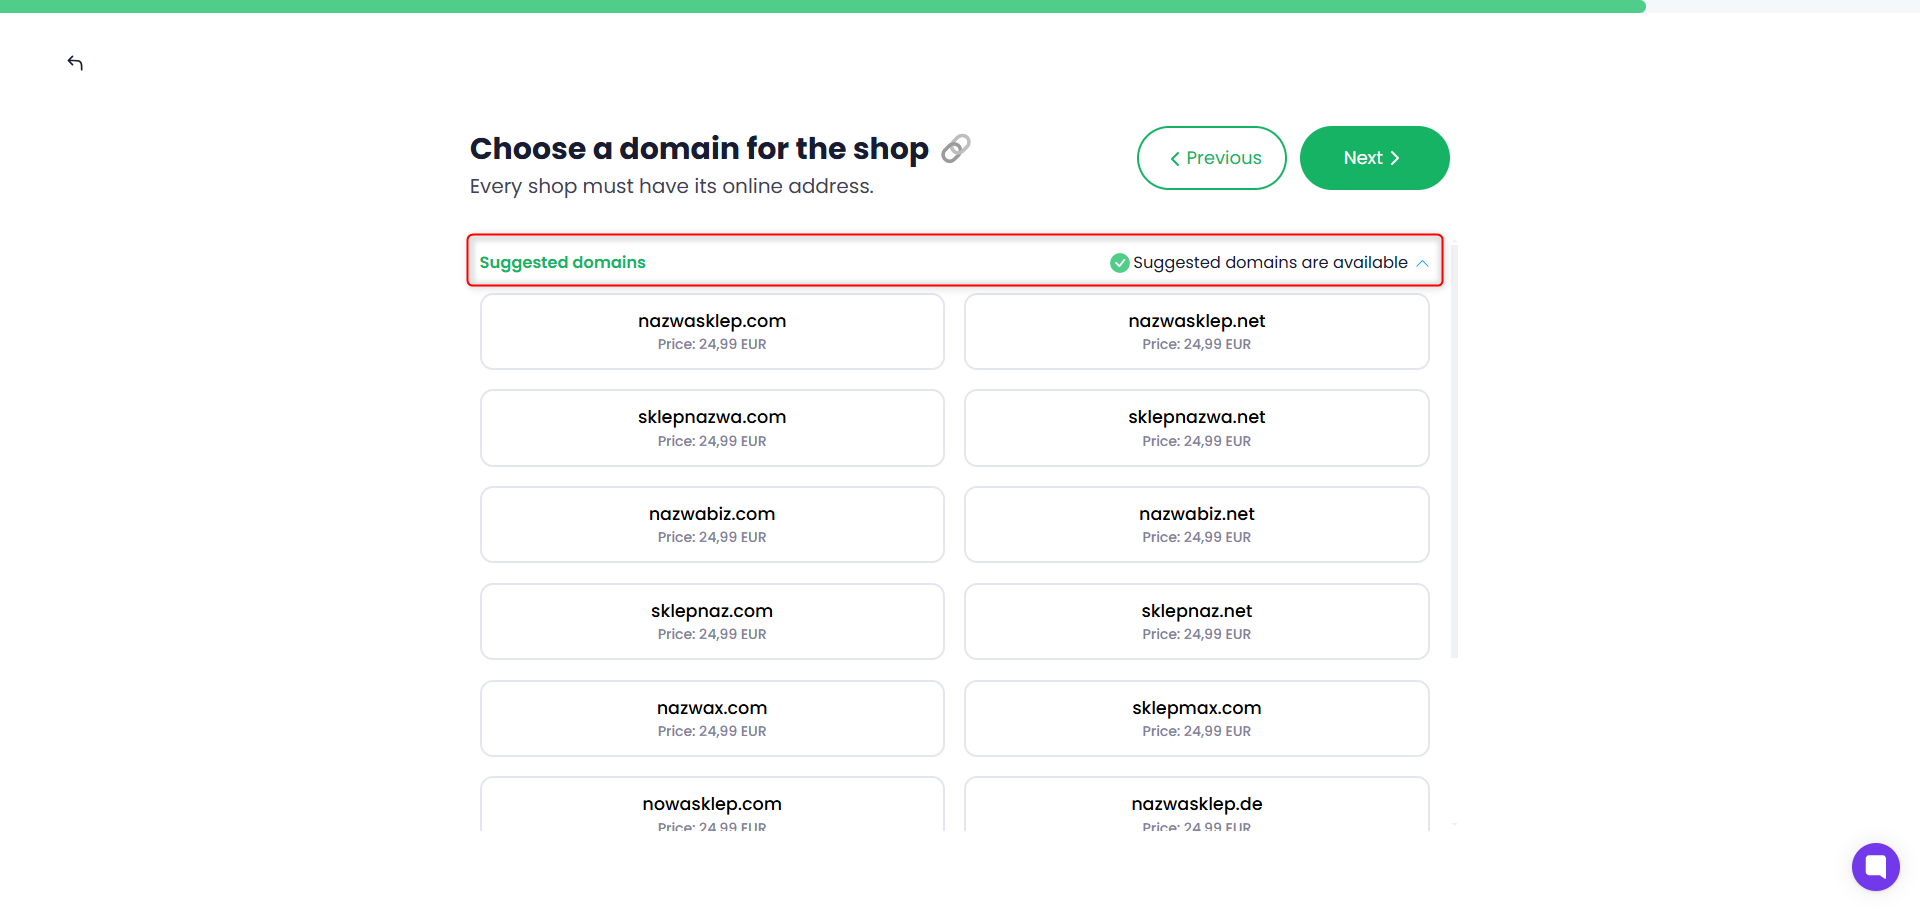
Based on the name and description of the shop entered previously, currently available domains will be suggested.
Each of these can be purchased through Droplo, which we will show you later.
Choose the address that best fits your vision. If none of the names appeal to you, you can generate new ones.
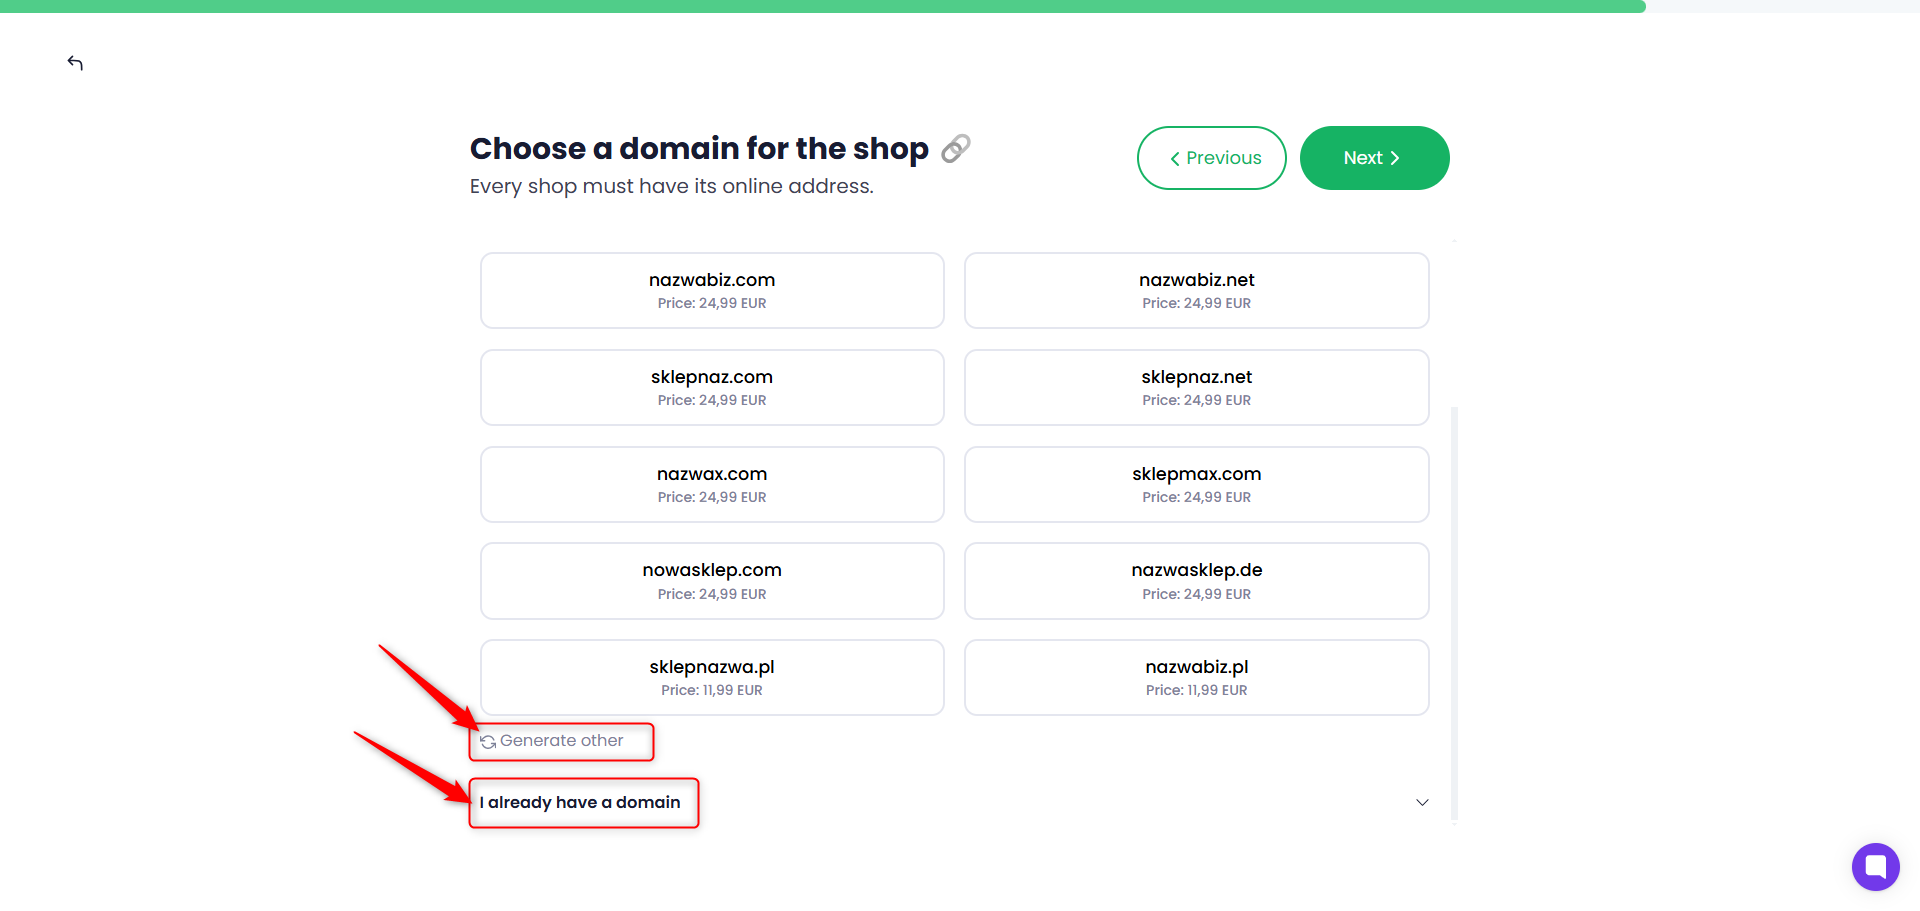
Otherwise, go back to the shop description, modify it and check the new suggestions.
You can also enter your own domain name.

If you have not chosen a domain suggested by Droplo, make sure that your own domain is purchased and active when you create your new shop.
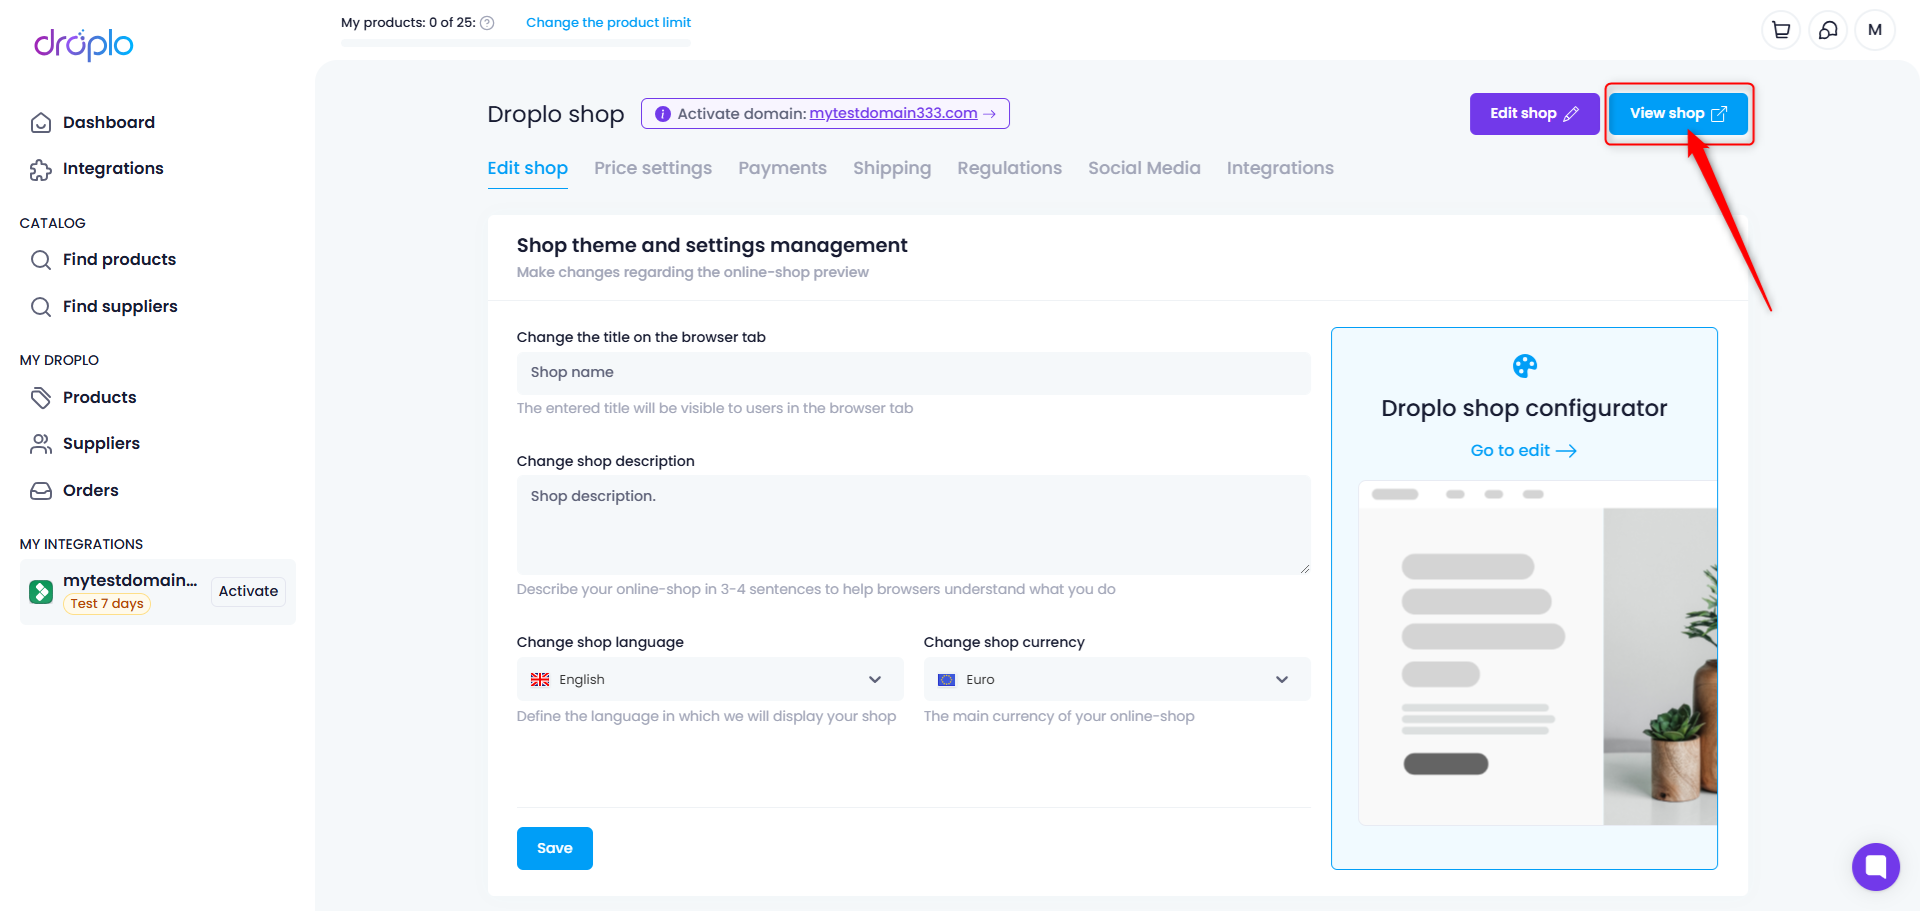
Once the configuration is complete, you will be taken to the Sellindrop tab, where you will see your shop admin panel. Here you can edit the settings for your store.
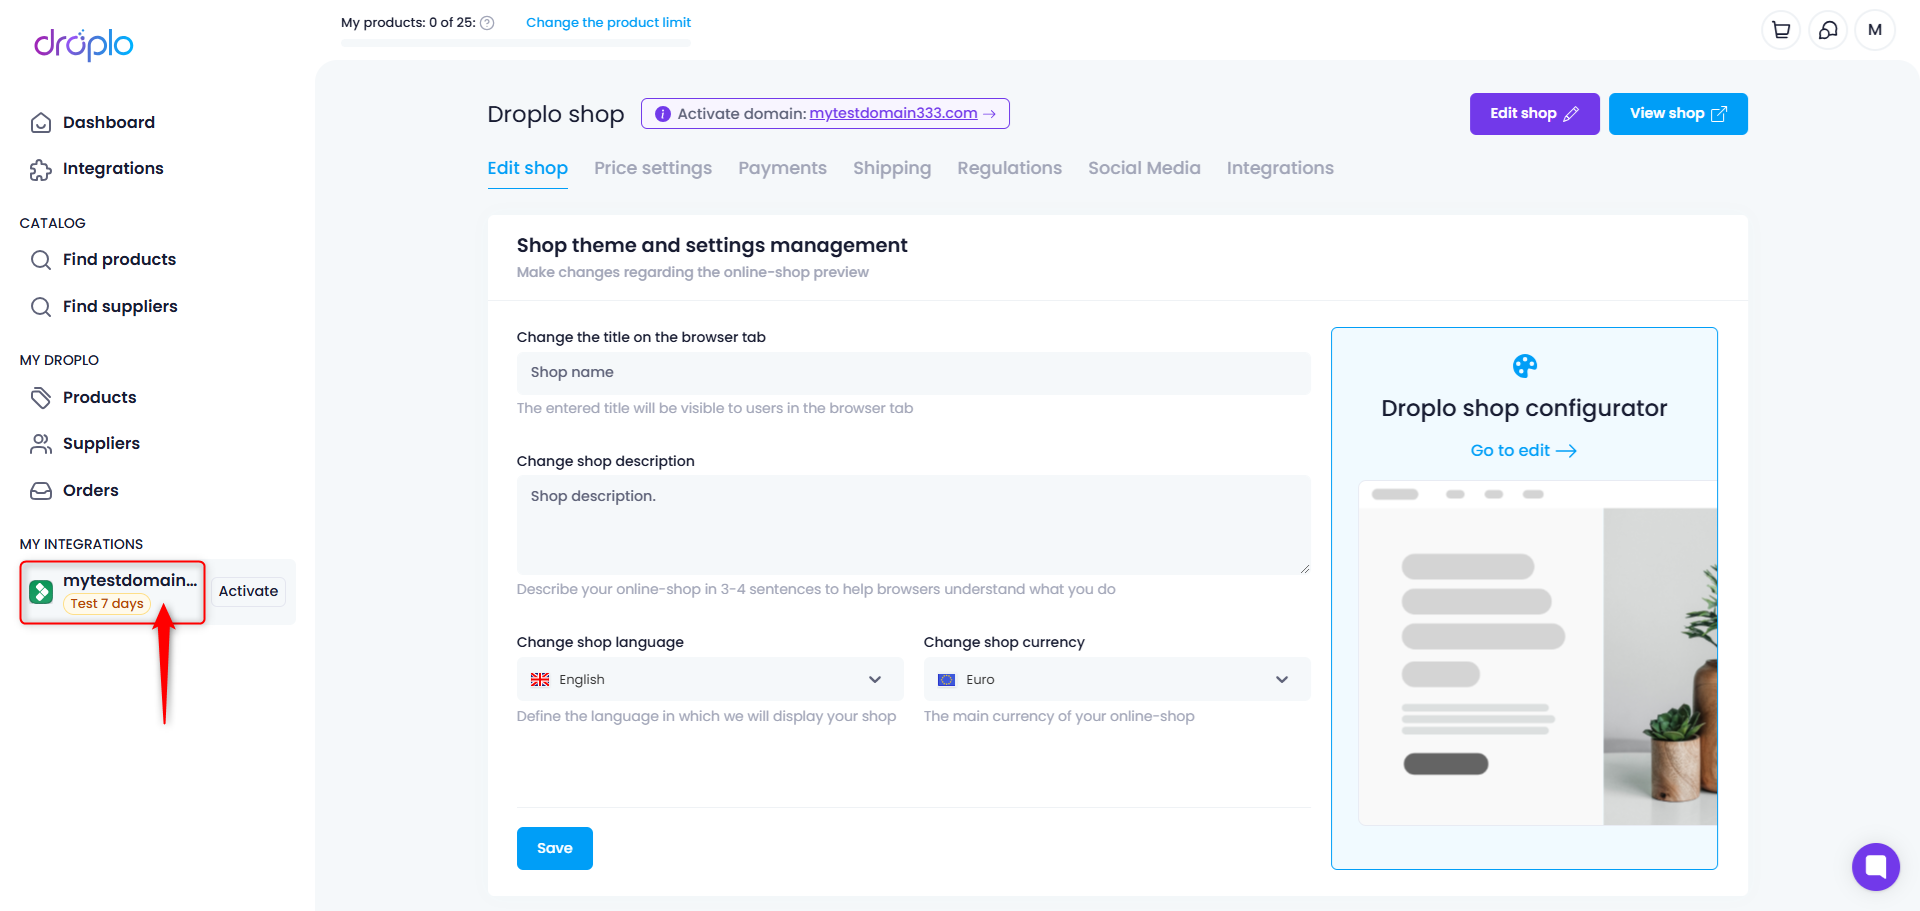
By using the View shop button, you will be taken to the preview page, which will open in a new tab.
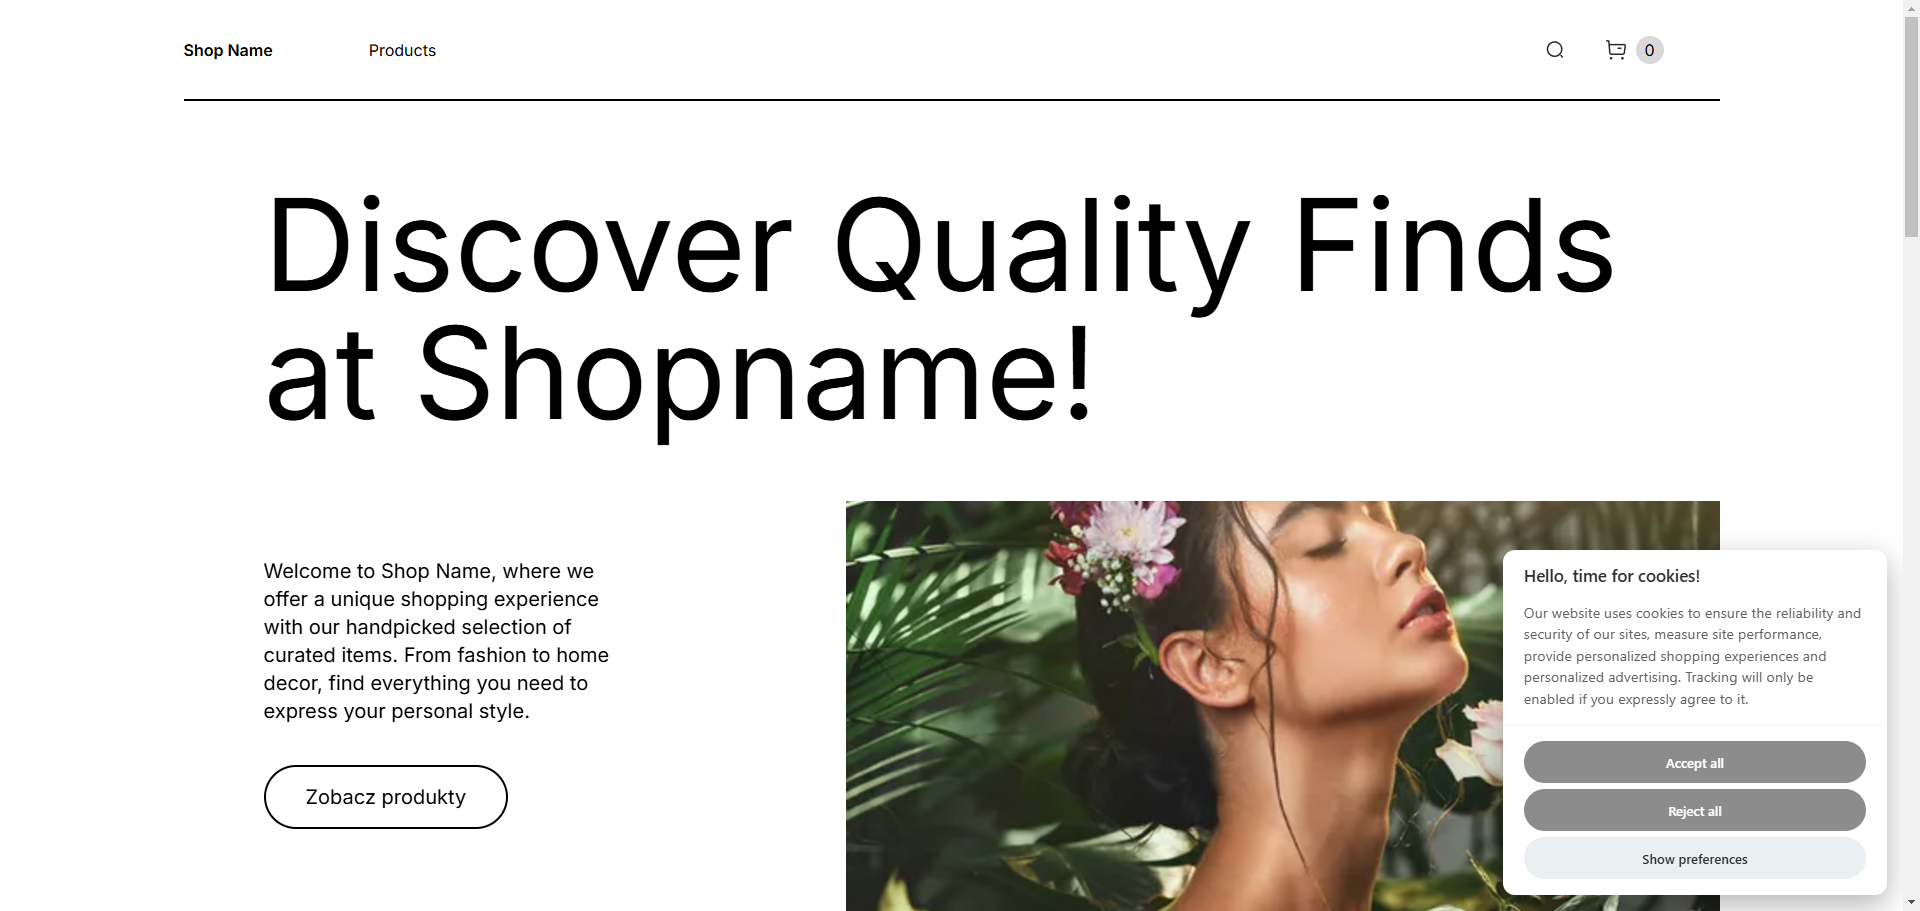
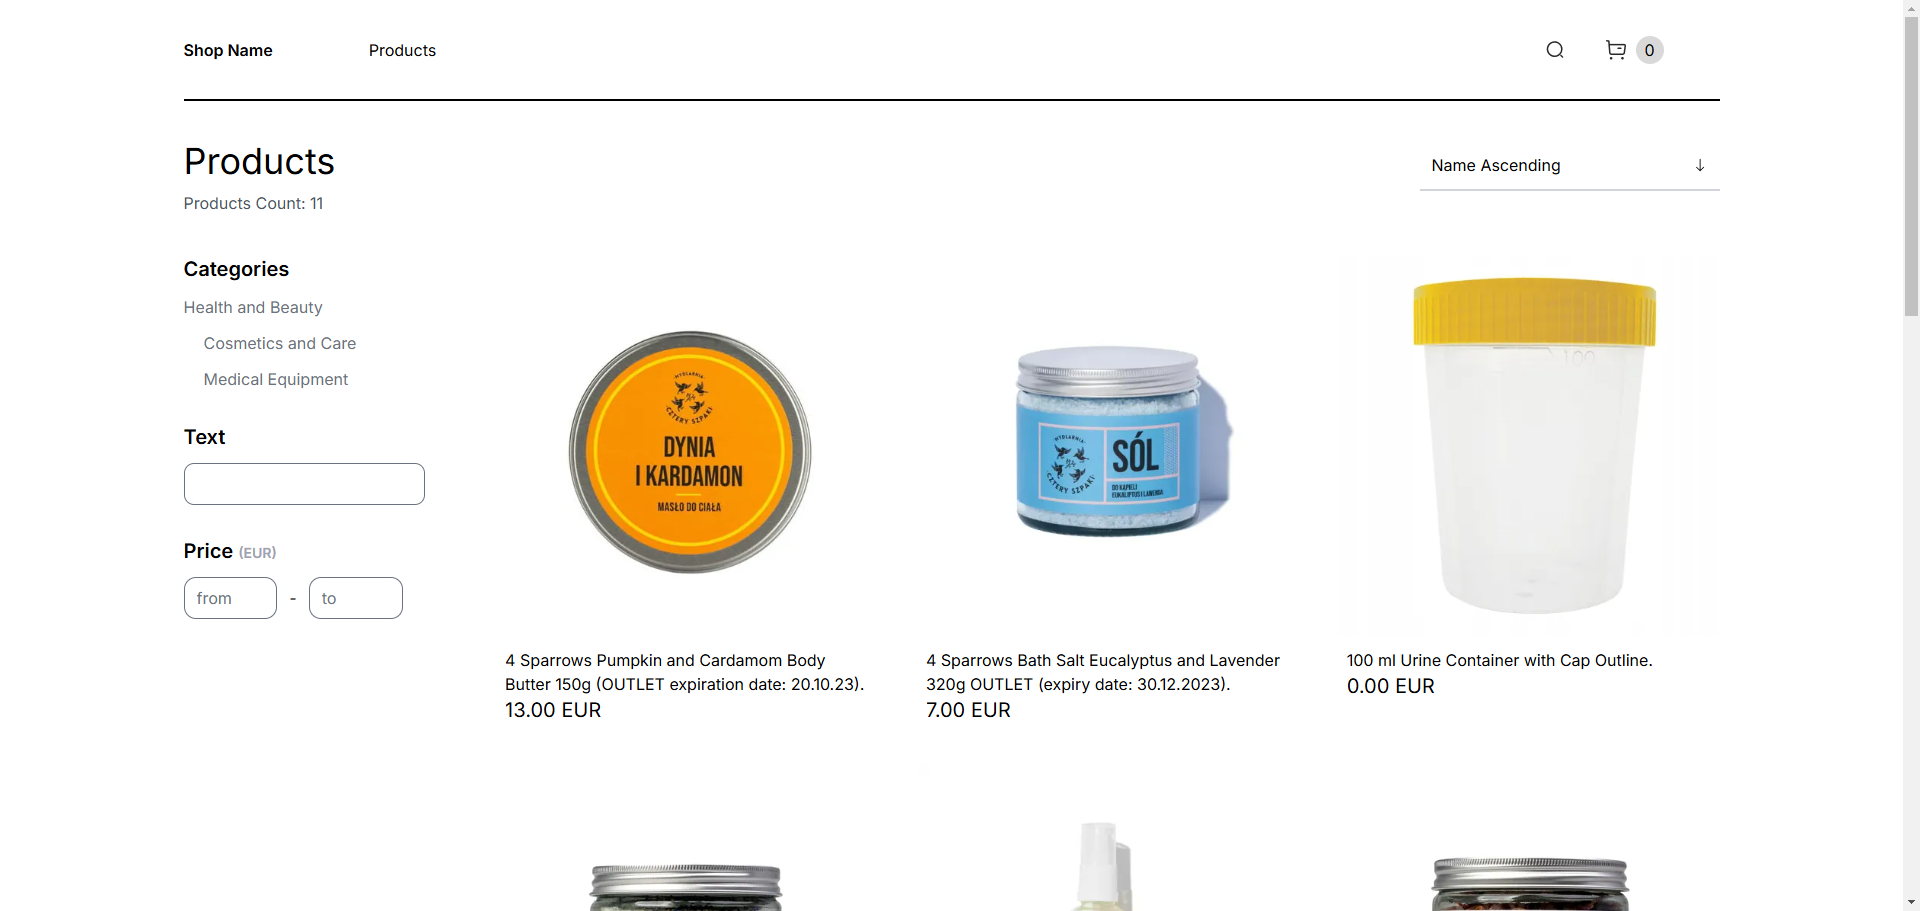
Initially, your shop will be given a technical URL.

You can change it to the correct domain address you chose when setting up your shop.
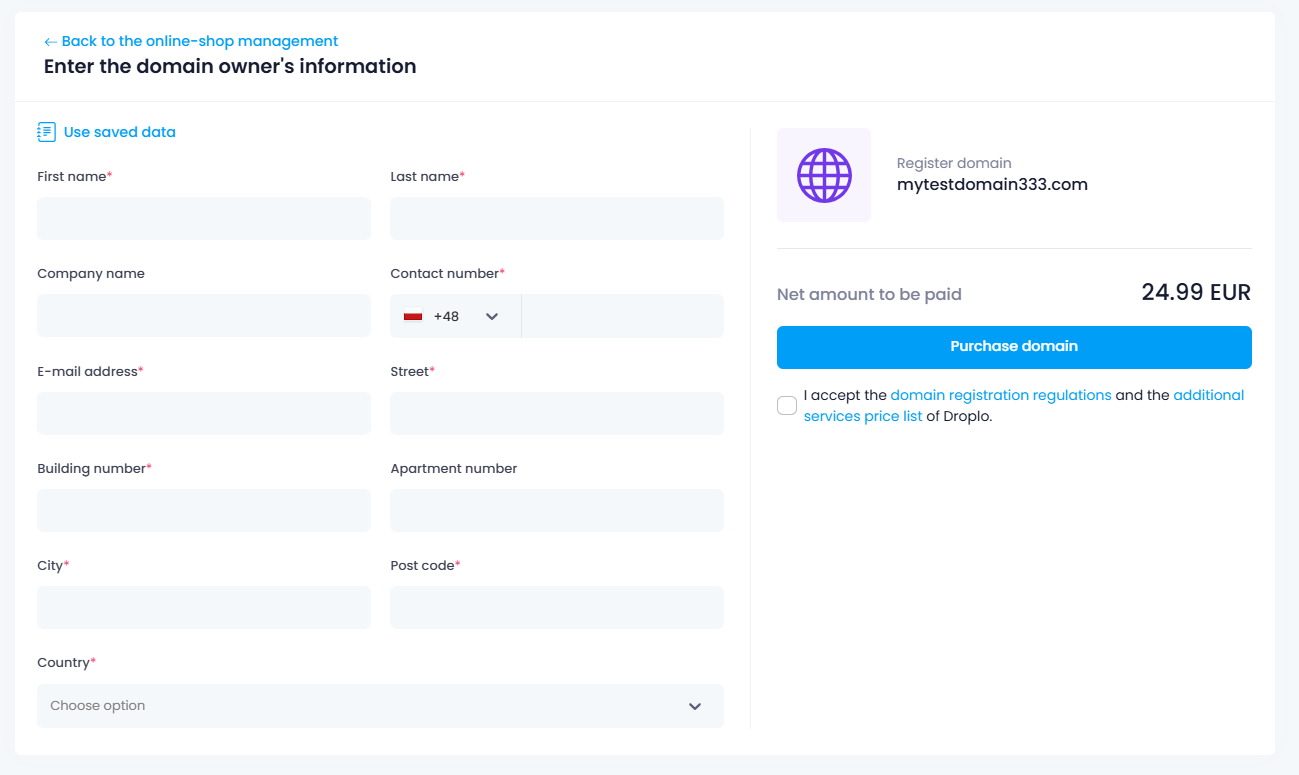
To do this, go to Droplo to Edit shop and then to the Activate domain section. Here you will see the address of the domain you chose when creating your shop.
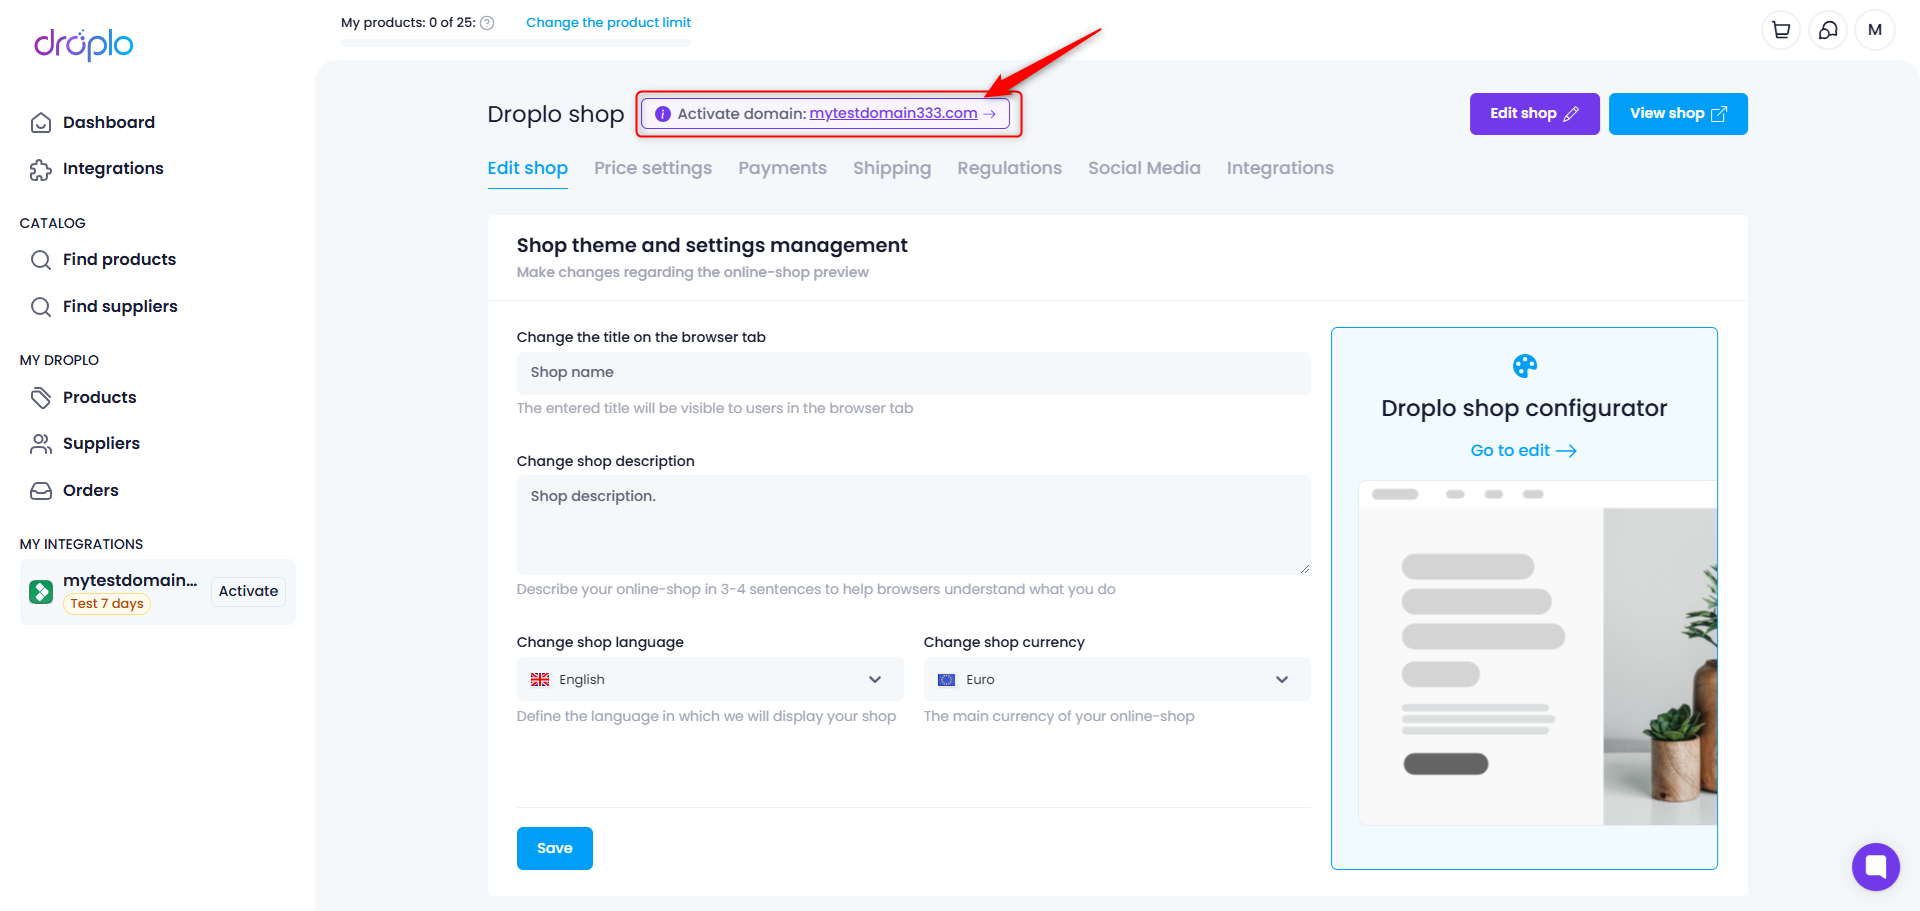
Fill in the form and pay for your purchase and the domain will be automatically linked to your shop.
In the configuration settings, you have access to 8 tabs. Each is responsible for a different area of the shop.
This is the most important module, where you can change the previously entered name, description and currency, as well as access the visual editor of your shop.
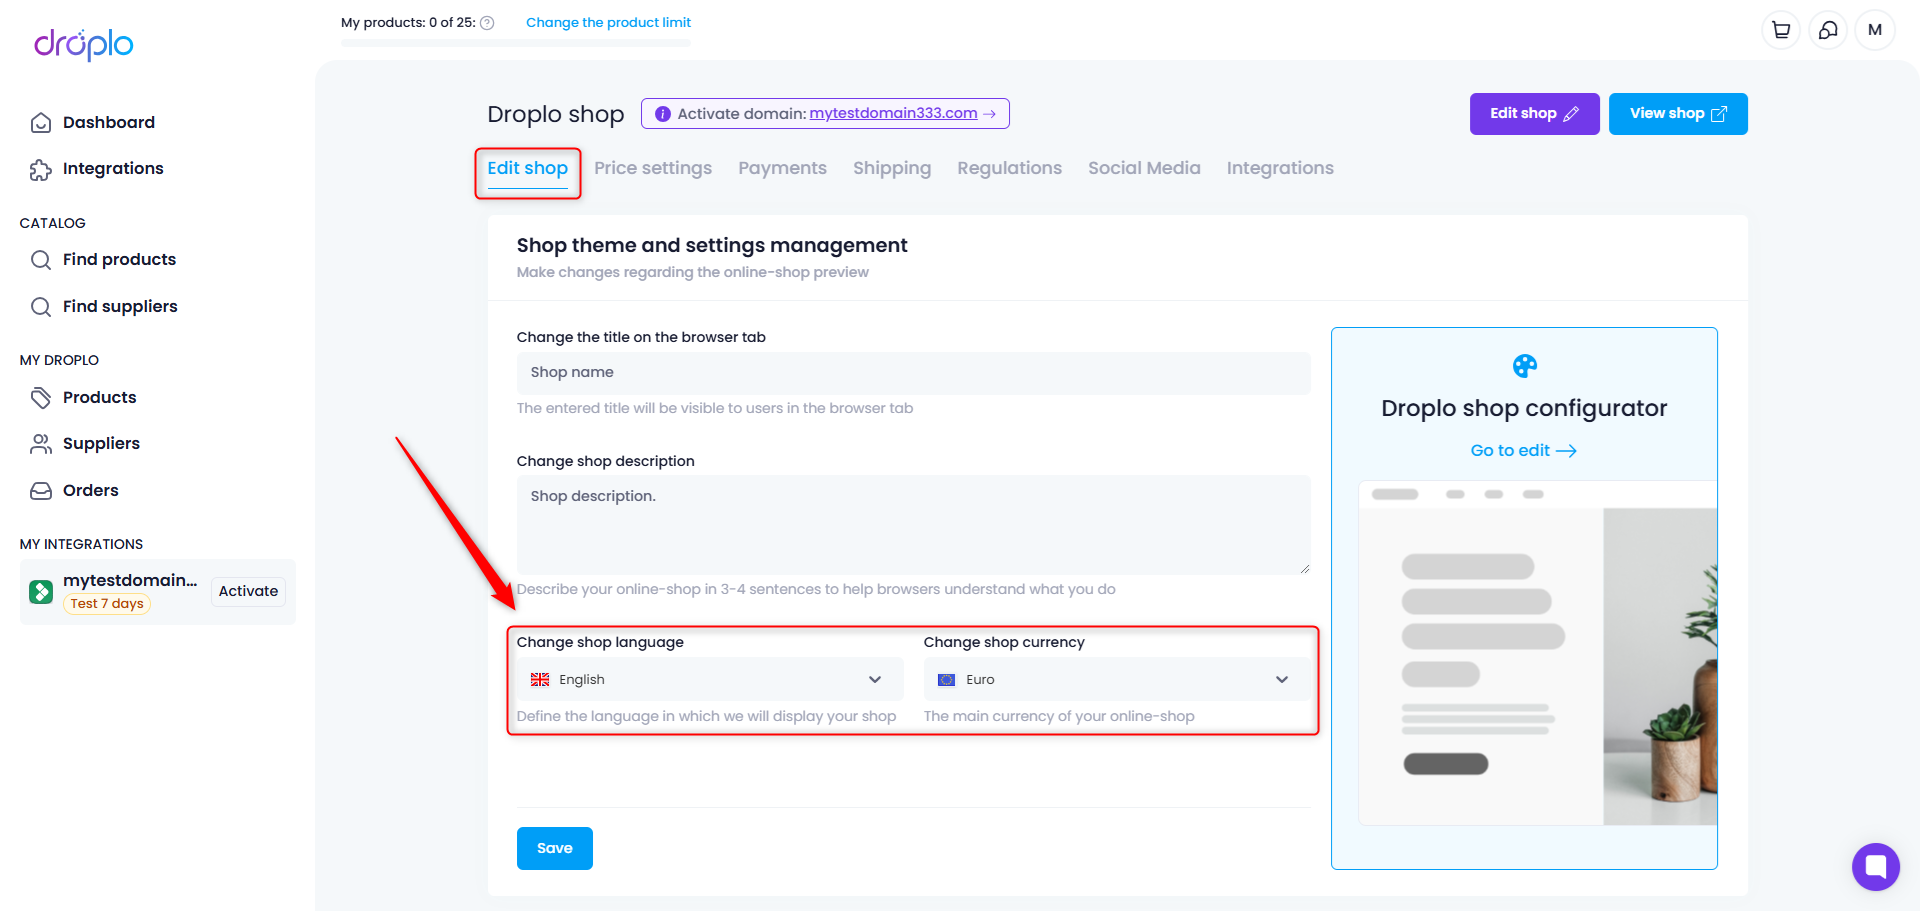
After saving the changes, a confirmation will appear.
Enter which price mark-up should be added to the products displayed in the shop.
You can apply a percentage and/or a numerical value. Below you will see an example of the gross price conversion that will be displayed in the shop.
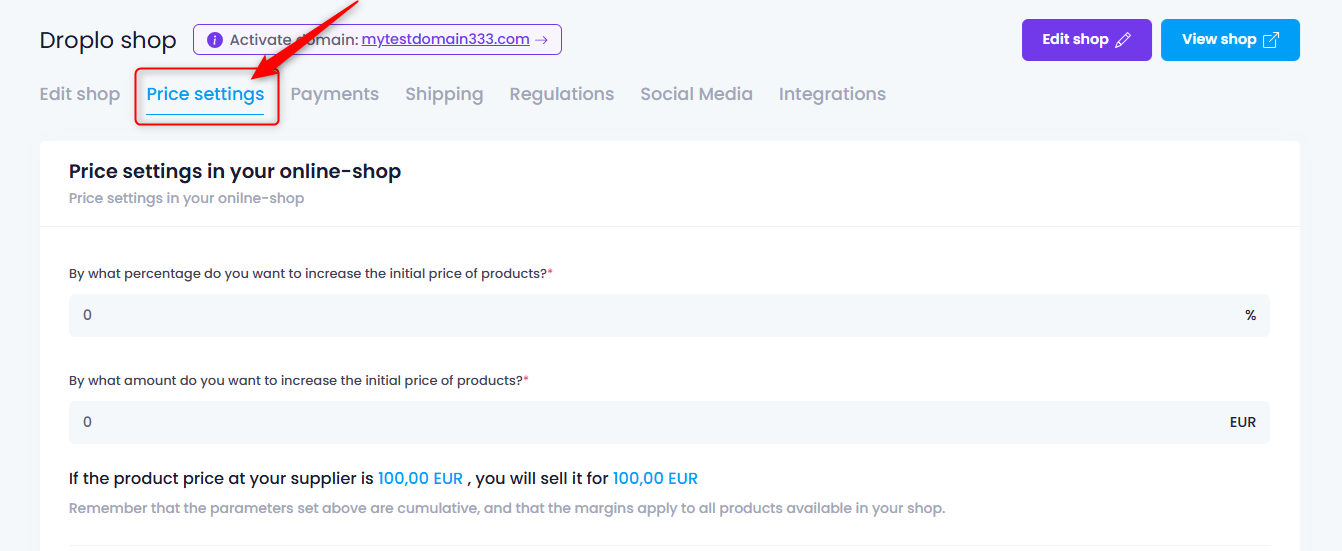
Also choose how the price of products should be rounded up after mark-ups and whether you want to show out-of-stock products (with zero stock) in your shop.

Here you can select one of the four available payment gateways: PayU / Przelewy24 / PayPal / Hotpay. In each case, you must have an account with the chosen service to connect to Droplo.
If you do not yet have an account, you can create one by following the relevant link.
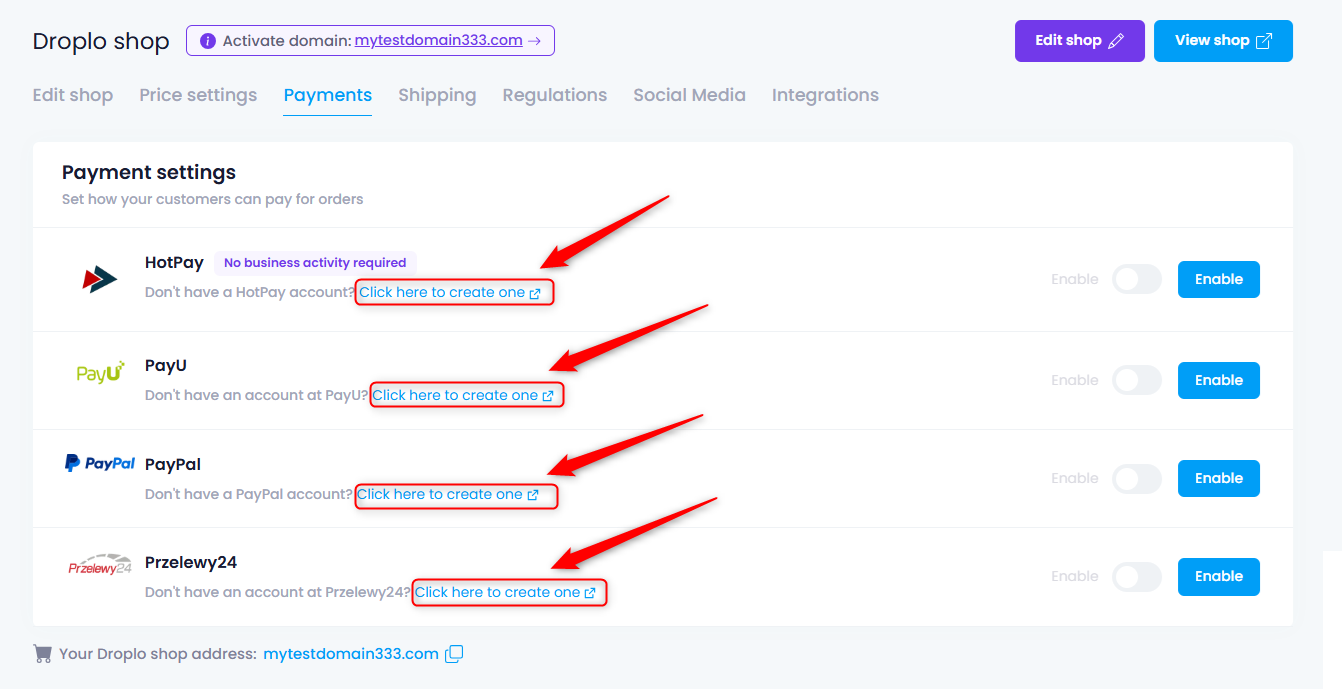
You can manage the configured connection at any time.

Choose which rule should apply when calculating the delivery costs for the products ordered.

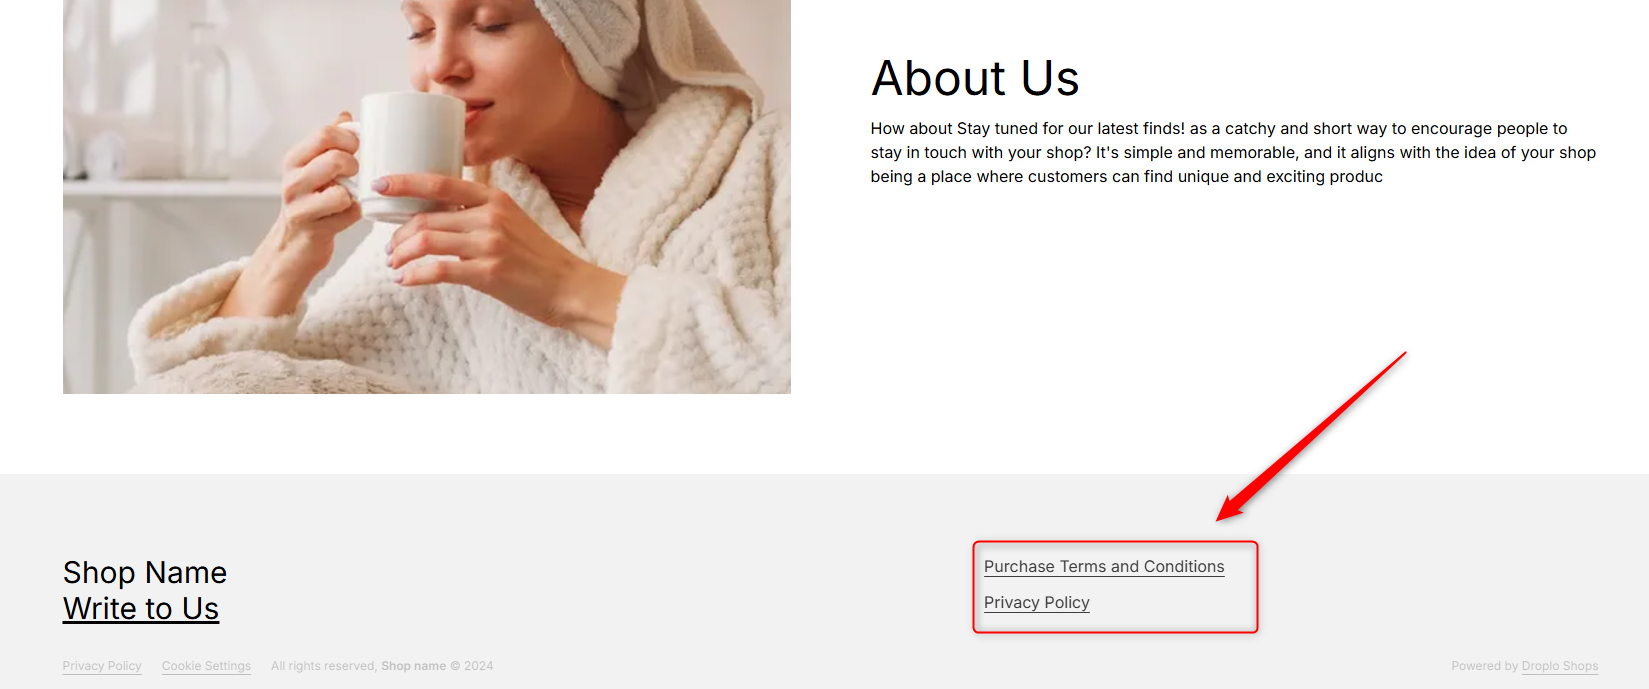
Edit the default or enter your own shop terms and conditions and privacy policy. Remember that the document should contain up-to-date information about your company.

Both documents will be available in the footer of your shop.
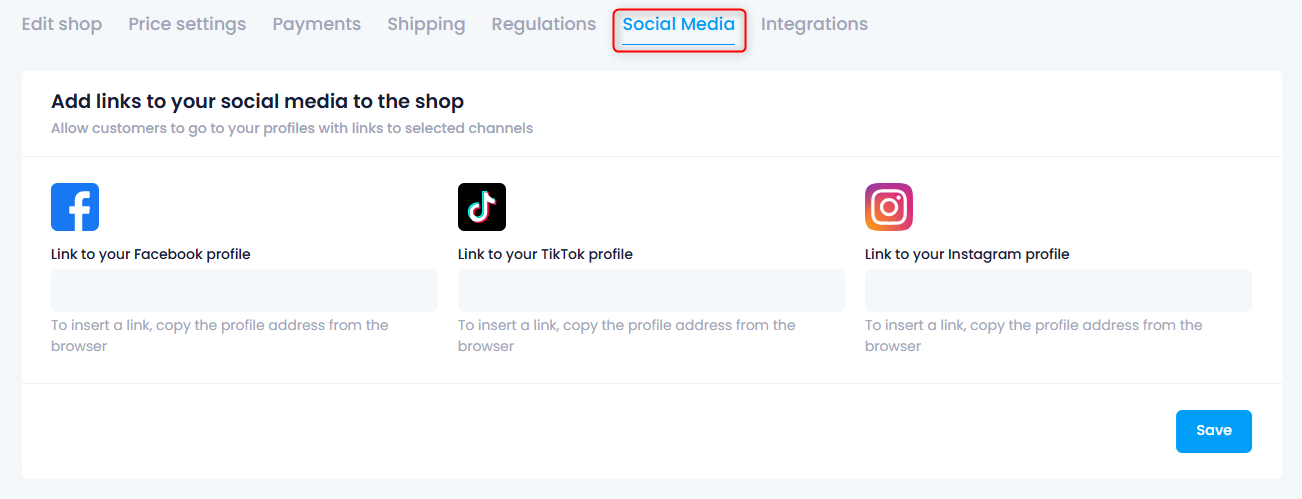
If you wish, you can link the shop to your Facebook, Tik Tok and Instagram profiles. Icons will also appear in the shop footer.
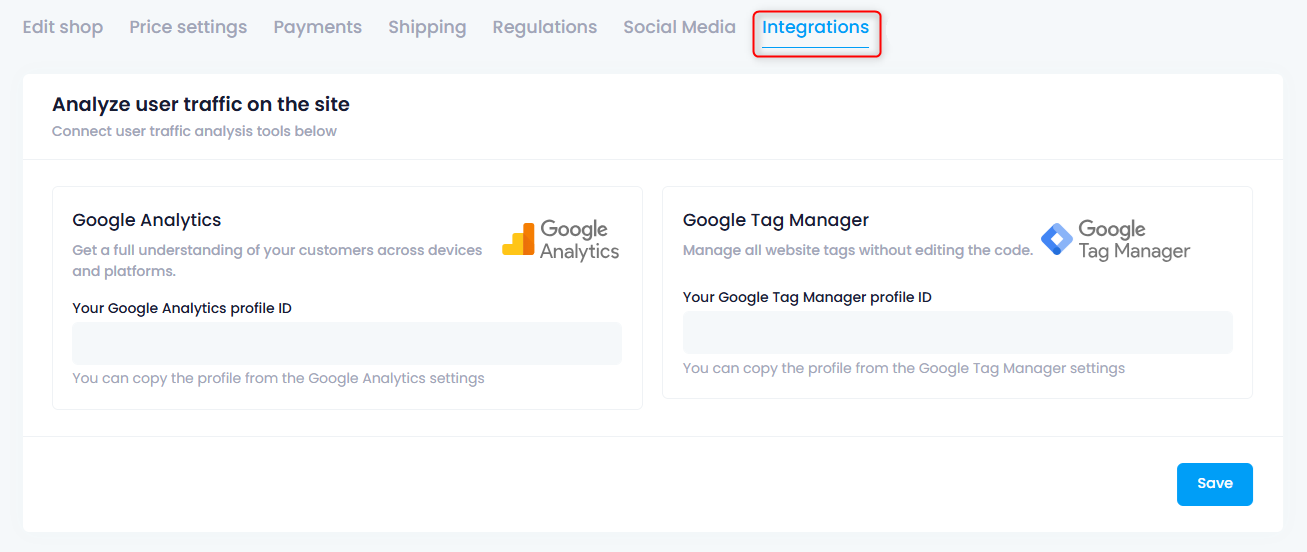
Connect to Google Analytics or Google Tag Manager to monitor your shop traffic.
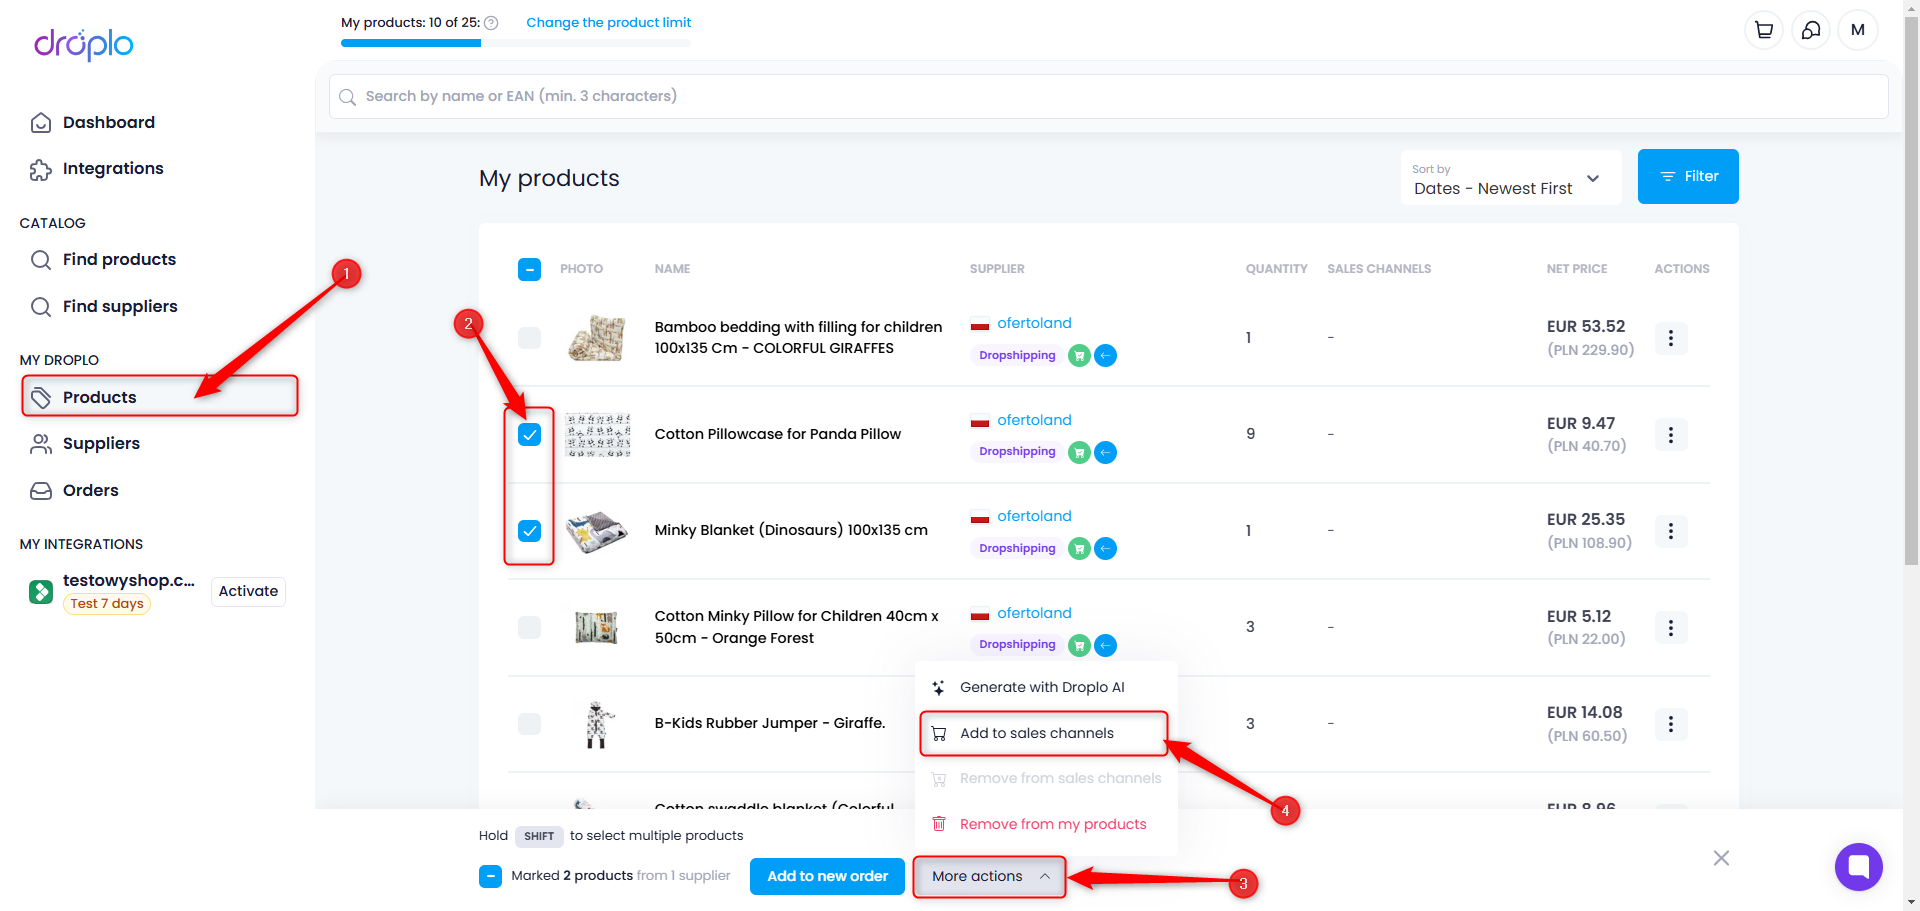
To list new products in your store or deactivate currently active ones, go to the Products tab in the left menu after creating your store. Then select the products you want to display/deactivate and in the bottom bar after clicking on the More Actions button, select Add to sales channels or Remove from sales channels.
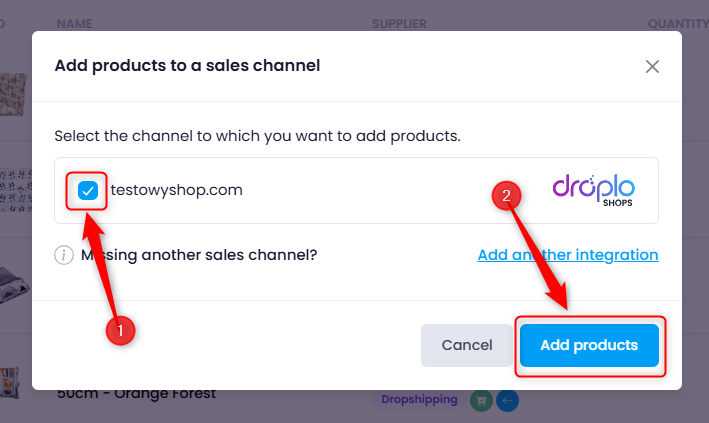
A new window will open, select which integration you want to send products to and click Add products.
In the Products tab, you will also find the products suggested by the wizard, if you added them during store creation.
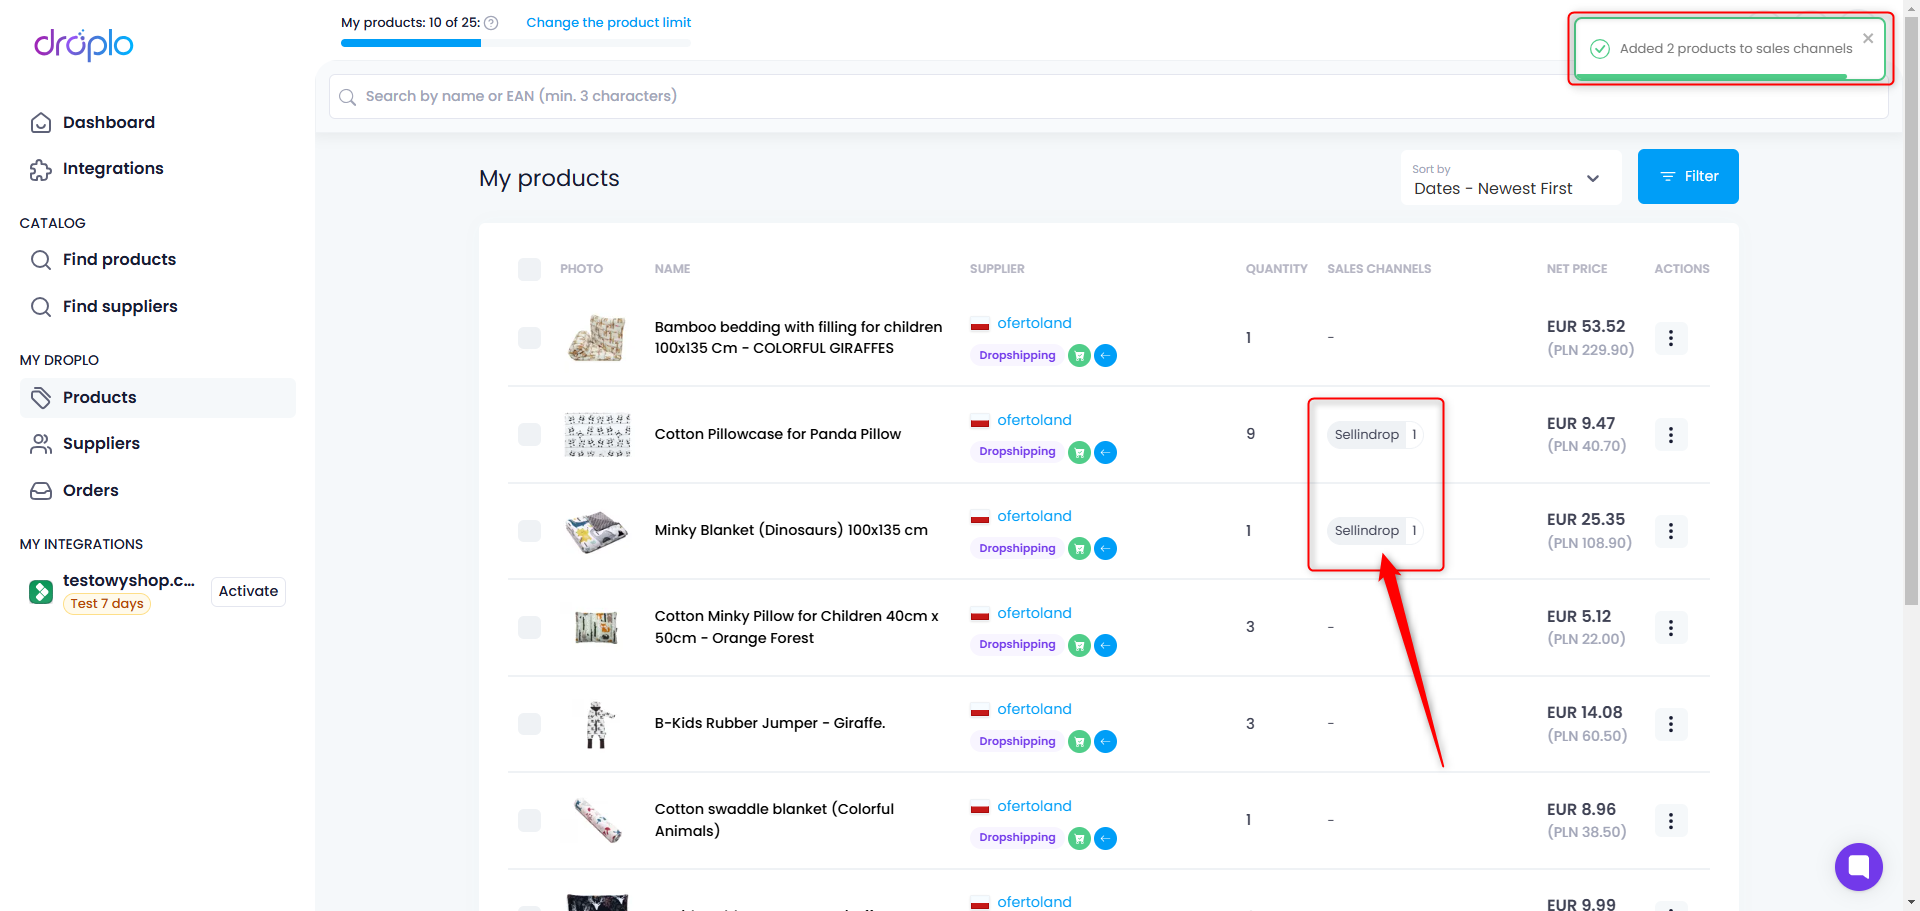
Once the products are correctly displayed in the store, a message will appear in the upper right corner of the screen confirming the completion of the operation.
Displayed products will receive a designation in your list indicating the integration to which they have been added.
In the Edit Store tab, navigate to the Droplo Store Configurator.
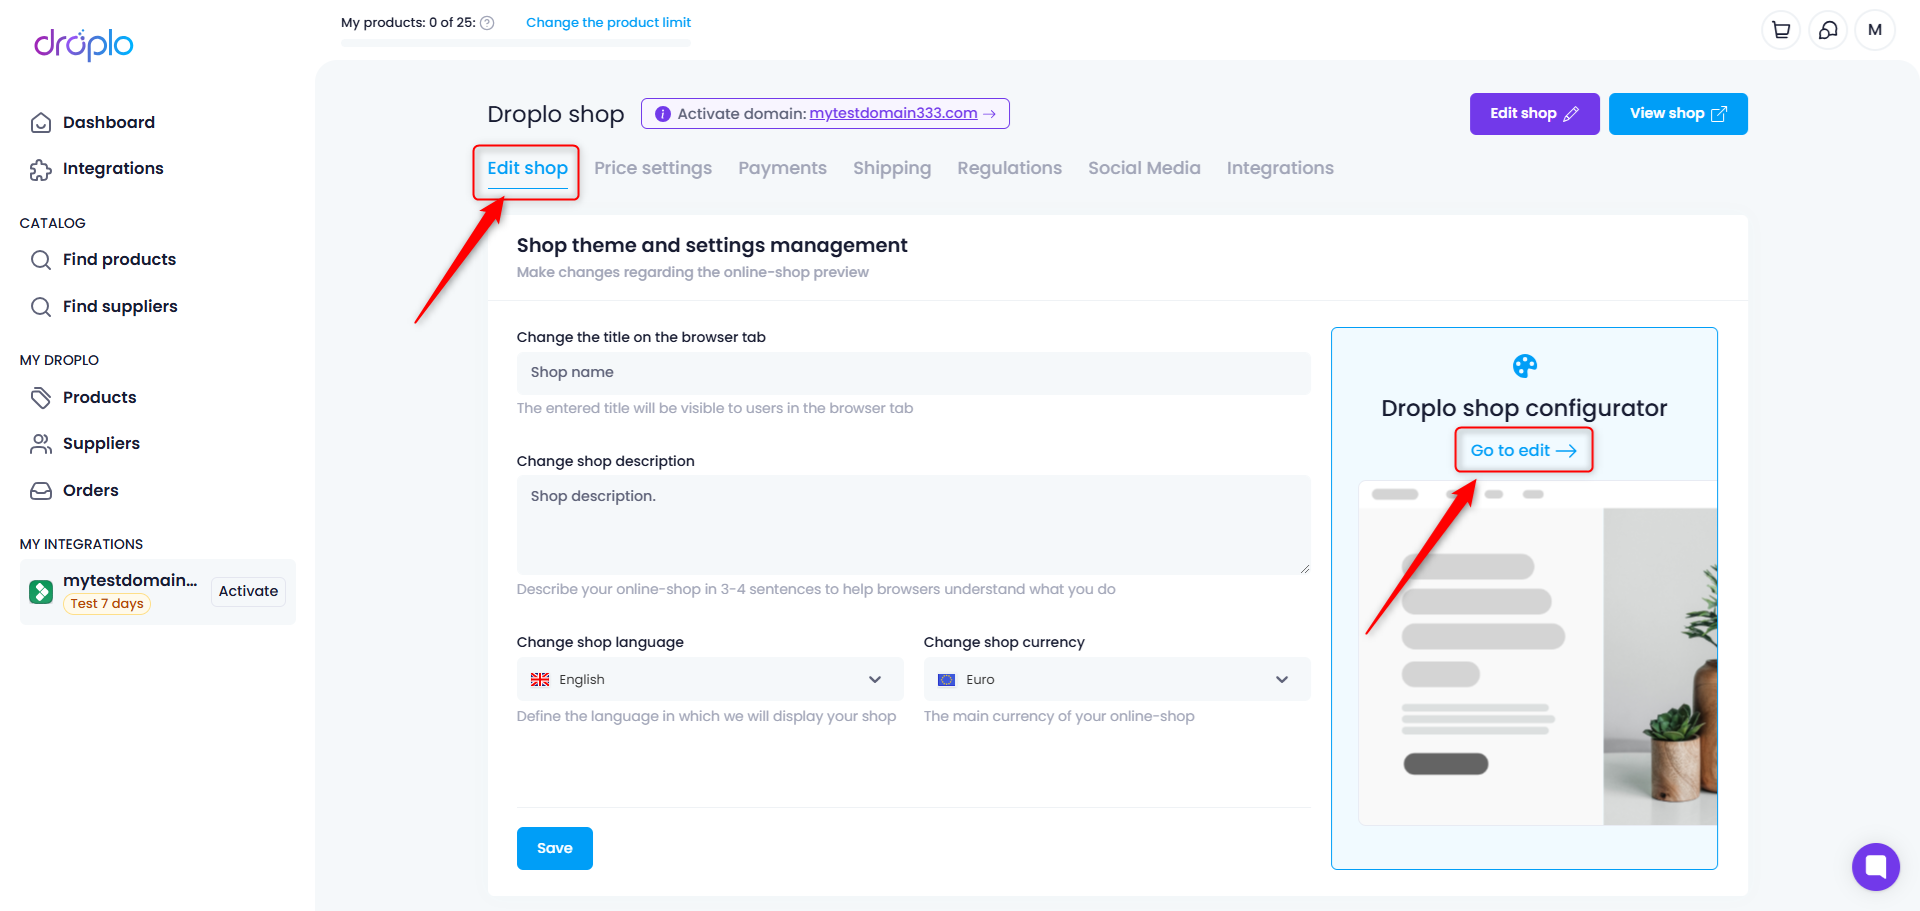
This will open a tool that allows you to edit the visual elements of your shop.
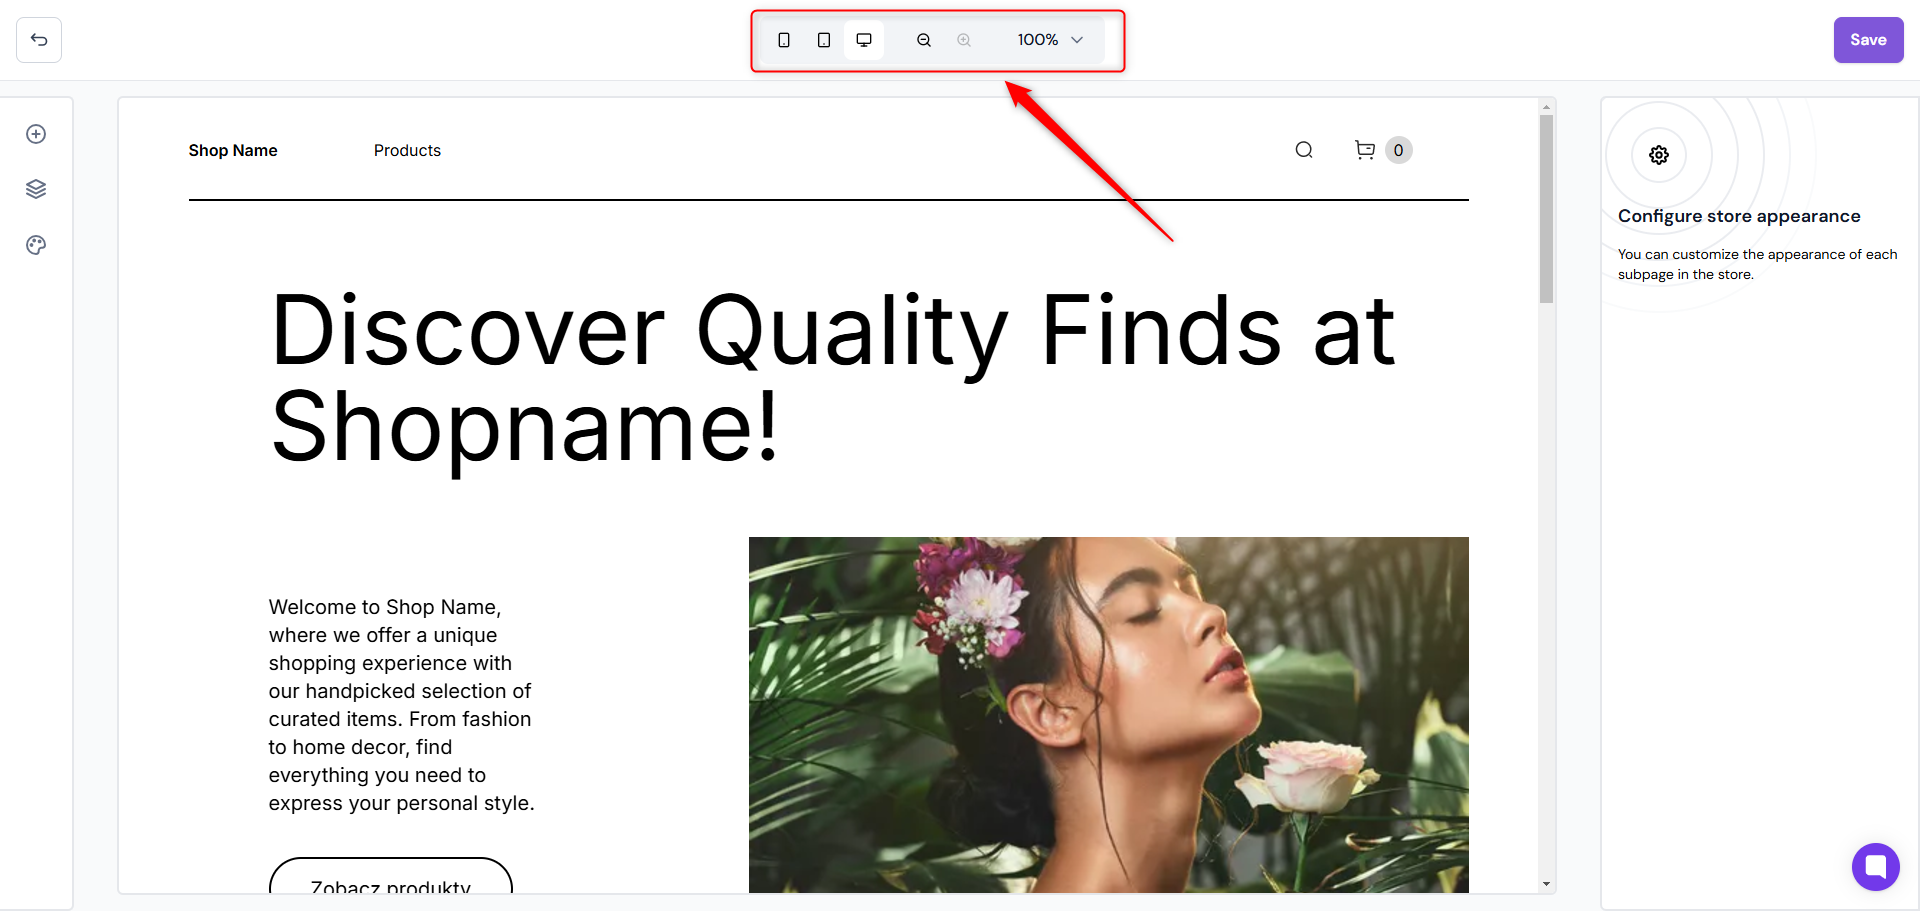
At the top of the page, you can preview the shop in different resolutions to see how it will look on a smartphone or tablet, for example.
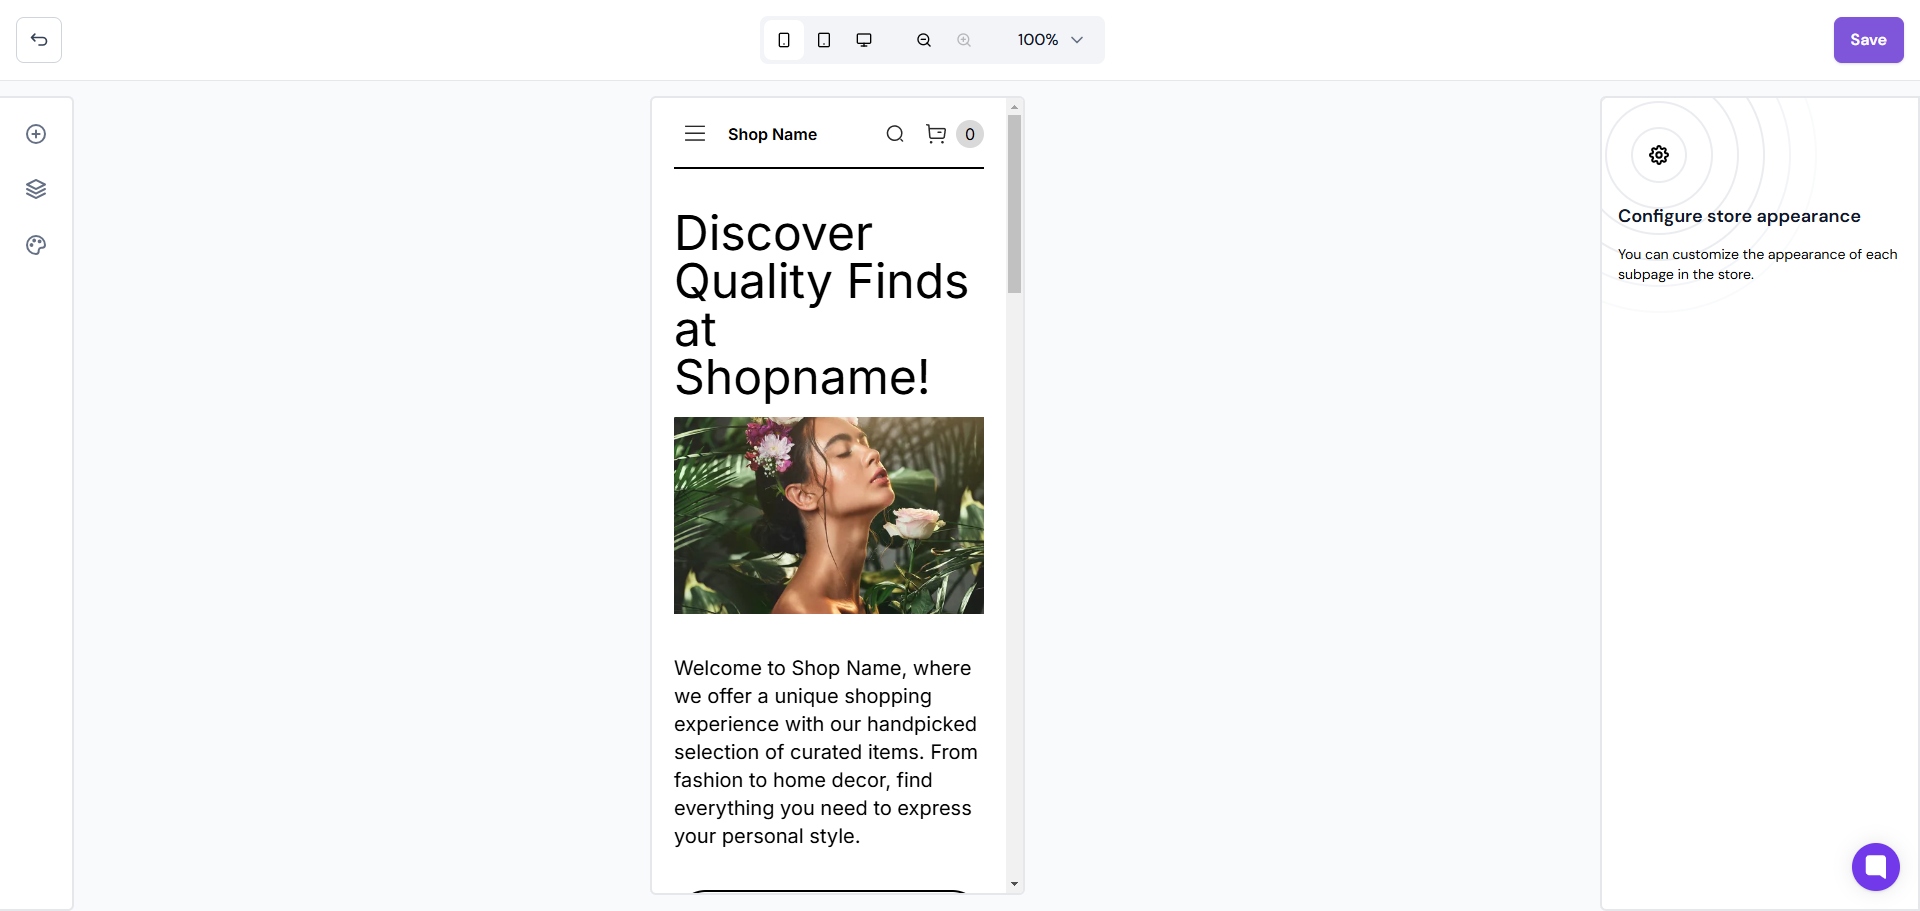
On the left-hand side of the configurator, you will see a menu consisting of 3 tabs:
Adding sections
Sections
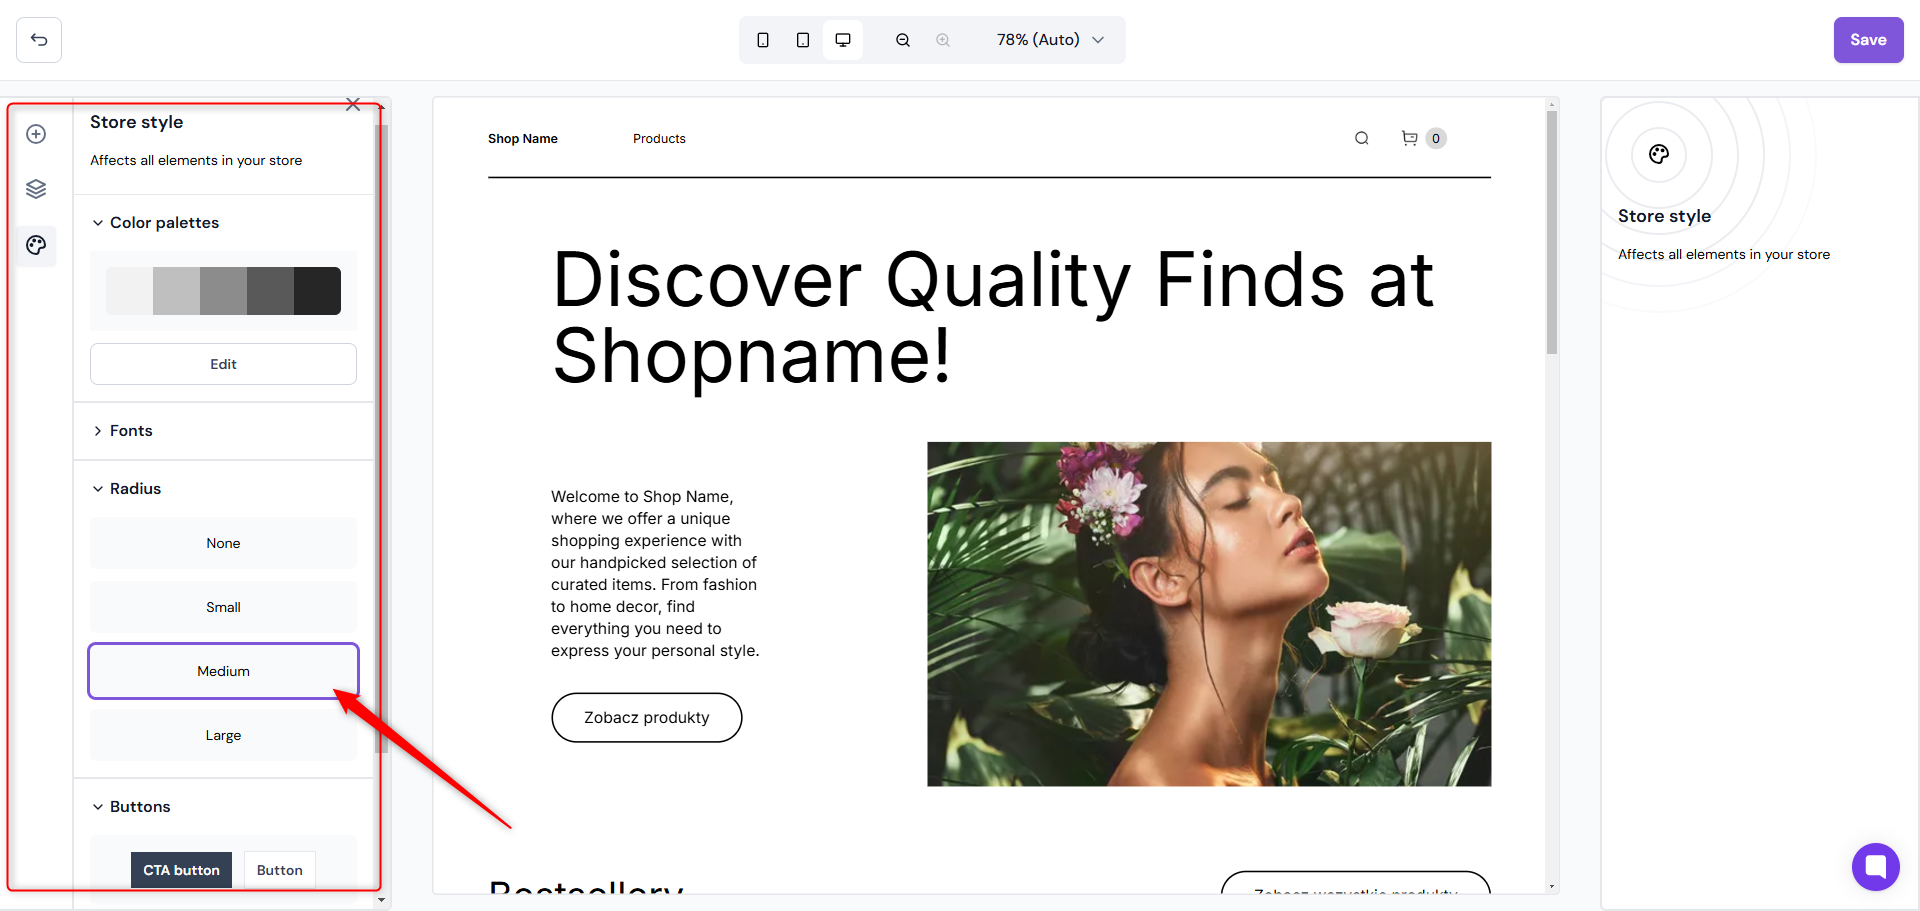
Shop styles
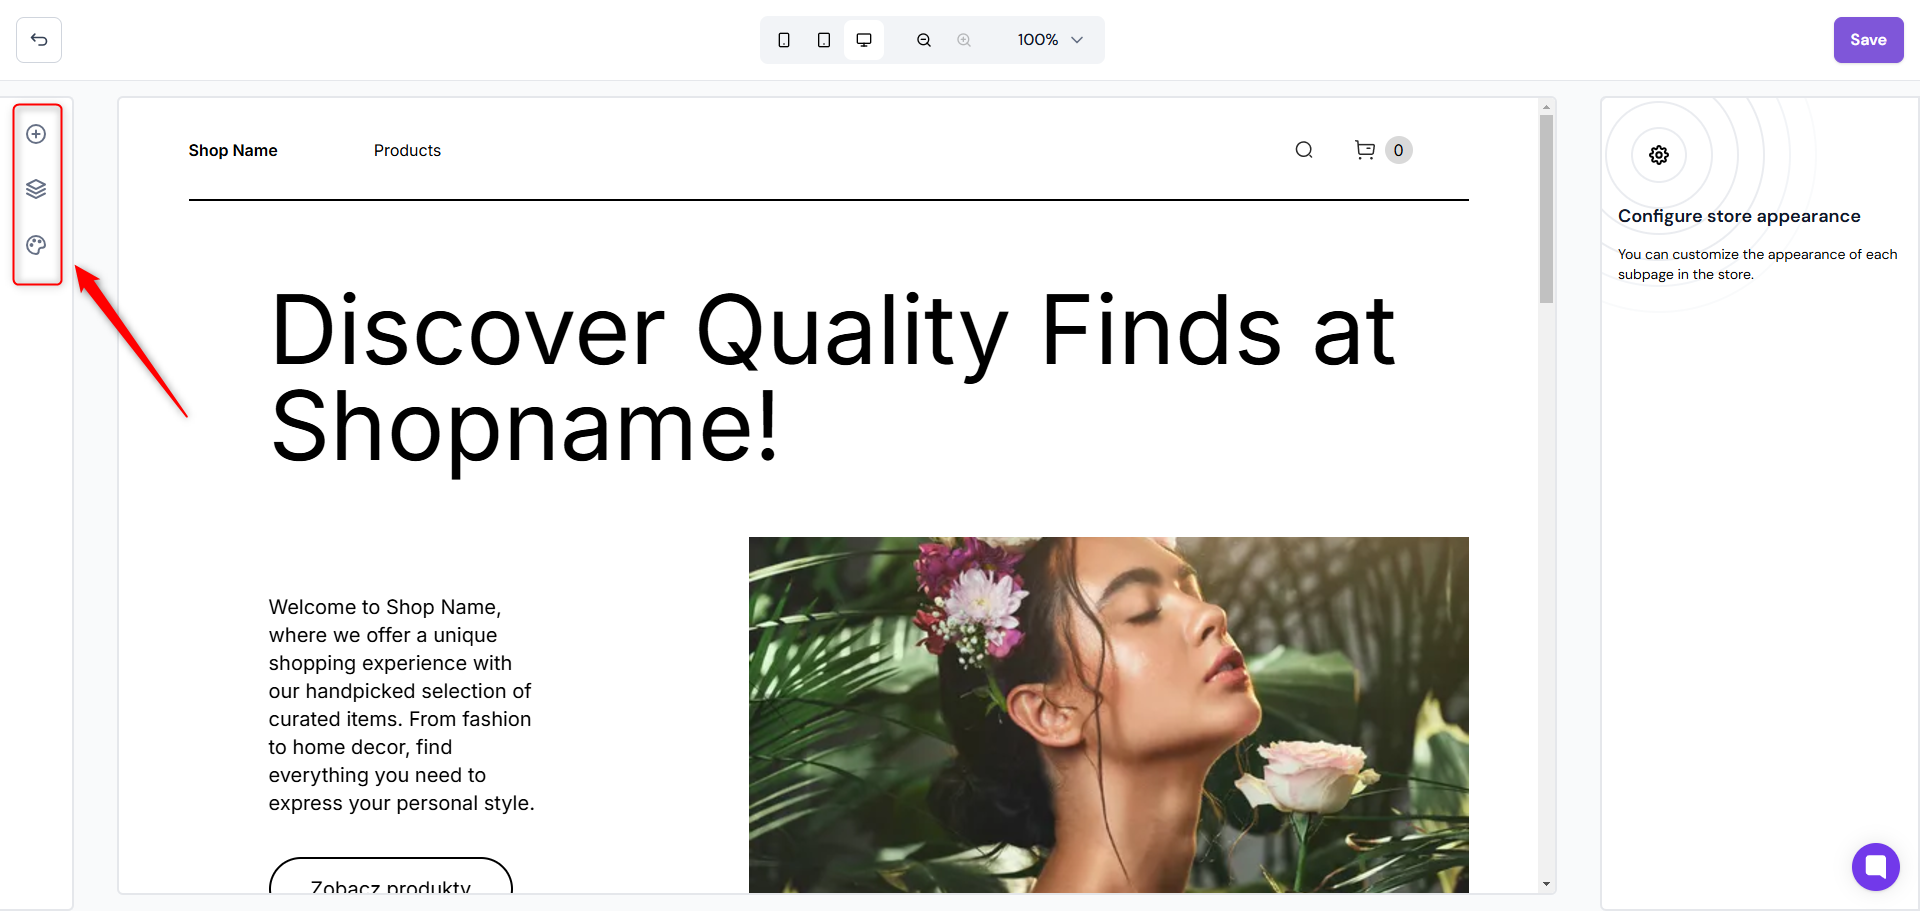
Adding sections
Here you can browse the available sections and upload them to your shop.
Note: Some sections must not be duplicated. If this is the case, their re-addition will fail.
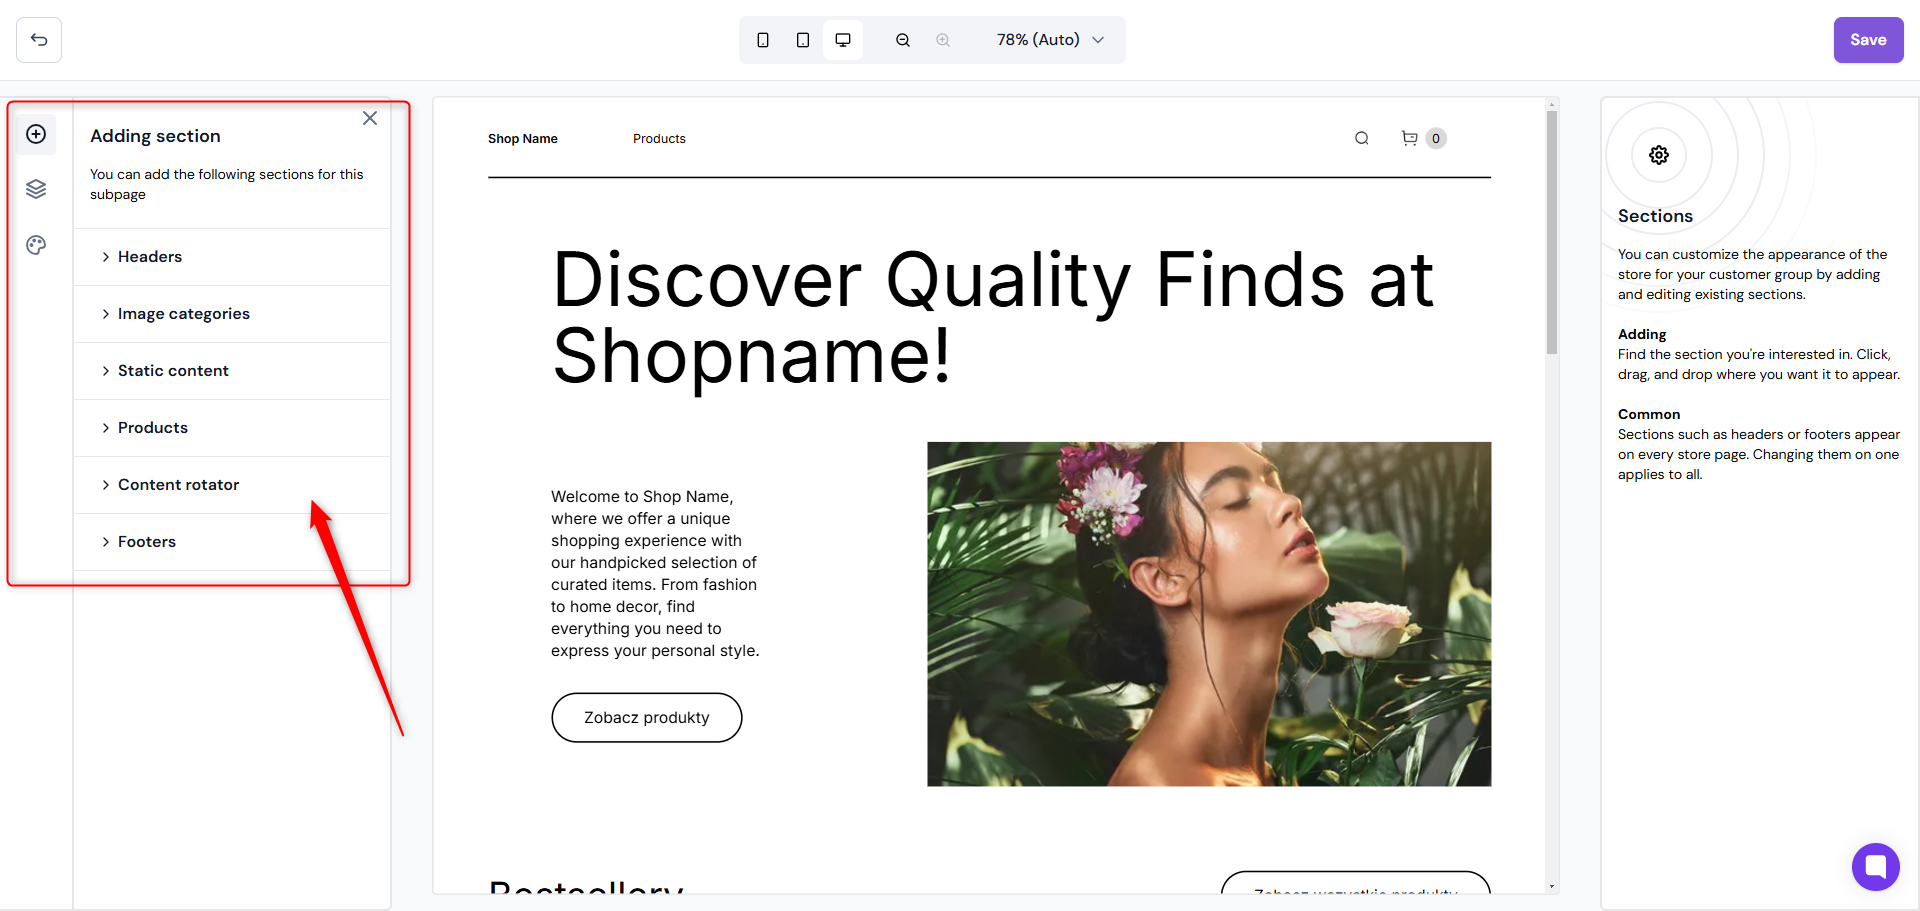
Sections
In the second tab, you can navigate through your shop according to all the sections it contains.
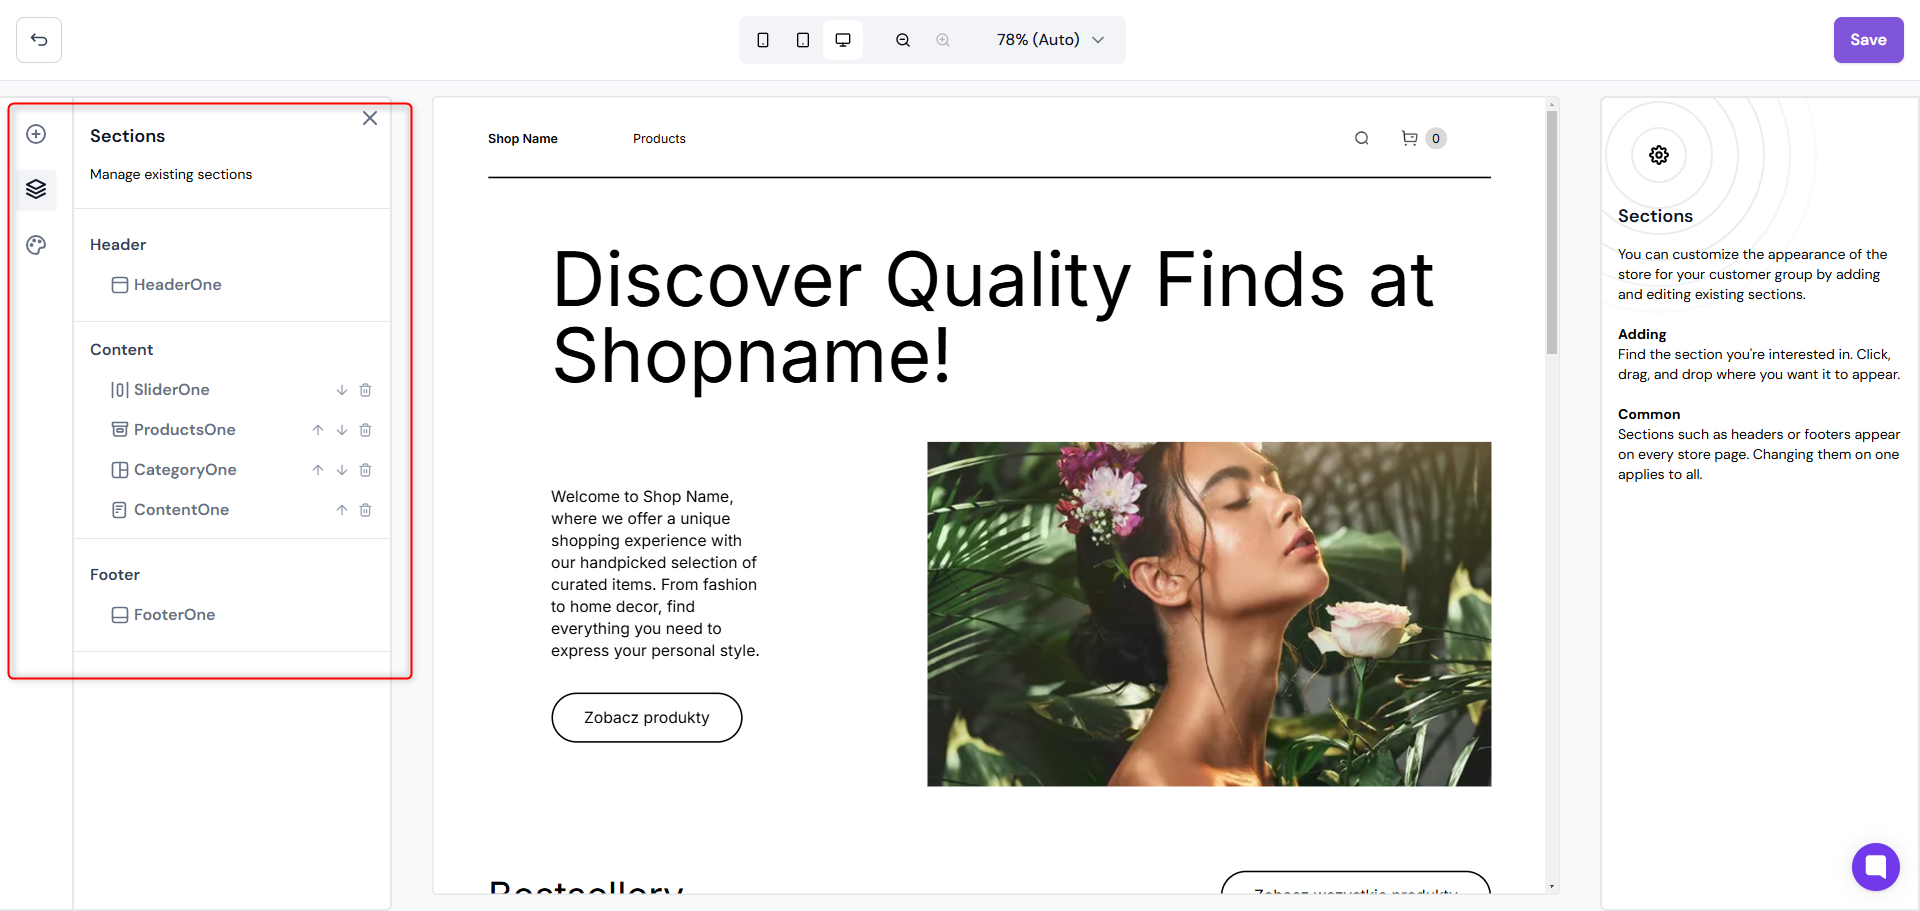
Shop styles
The last tab is to customise the style of your shop. Choose a colour palette, specify how product prices should be rounded and choose the shape of the buttons.
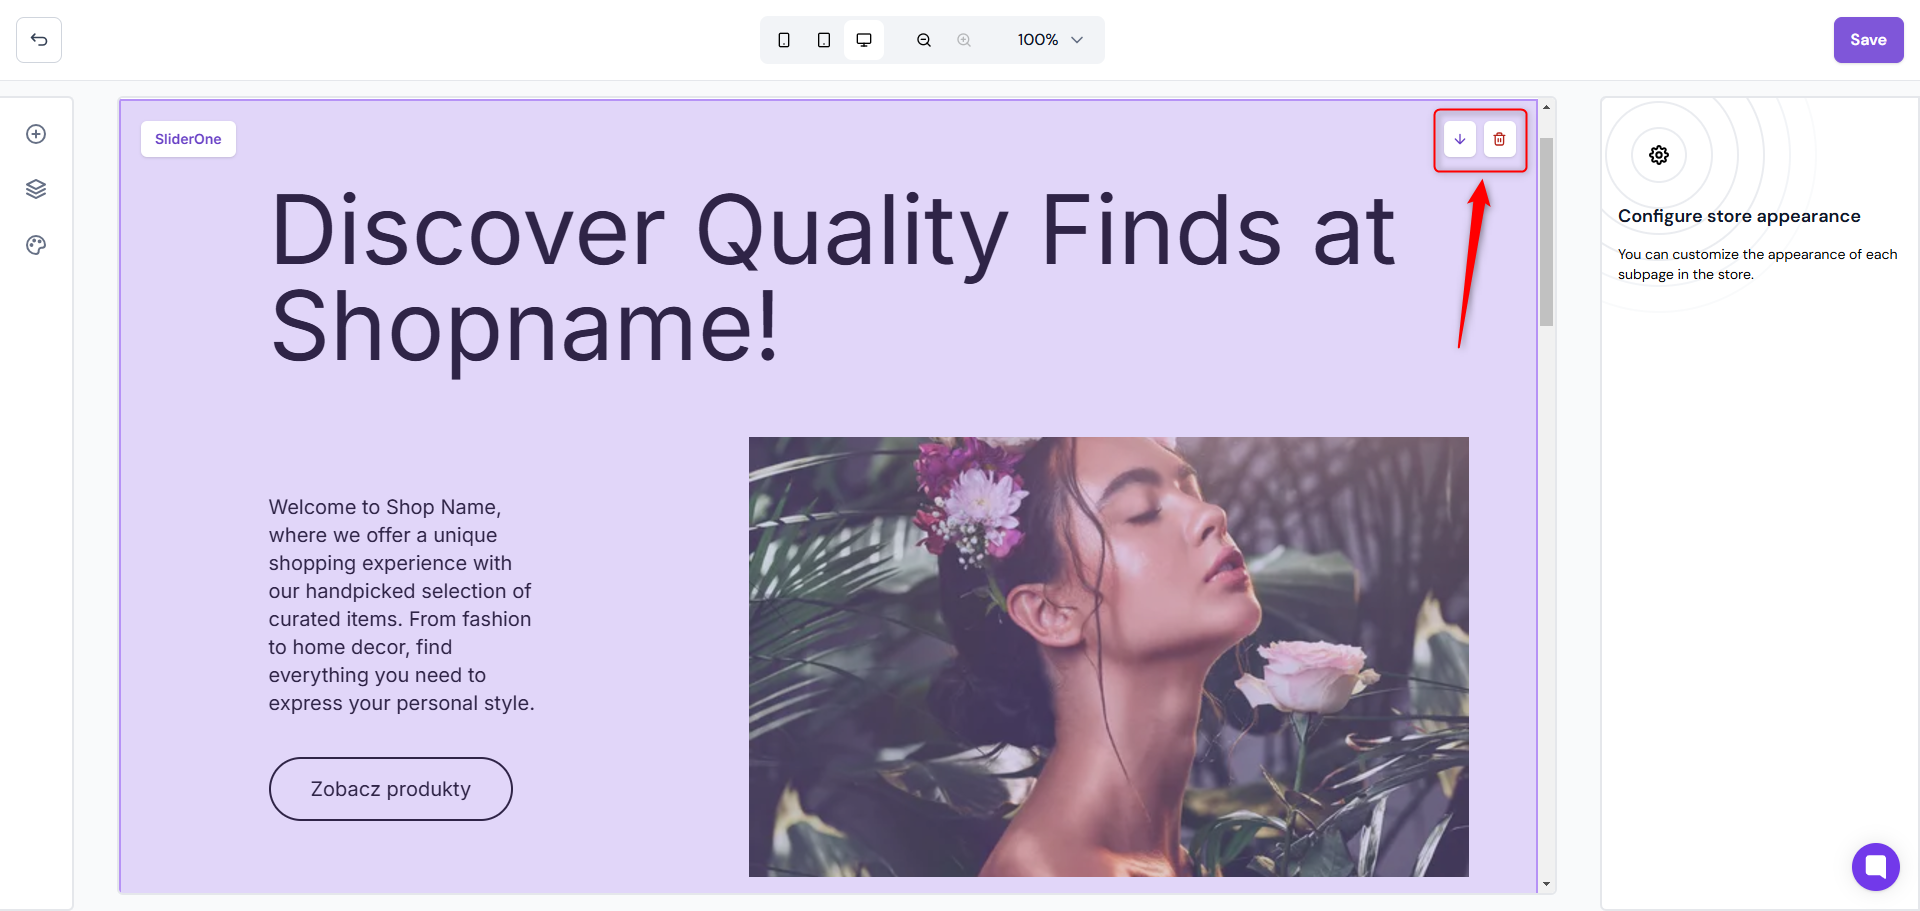
When you hover the cursor over any section, it will highlight in purple, showing the available functions. You can delete or move up or down each section.
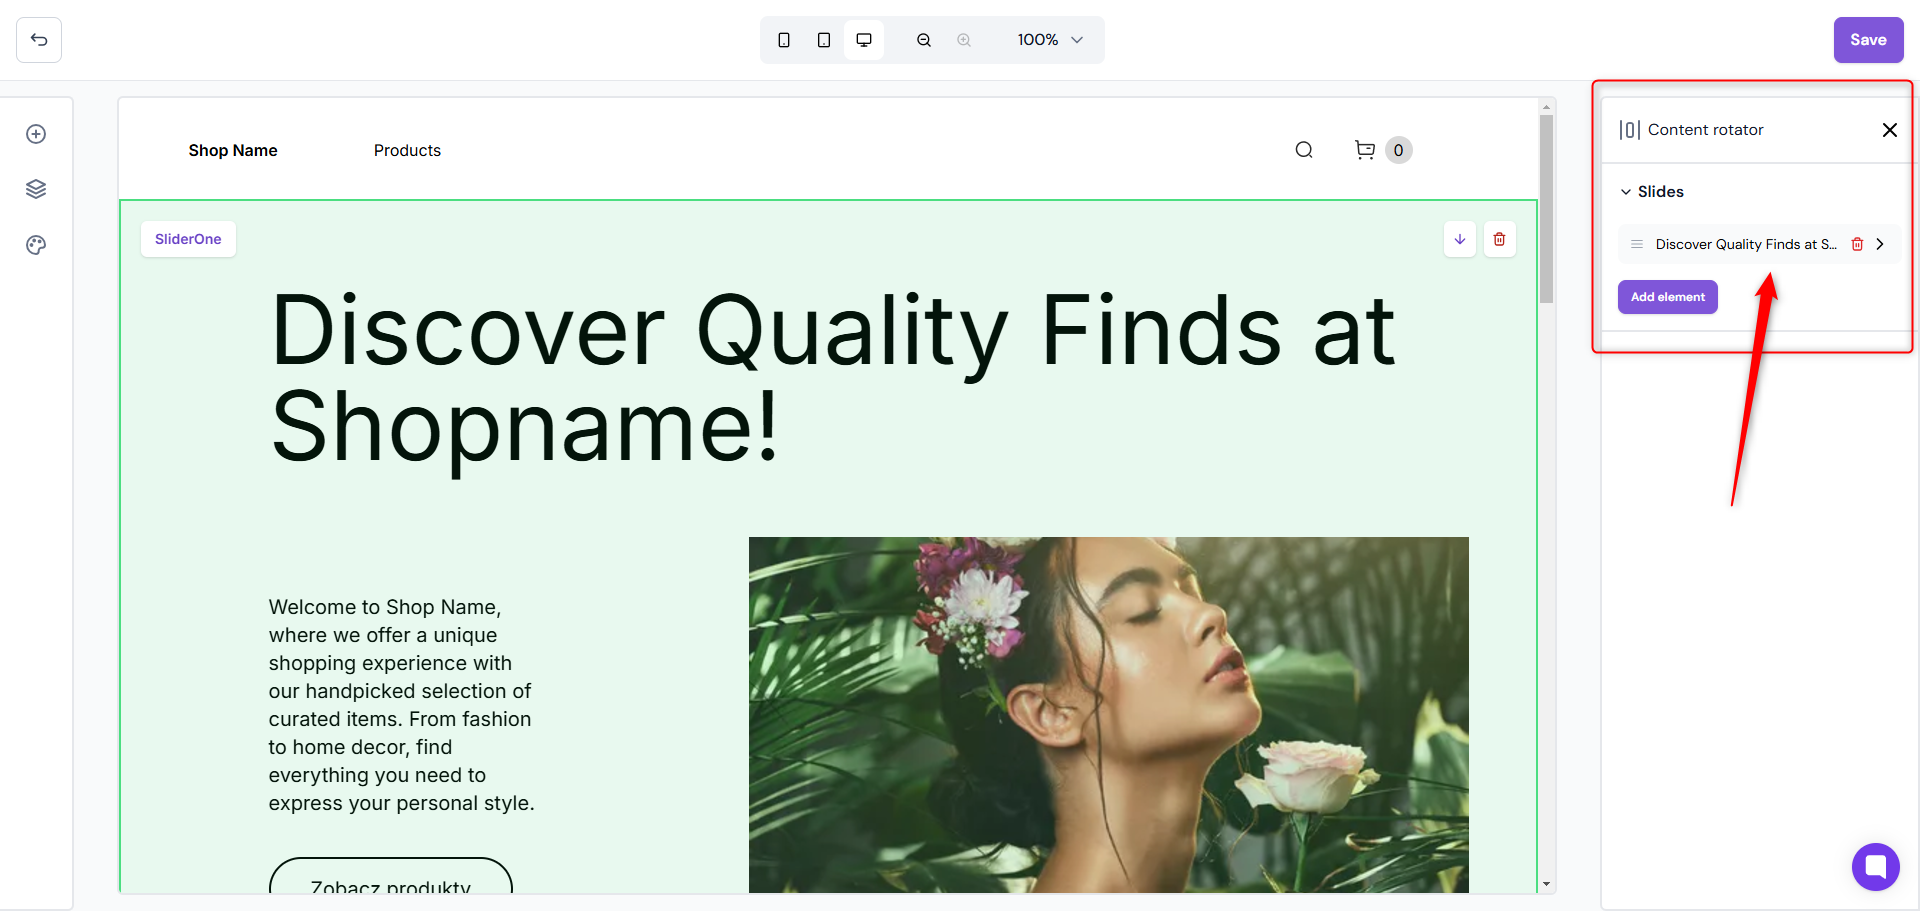
By clicking on the selected section, the panel for editing its content will open.
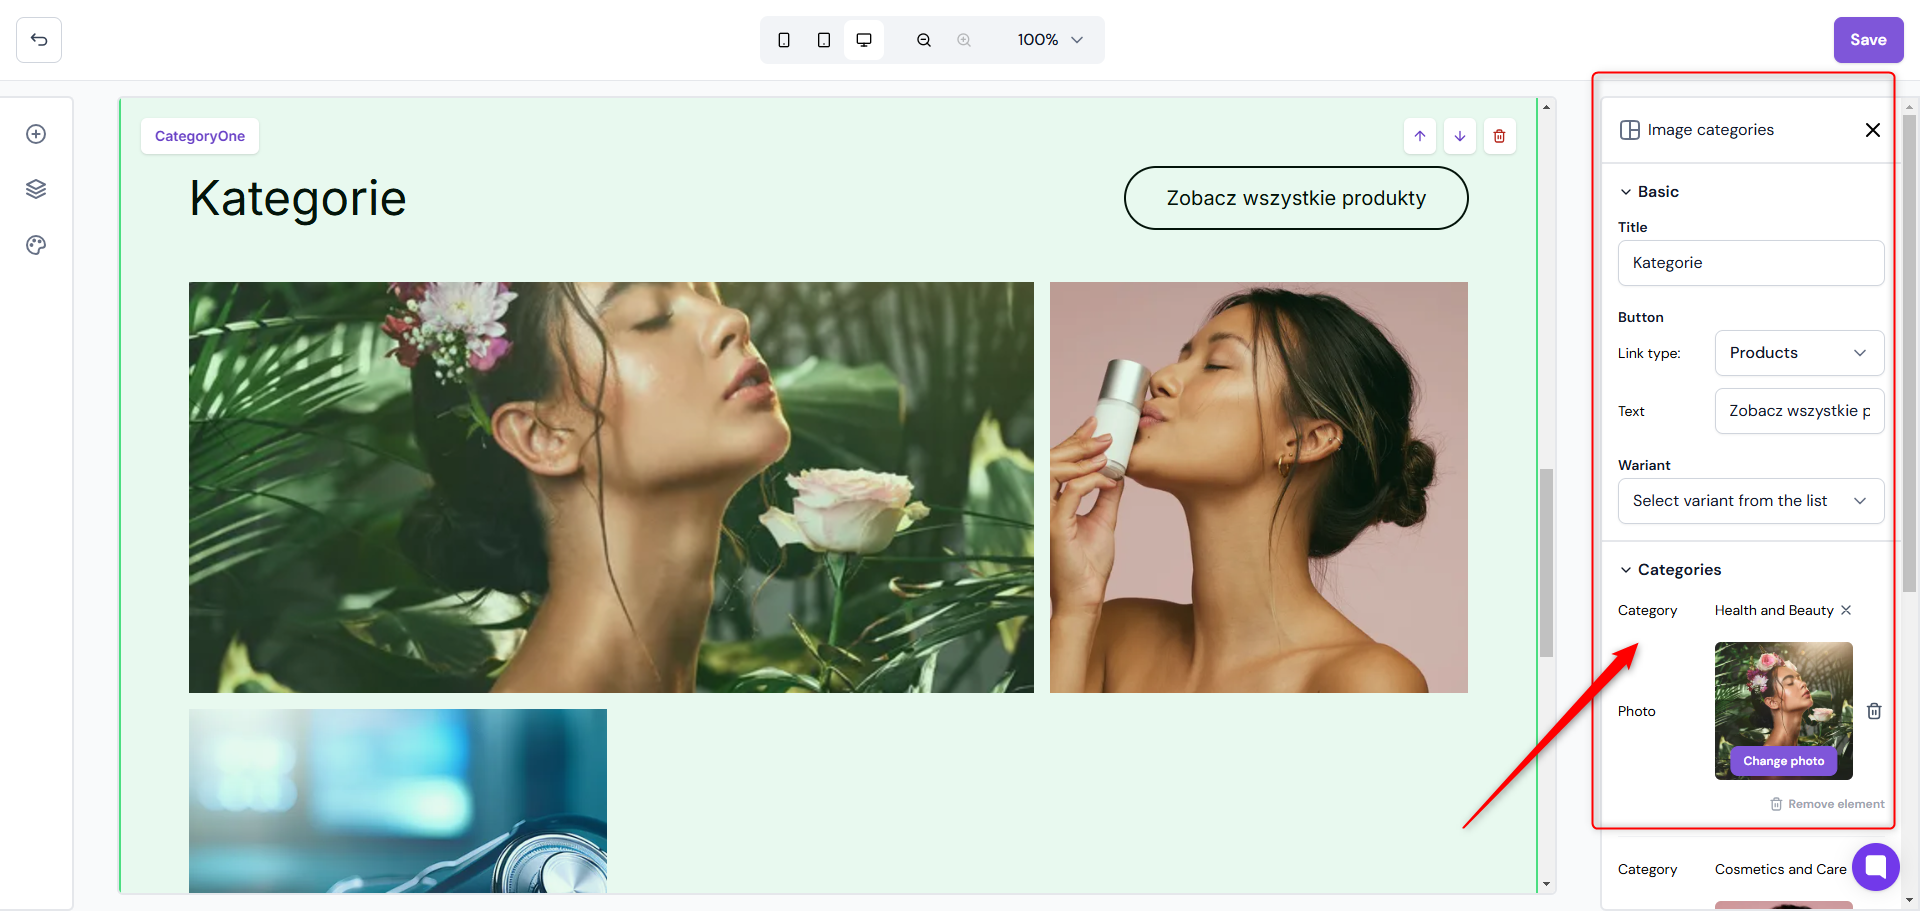
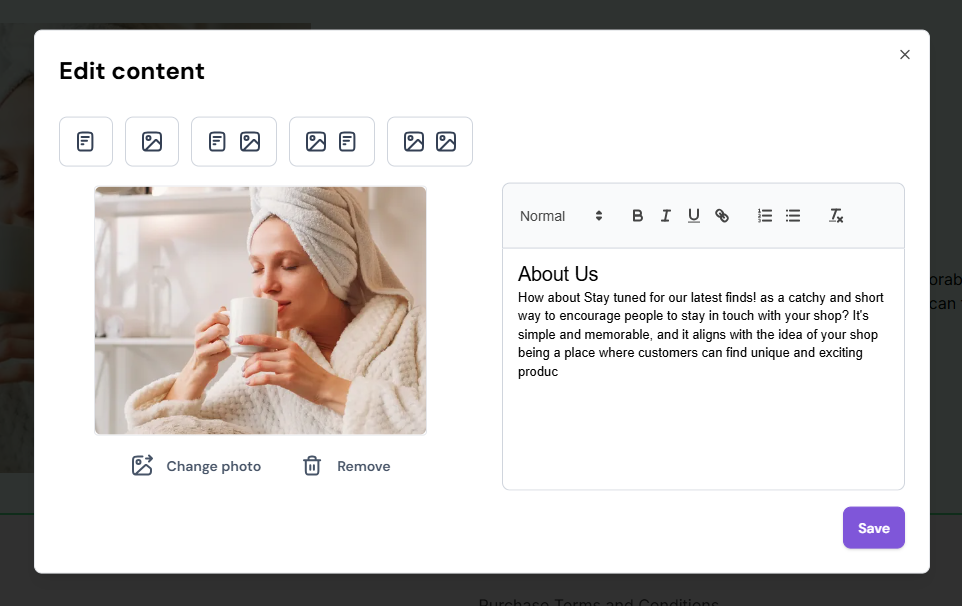
Each of the sections containing text and images can be modified.
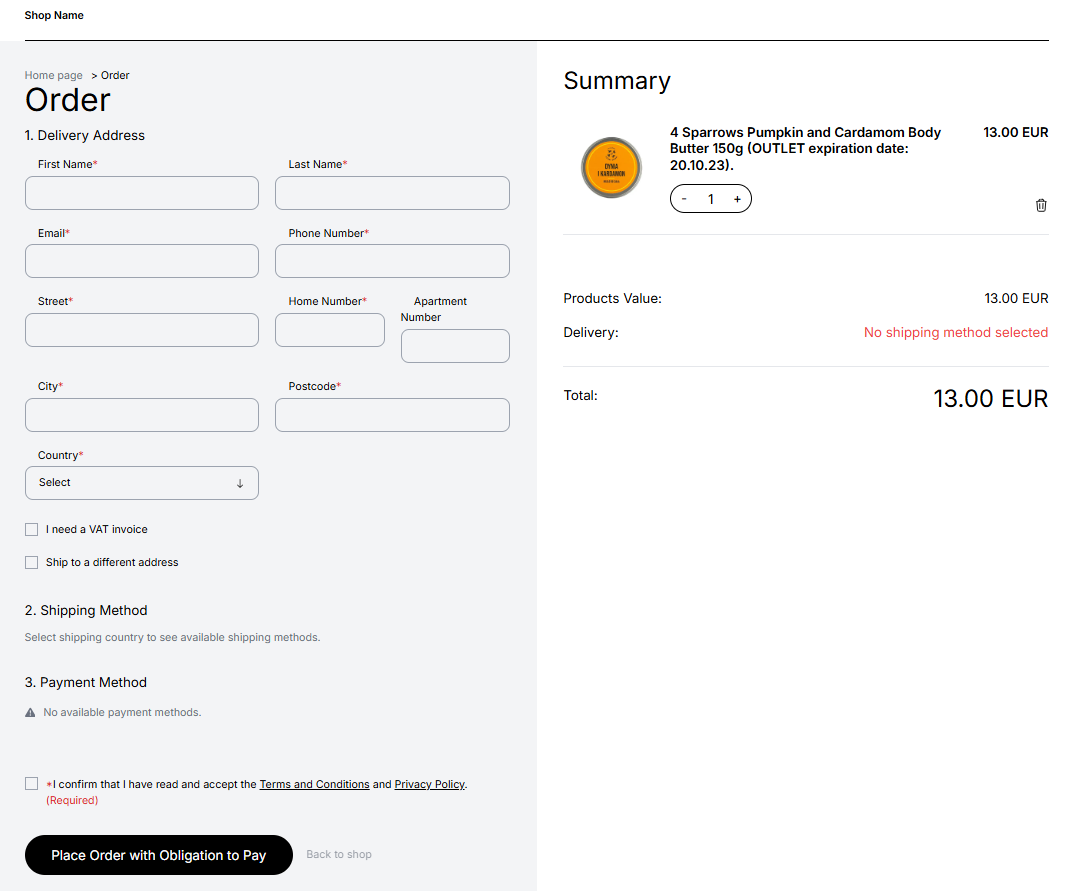
When the customer completes the order and proceeds to the purchase summary, he or she will be given a shipping data form to fill in. Here he will have the option to select the delivery method and the payment method.
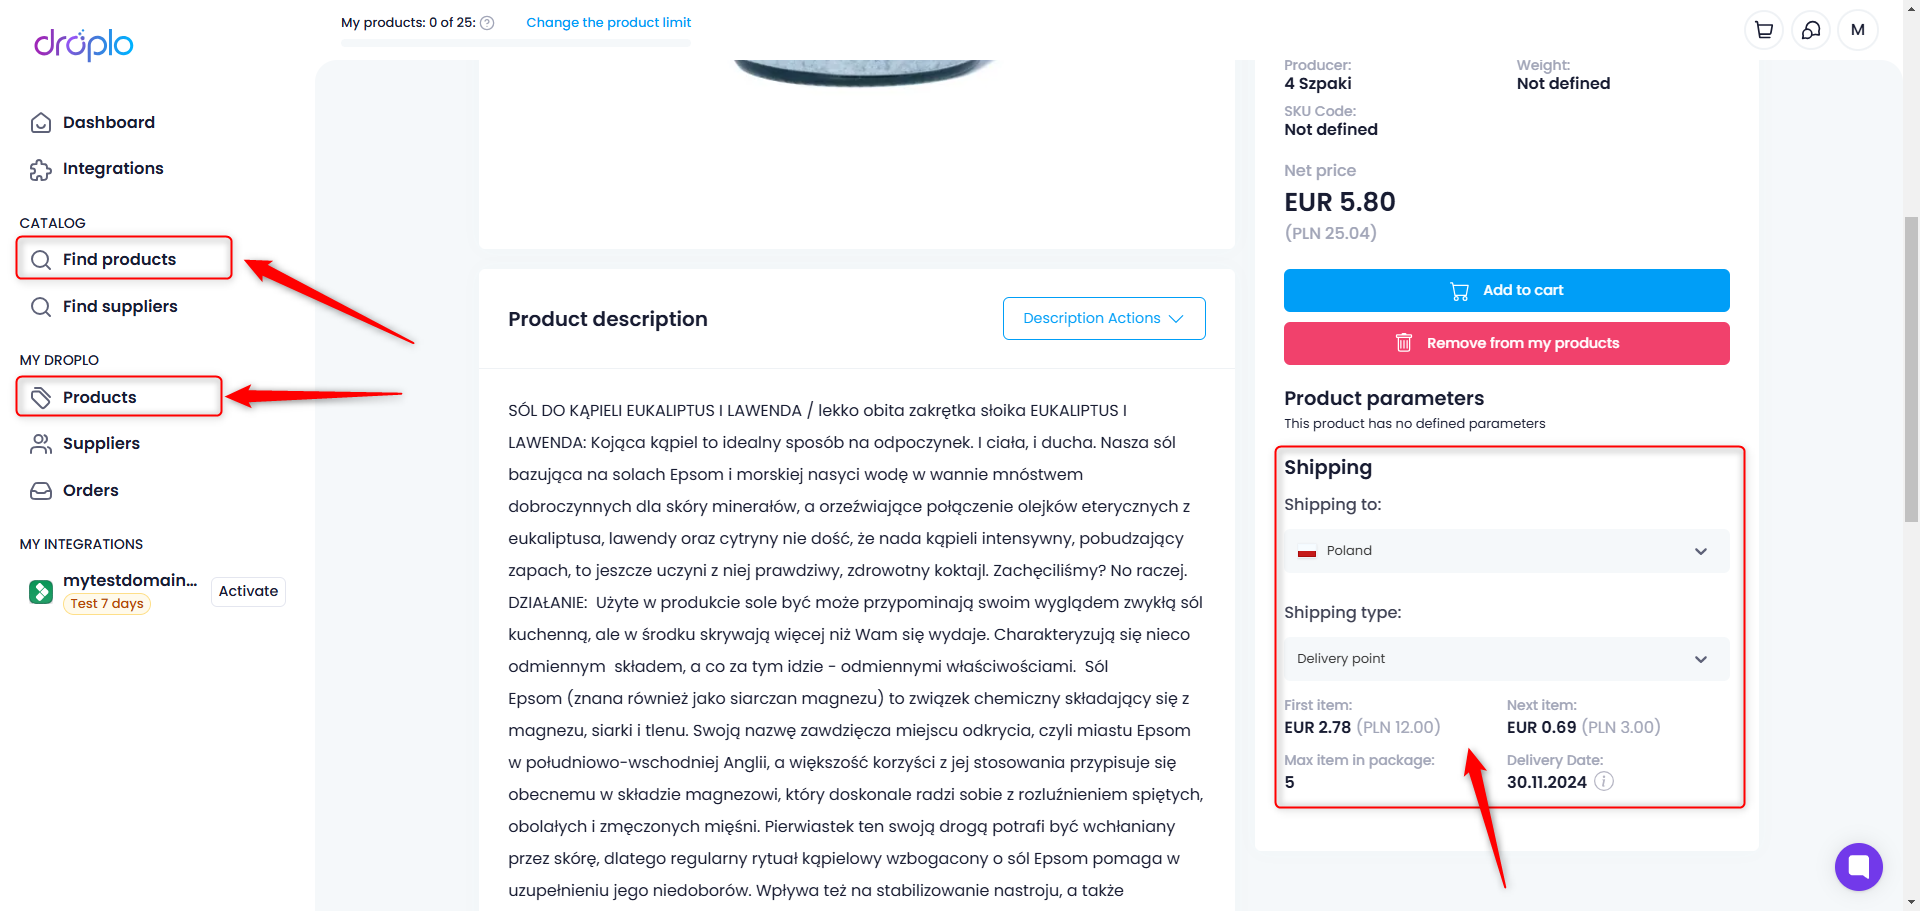
Each supplier whose products you list in the shop may have different shipping costs depending on e.g. the size/weight of the parcel. You will find the exact shipping cost depending on the country of delivery in the card of each product.
Payment methods (PayU / Przelewy24) will only be visible on the order summary tab after they have been entered in the shop settings.
When a customer places an order, it will appear in your Droplo dashboard under Orders. It will receive the status: Draft.
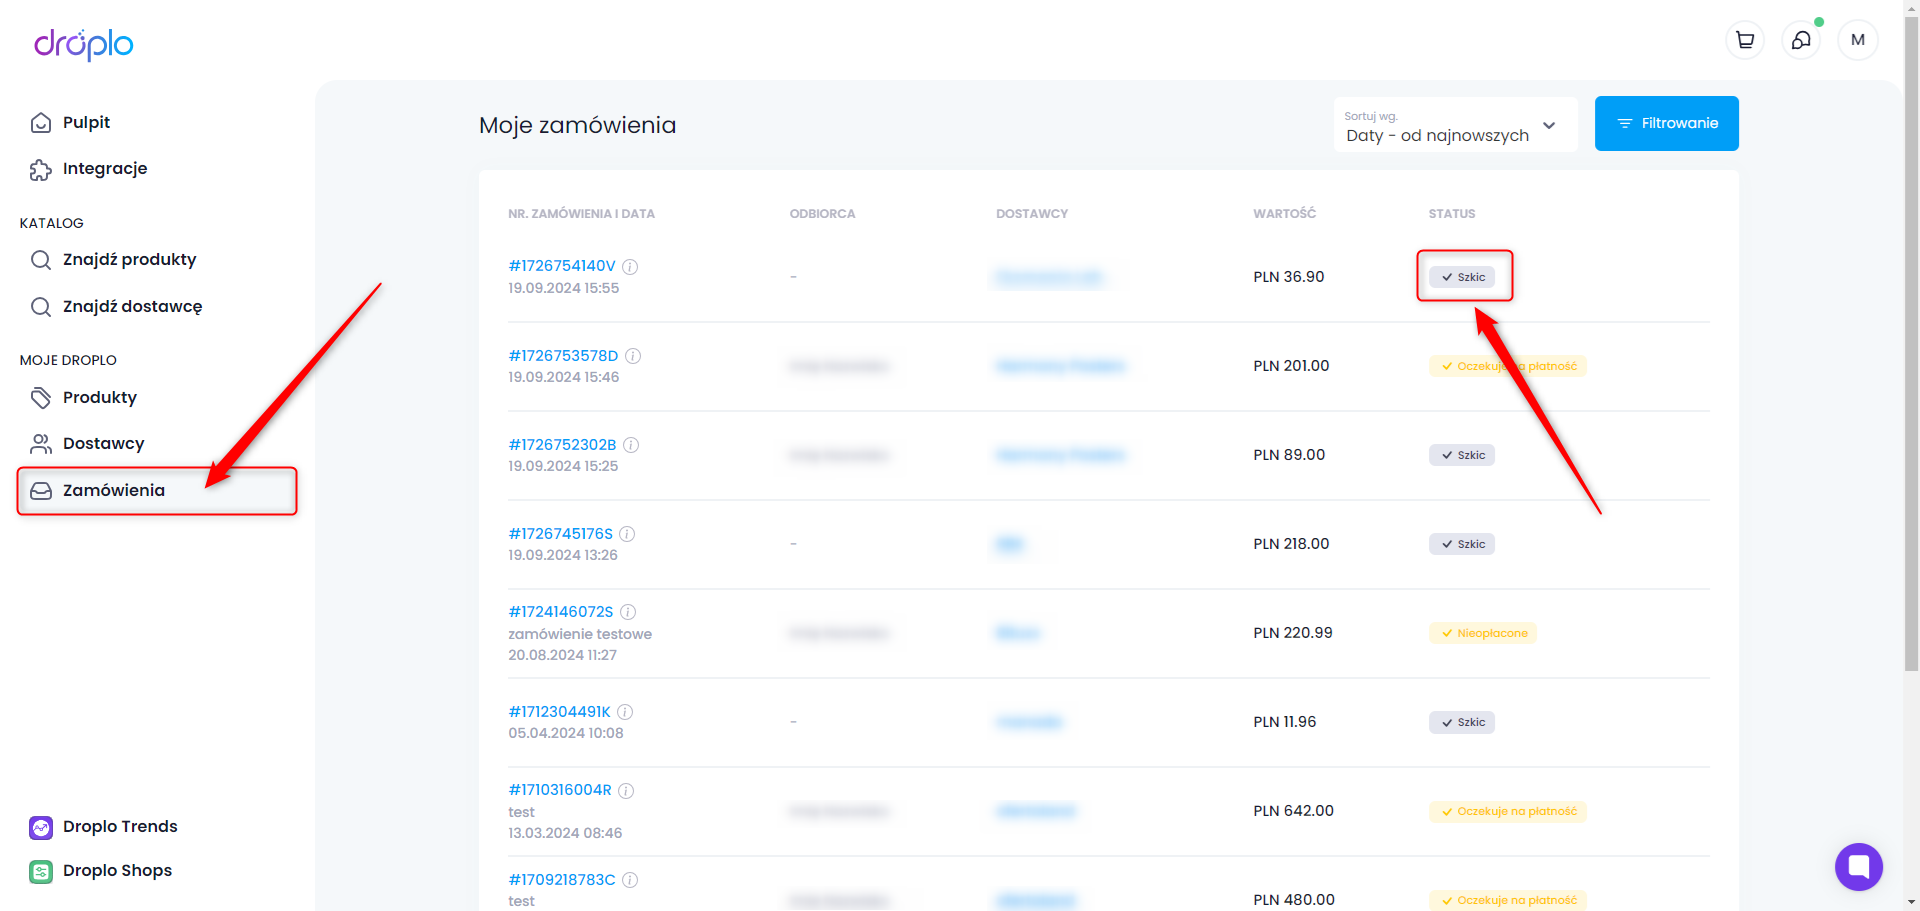
From here, you can place orders with suppliers who accept them through Droplo.
You can find out more about ordering and paying for products from suppliers in a separate manual.
Do you have any questions for us?
Our consultants are available to you at help@droplo.com and in the chat window.