Log in to your Seller account and go to the Integrations tab, click on the Droplo Importer AI field.
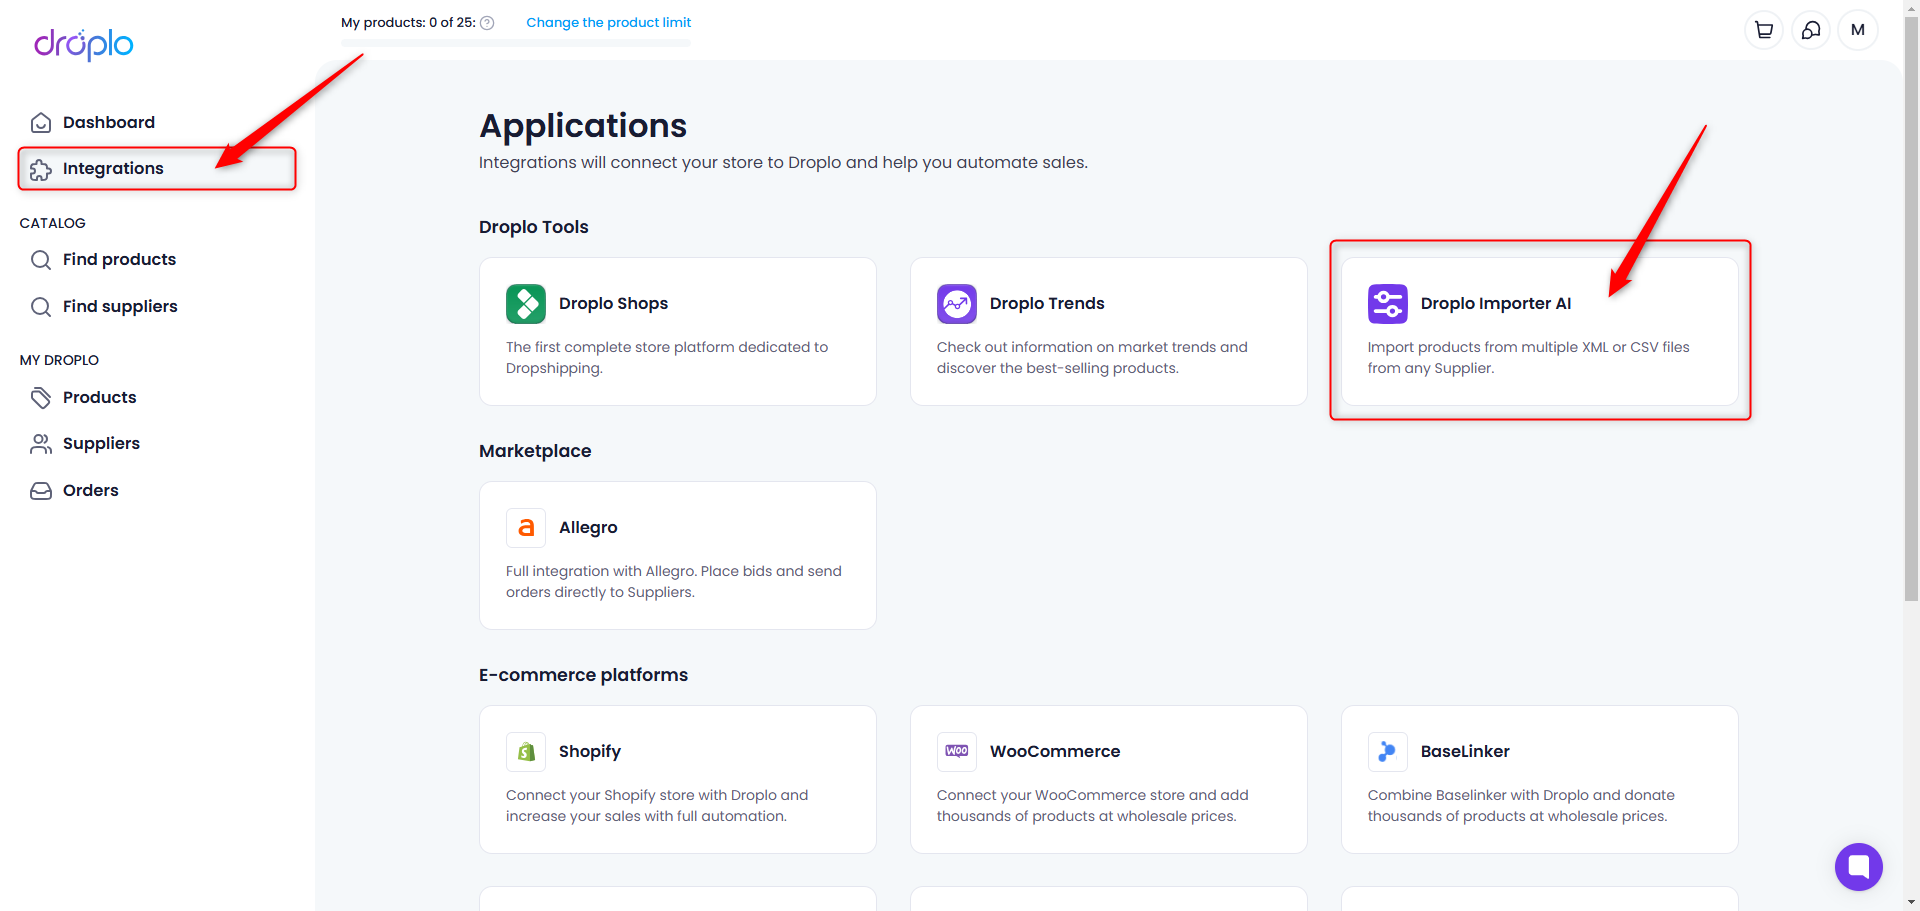
Full description of the integration will open. To activate the trial period, click on the Test for free for 7 days button. If you do not need a trial period and want to activate your subscription straight away, use the Purchase access button.
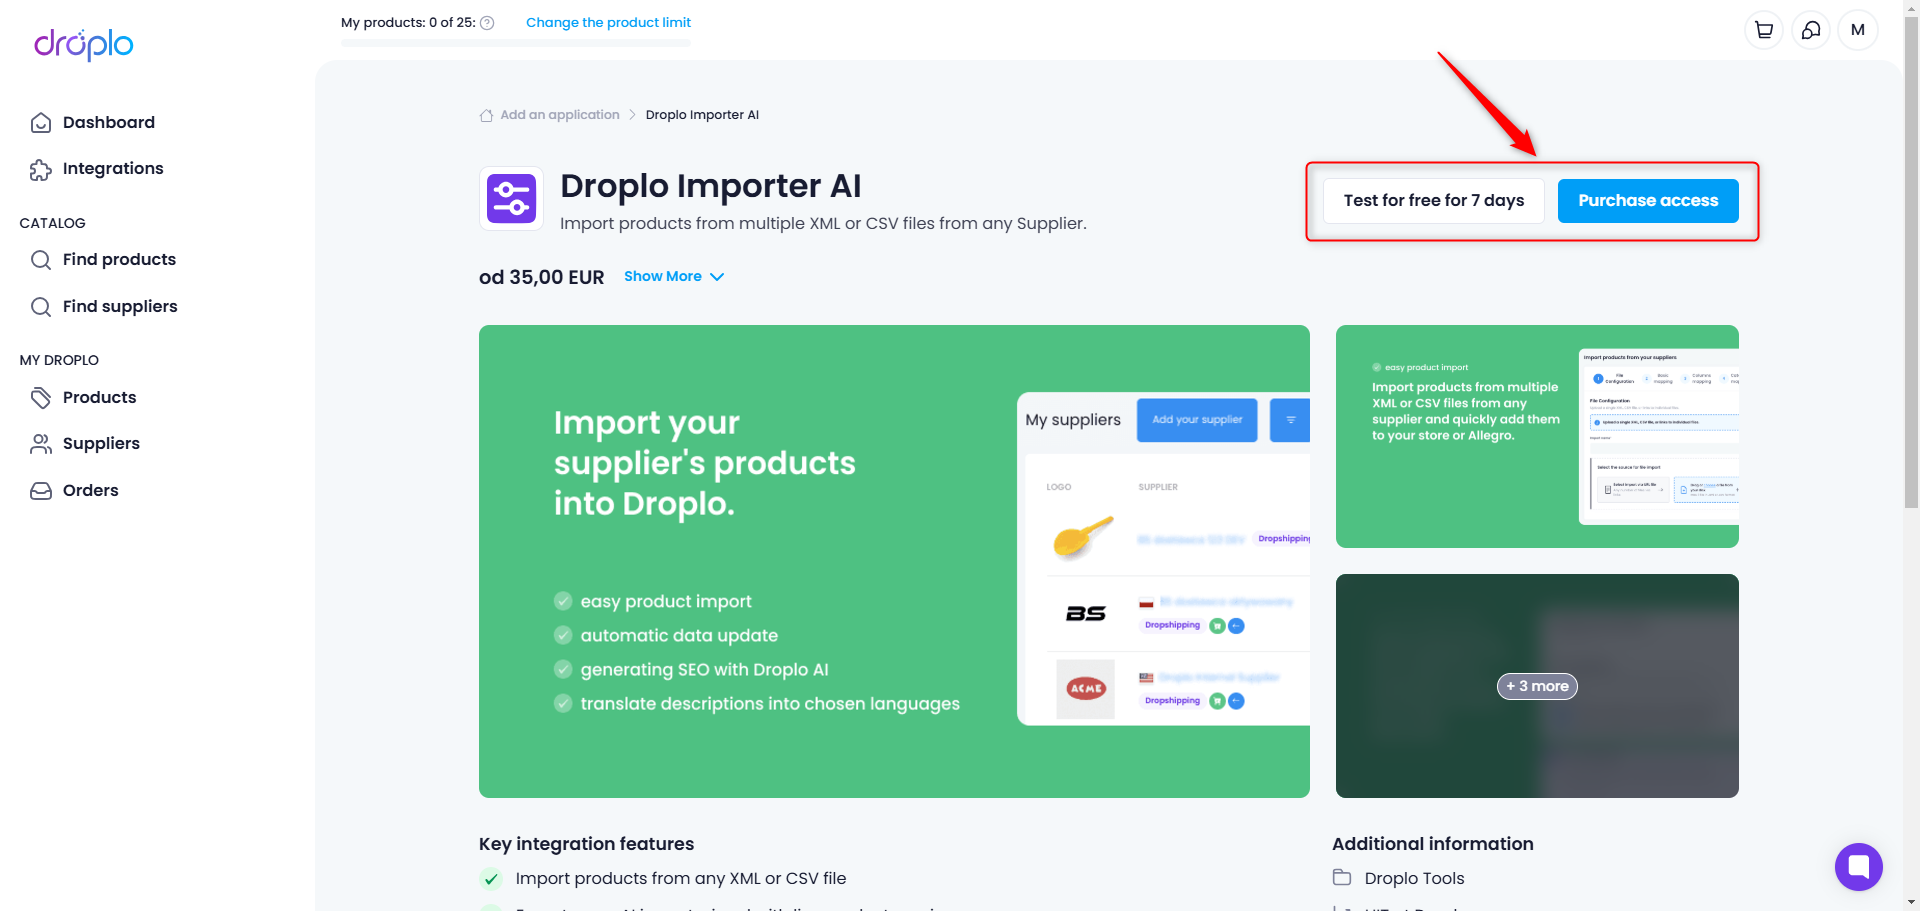
A. By selecting Test for free for 7 days, a window will appear where you will be told until when you can use the integration for free. Use the Start trial period button to proceed.
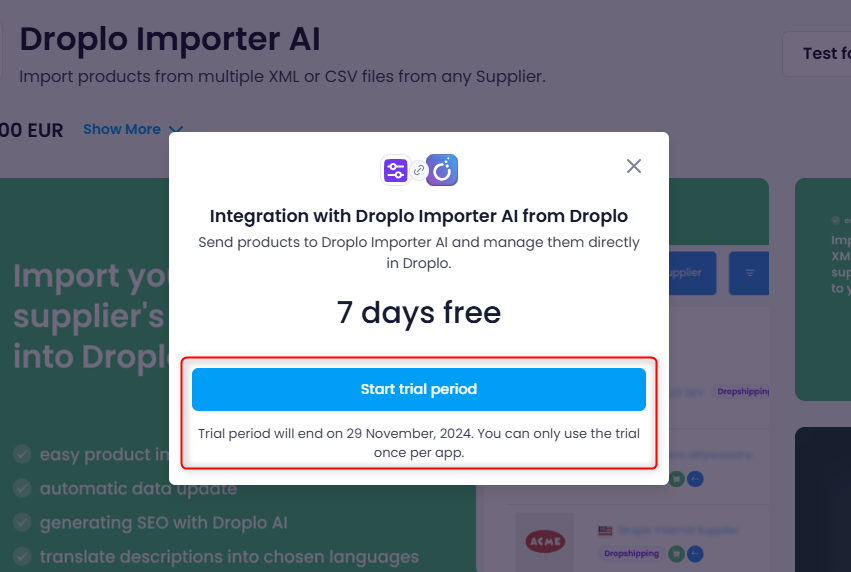
You will be taken to a panel where it is possible to import external offers into Droplo.
To do this, in the Subscription and payments tab use the Cancel subscription function, next to the service you do not wish to continue. Access to the integration will expire when the full 7 days have passed.
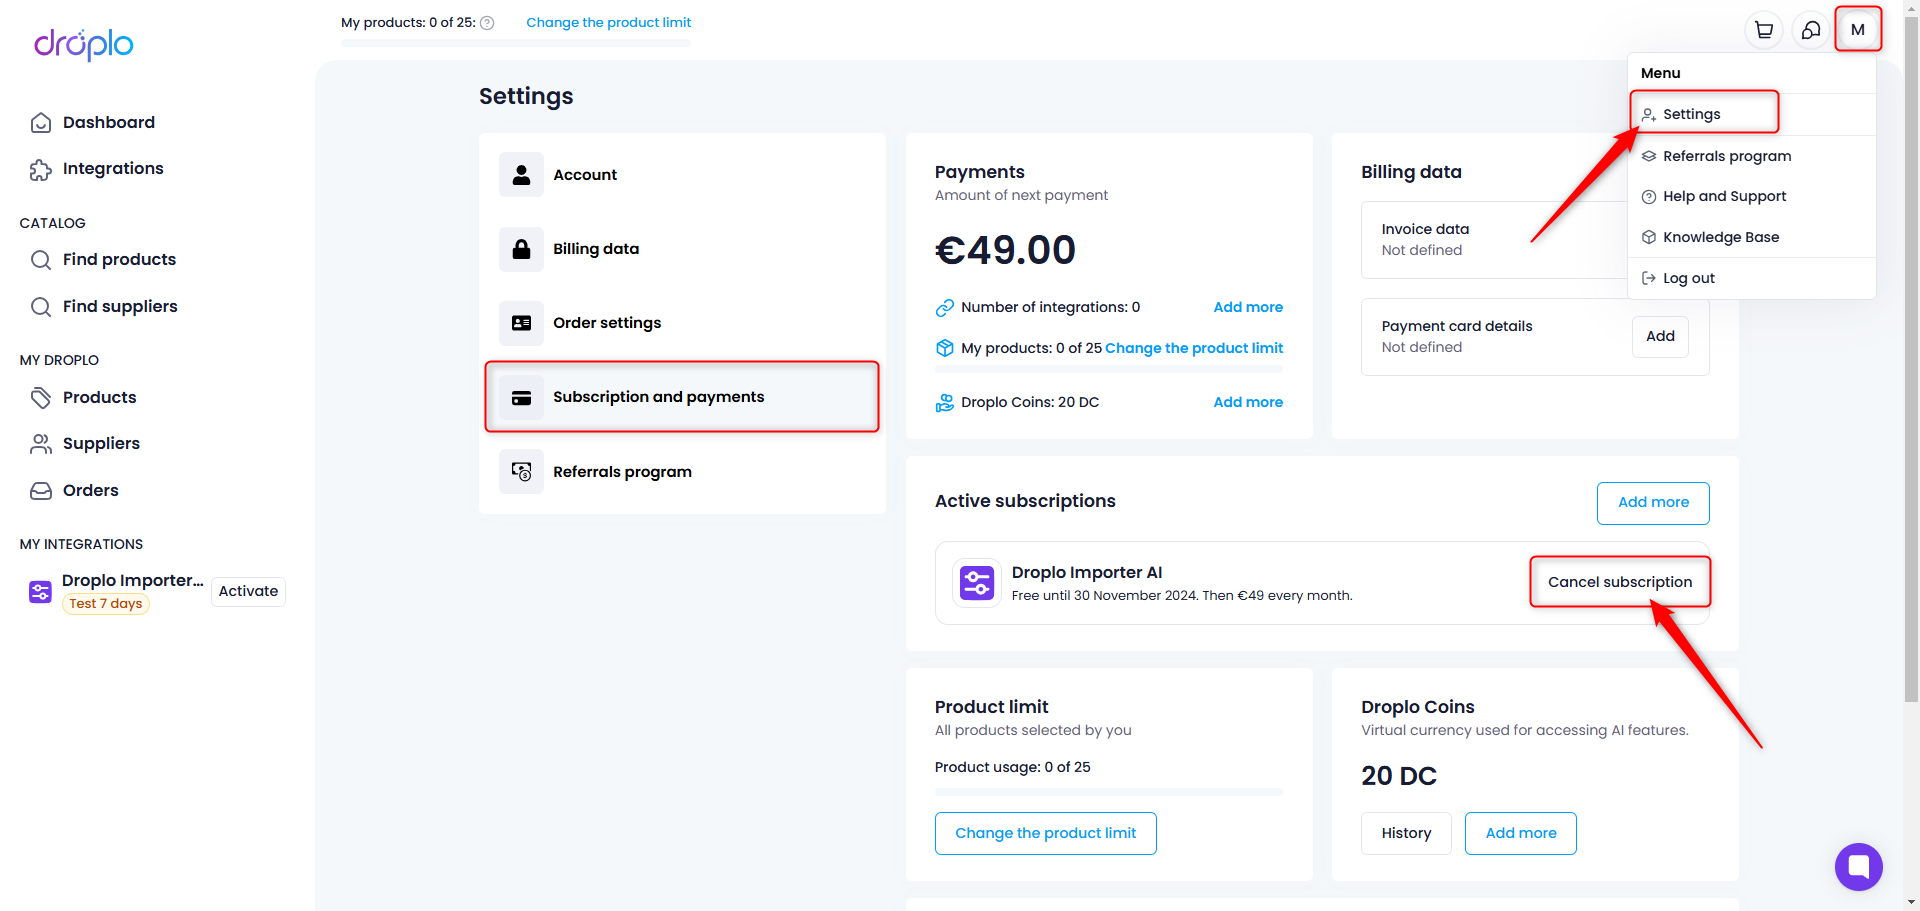
After activating the trial period for Droplo Importer AI, you will see a new section in the main menu on the left side of the panel: MY INTEGRATIONS. In this section you will find a shortcut to your Droplo Importer AI integration. Click on it to open the configuration panel.
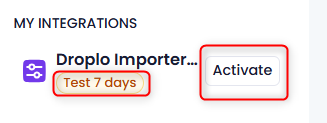
B. By selecting the Purchase access option, you will be taken to the payment card for access to the integration. Choose whether you want to pay it monthly or annually (in advance). Once the first payment has been sent, the integration will be fully activated for your account.
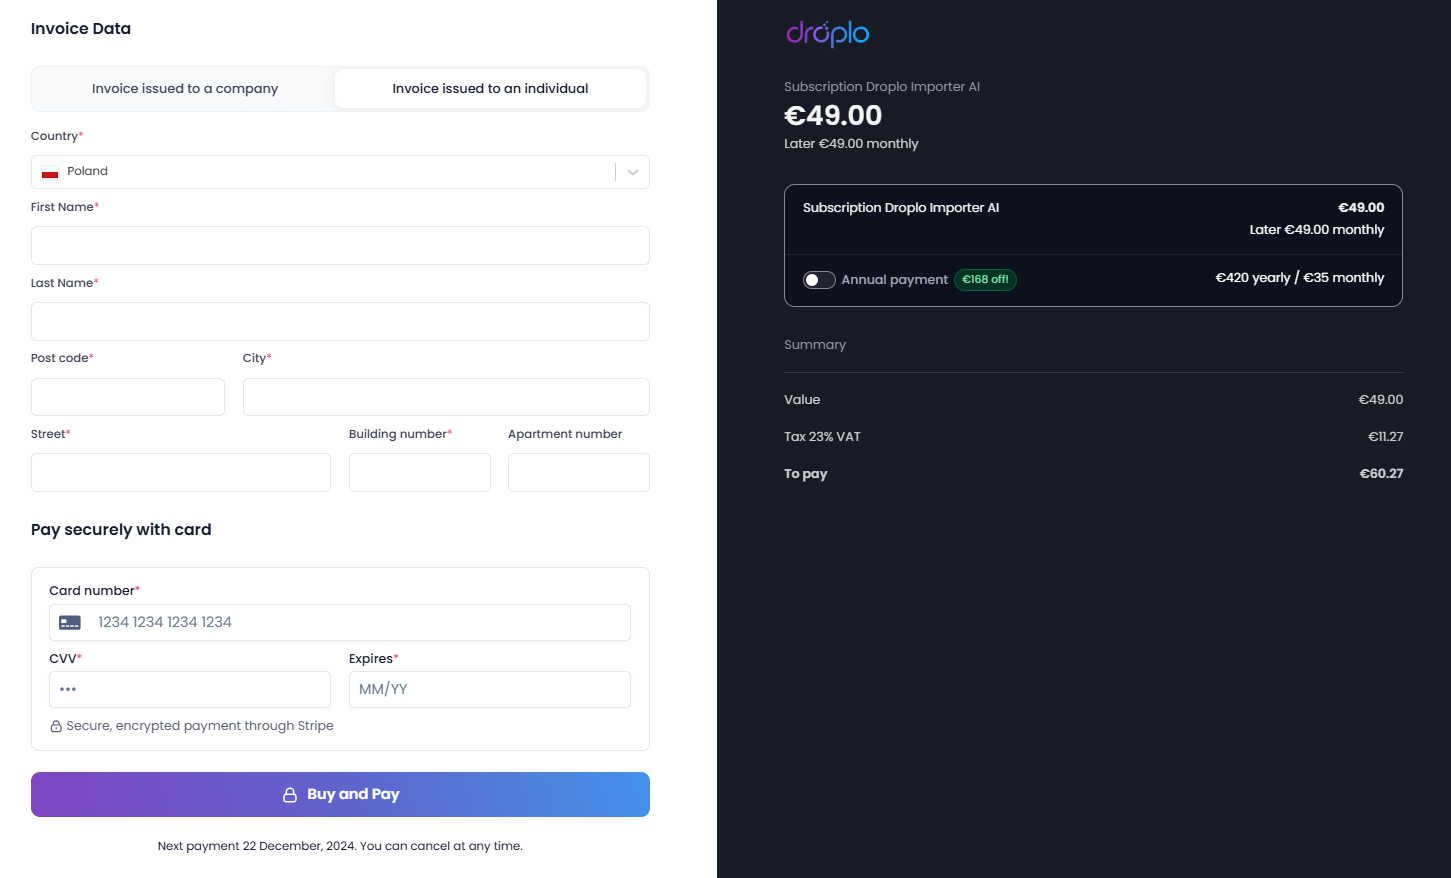
You can now switch to the Suppliers tab. Then use the Add your supplier button.
You will be taken to the Import list. Use the Import products button.
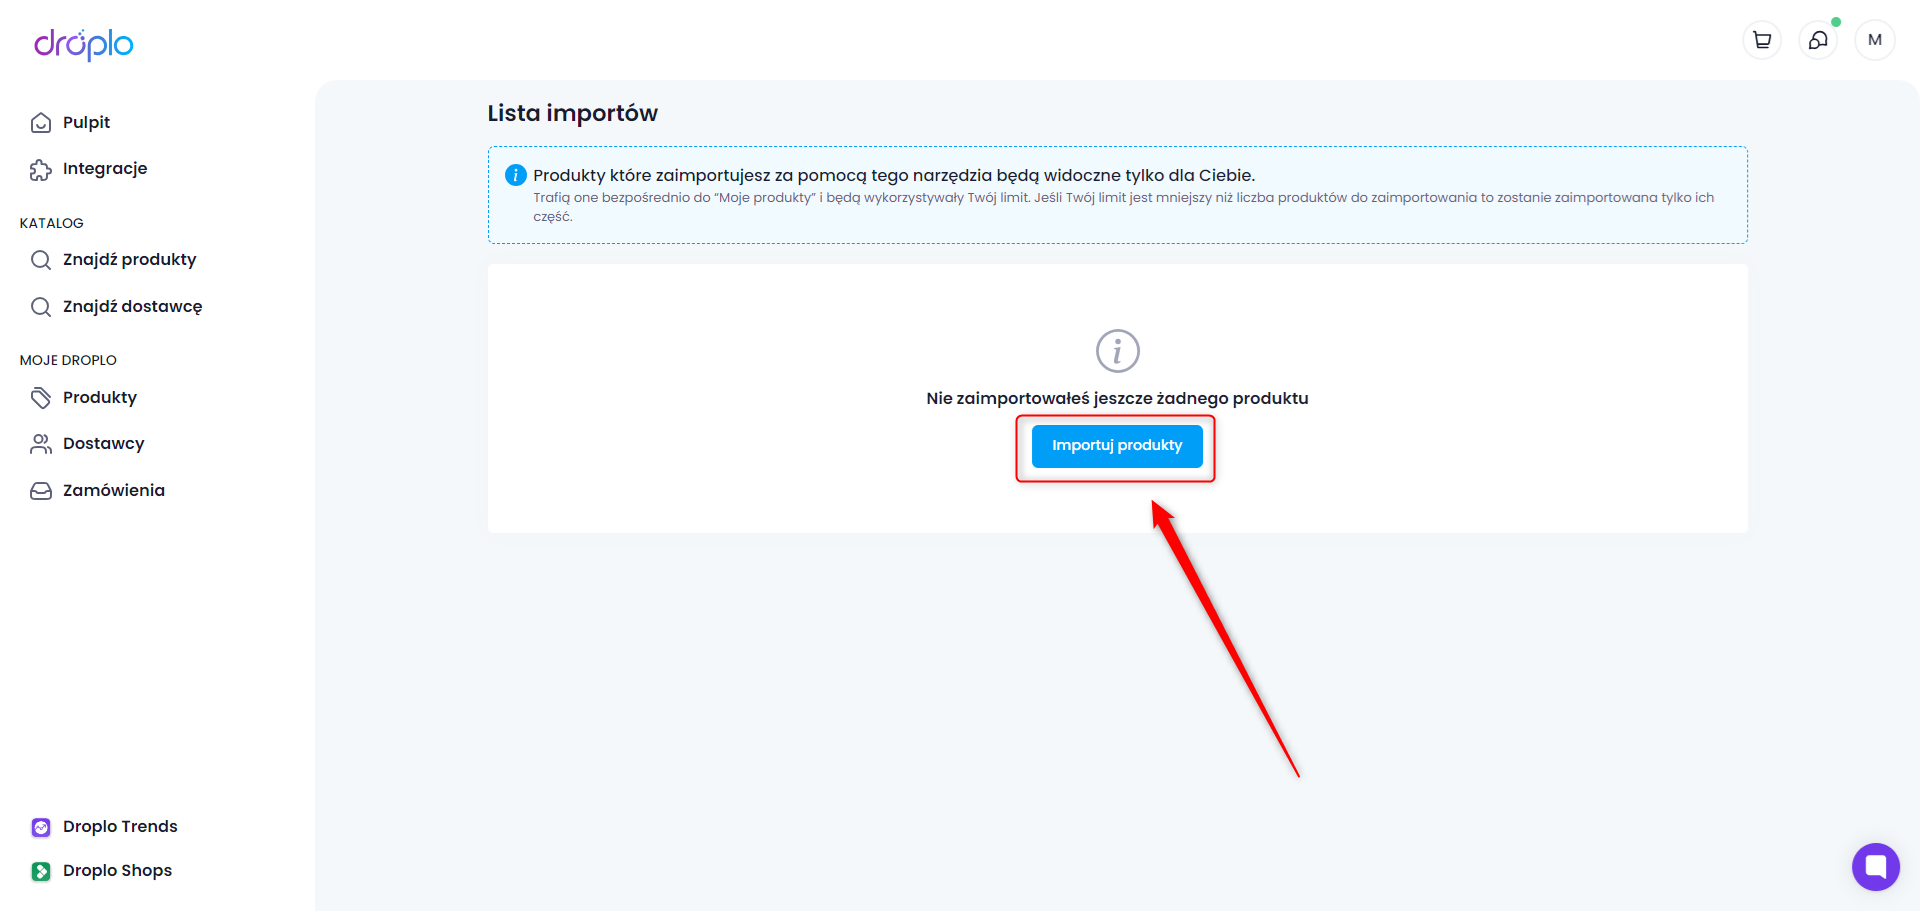
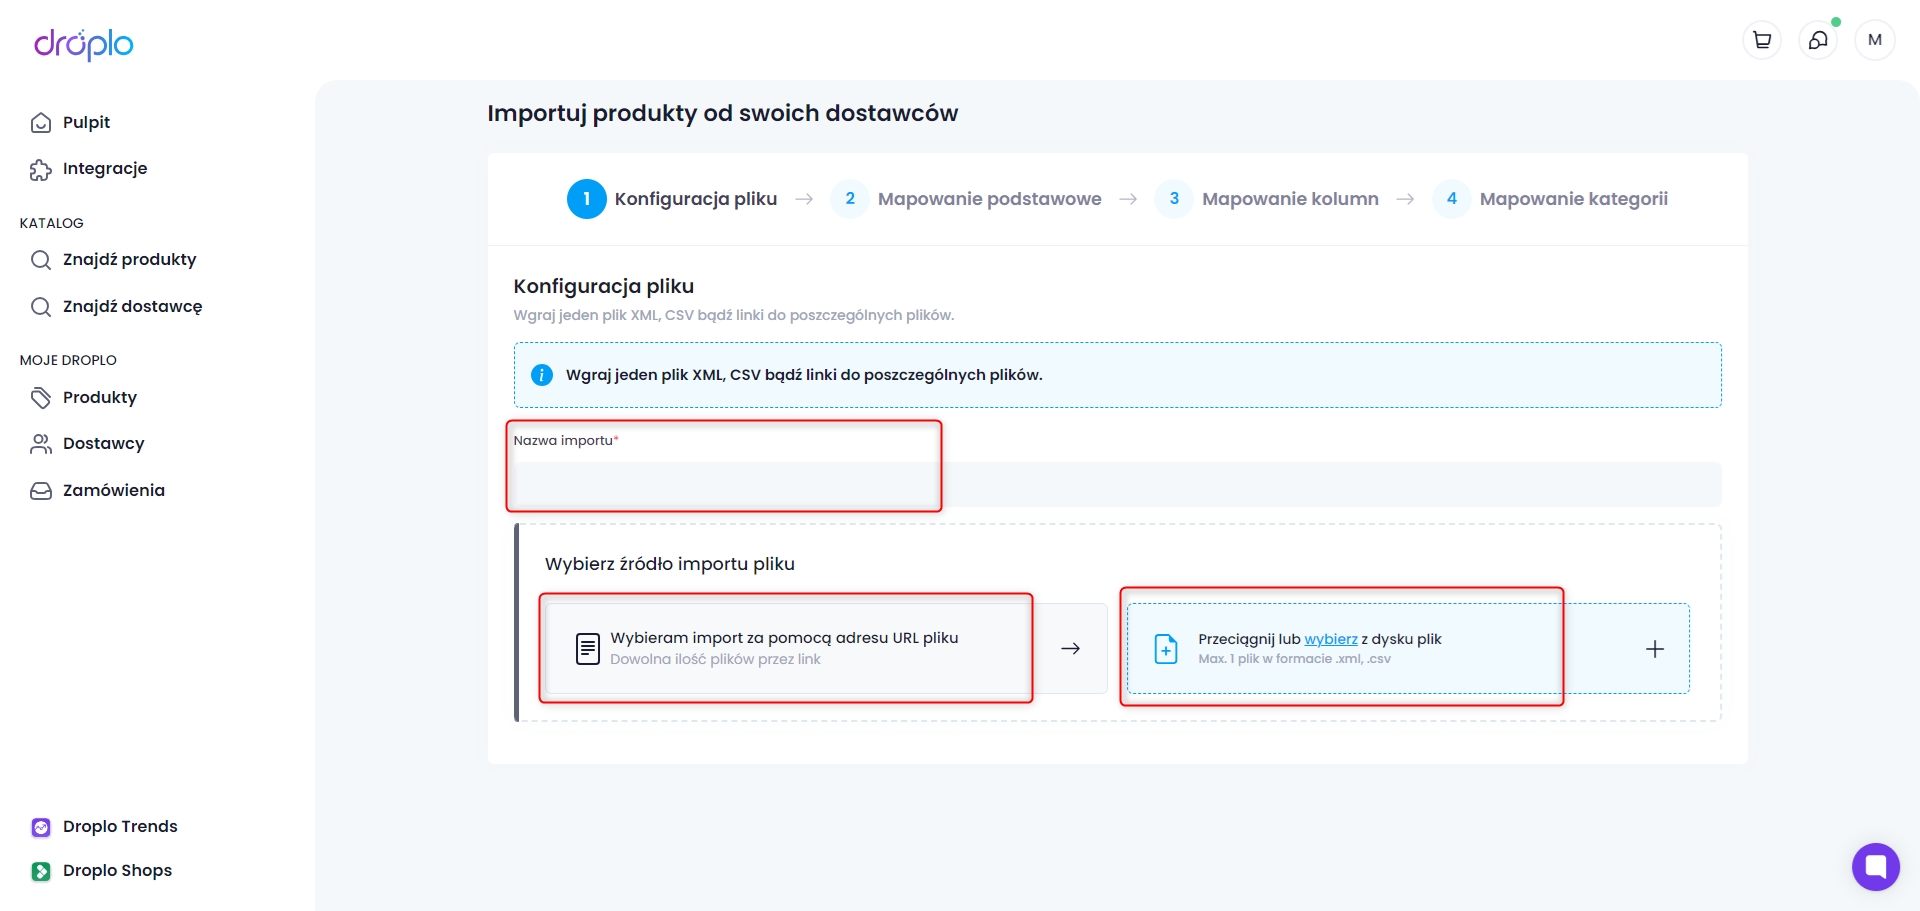
The first import step should now appear: File configuration
First, enter the name of the import and choose how you will add the supplier's offer file to Droplo: via URL ( https:// ) or by uploading the file from your device ( .xml / .csv ). By choosing the second solution, a window will open in which you will be able to select the file. Once it has been selected, you will proceed to the next import step.
When you select import via URL, a new section will appear. Enter the URL link in the first field.
Here an example of the structure for an XML file:
<?xml version="1.0" encoding="UTF-8"?>
<offers xmlns:xsi="http://www.w3.org/2001/XMLSchema-instance" version="1">
    <o id="41"
category="Testowe produkty"
categoryalt="Testowe produkty alternatywne 1"
manufacturer="BYTE IT UP" manufactureralt="BYTE IT UP Alternatywny"
name="Testowy produkt 1"
namealt="Testowy produkt alternatywny 1"
price="10.49"
pricealt="15.00"
stock="998412"
stockalt="15"
weight="1"
weightalt="4"
img="https://ijp.pan.pl/wp-content/uploads/2020/04/test.jpg"
imgalt="https://designshack.net/wp-content/uploads/placeholder-image-368x247.png">
</o>
    <o id="42"
category="Testowe produkty"
categoryalt="Testowe produkty alternatywne 2"
manufacturer="BYTE IT UP" manufactureralt="BYTE IT UP Alternatywny"
name="Testowy produkt 2" namealt="Testowy produkt alternatywny 2"
price="12.49"
pricealt="15.00"
stock="2137"
stockalt="15"
weight="1"
weightalt="4"
img="https://ijp.pan.pl/wp-content/uploads/2020/04/test.jpg"
imgalt="https://designshack.net/wp-content/uploads/placeholder-image-368x247.png">
</o>
</offers>
If the offer is password protected, indicate this below and two additional fields will appear: Username and Password to download the file from the supplier's server.
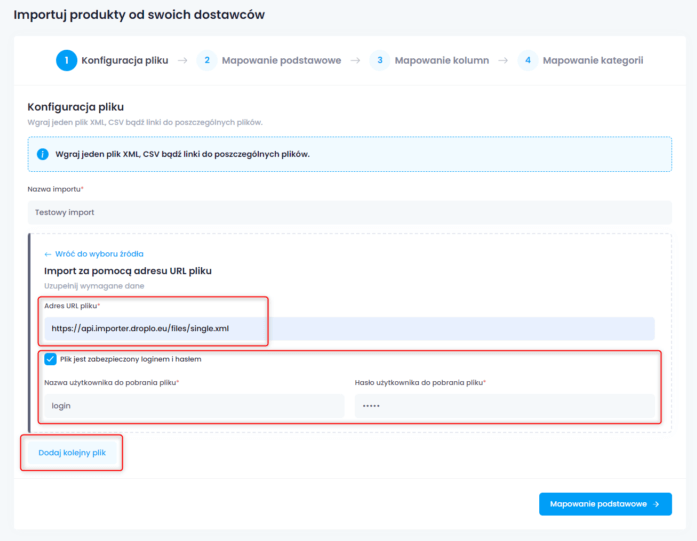
Sometimes a listing may consist of several links (e.g. one link is product information and the other is prices and stock). In this case, use the Add another file option and complete the new tab in the same way as the previous one. The importer will then recognise the two files as complementary.
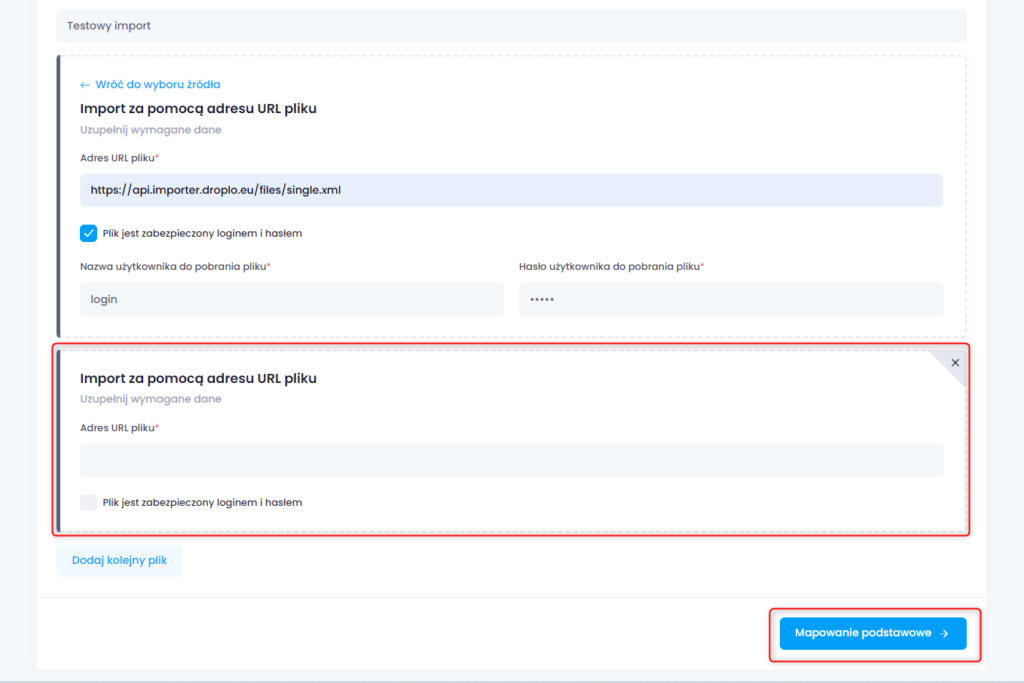
Once you have completed the configuration of the file, you can move on to the basic mapping. At this stage, the basic parameters of the file that build its structure are completed.
Both fields should complete automatically. However, there are times when, for some reason, the ID parameter cannot be read by Droplo. In this case, manually select the parameter that best distinguishes each product (e.g. name / name) from the drop-down list.
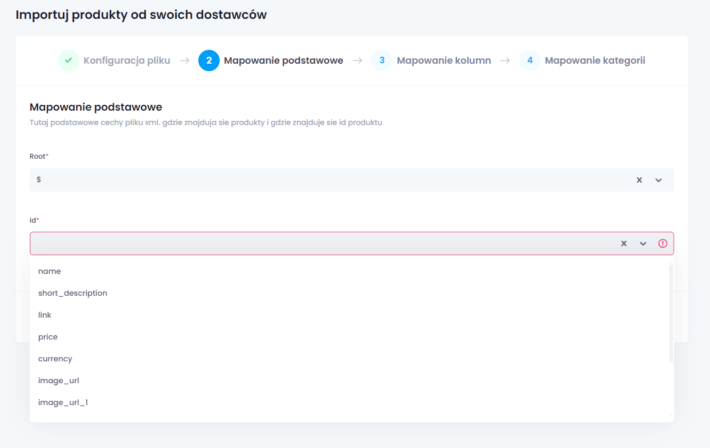
Once you have selected the appropriate option, proceed to the next step - column mapping.
In the top right corner, you will notice a button on How to map fields correctly (1). Use it to read the brief instructions.
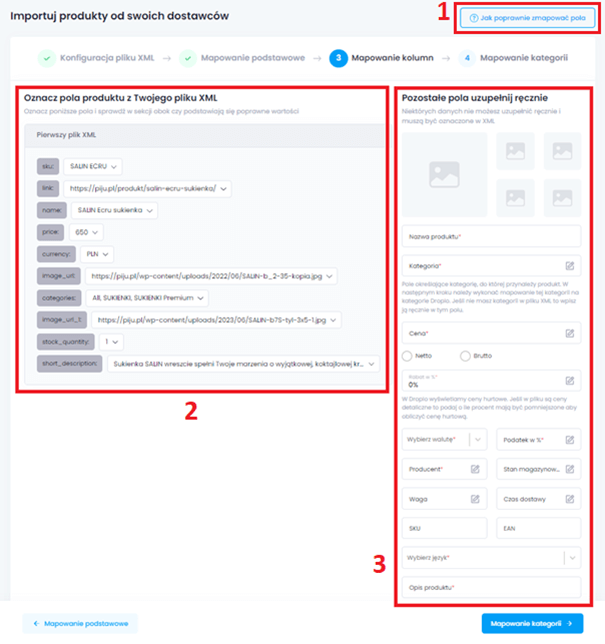
In this step, there are 2 segments to complete. The first one (2) allows you to assign the corresponding attributes of the Droplo attributes file.
The second allows additional information such as price type, currency, delivery time, tax or file language to be assigned manually (3).
It is very important to mark the correct version of the prices that are in the imported file: net / gross.
It is also possible to enter a discount on prices from the file.

Once you have mapped all the required fields on the left and manually completed the rest of the required parameters on the right, proceed to the category mapping.
In this step, you will need to assign equivalent categories from the file to the categories on the Droplo side. You can do this by selecting multiple categories at once, and then set one Droplo-side category for the selected ones.
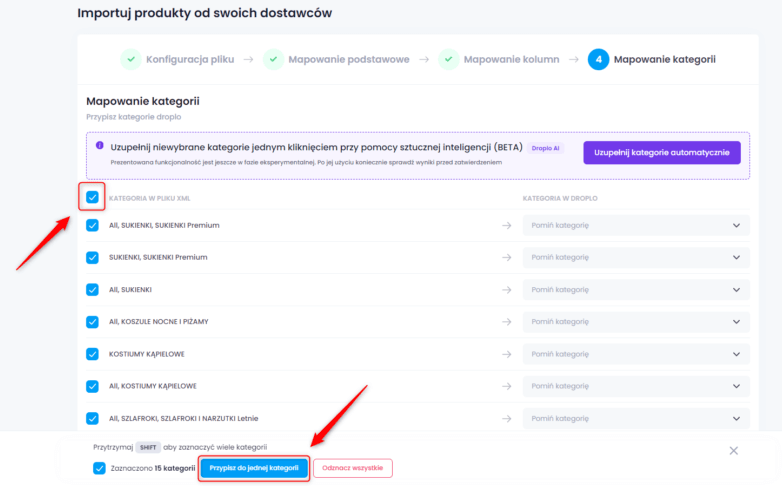
As of recently, you can also try out our new solution, which we have already introduced in the BETA version - this is AI-based category auto-complete. However, this solution may still have difficulties in recognising each file format.
Once you have assigned the right categories, move on.
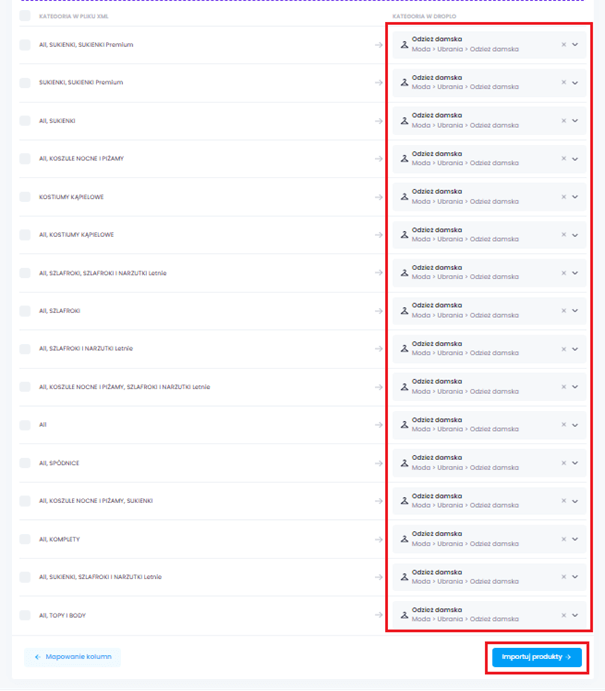
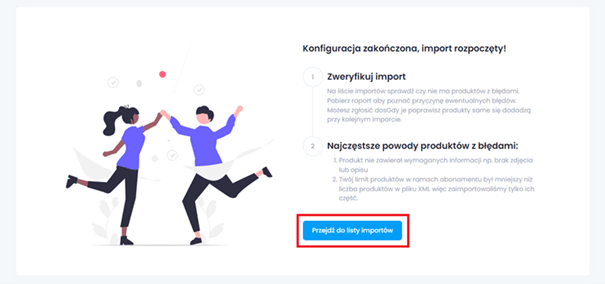
You should see a screen summarising the correct import configuration. You will also see a Go to import list button. Use it to check the progress of your product transfer to Droplo.
The list of imports shows in turn: the name you gave to the import in step 1 of the configuration, the number of products detected, the number of products correctly imported, the date of the last import (you can update your listing with more recent links) and the status of the import.
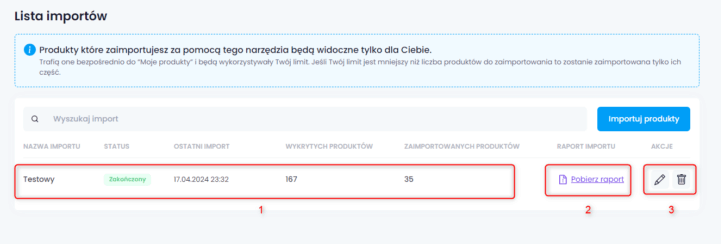
In addition, if not all the products have been loaded correctly, you can download the import report (2) and check what was the cause for each of the omitted products. If you wish to edit (update) or delete an import, use one of the functions available in the ‘ACTIONS’ field.
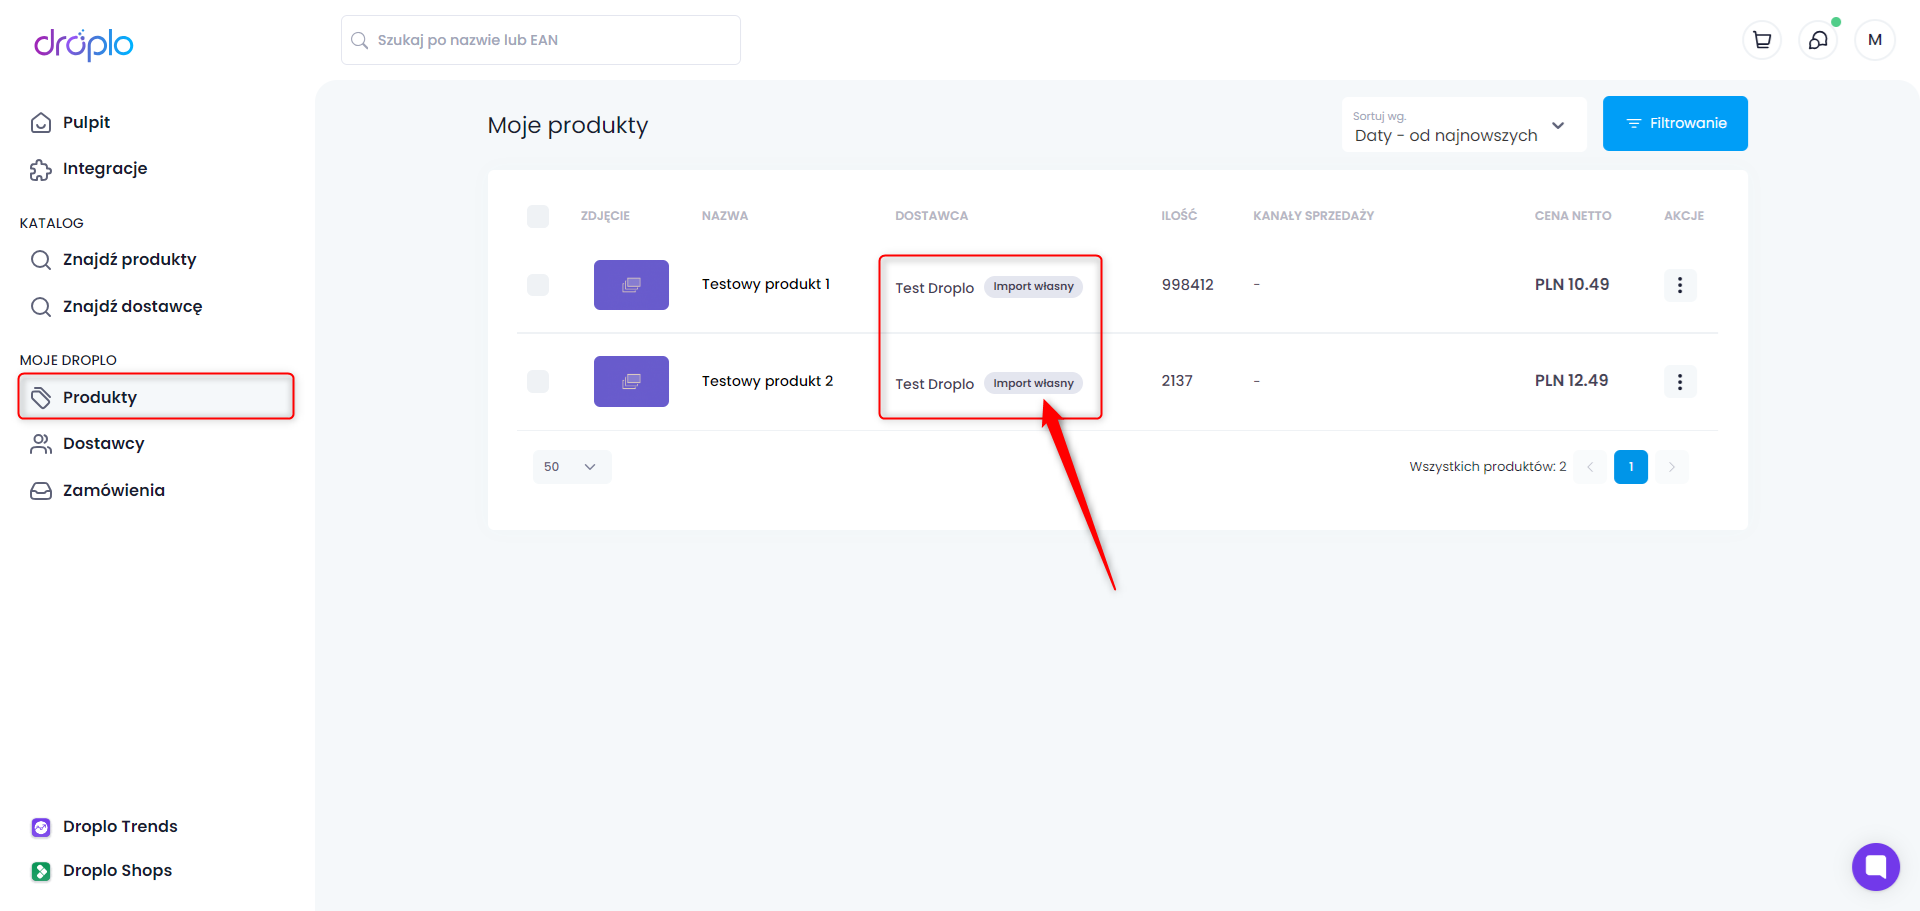
The imported products will appear in the Products tab and will be labelled ‘Own Import’.
Check the importer price for higher limits here: CLICK.